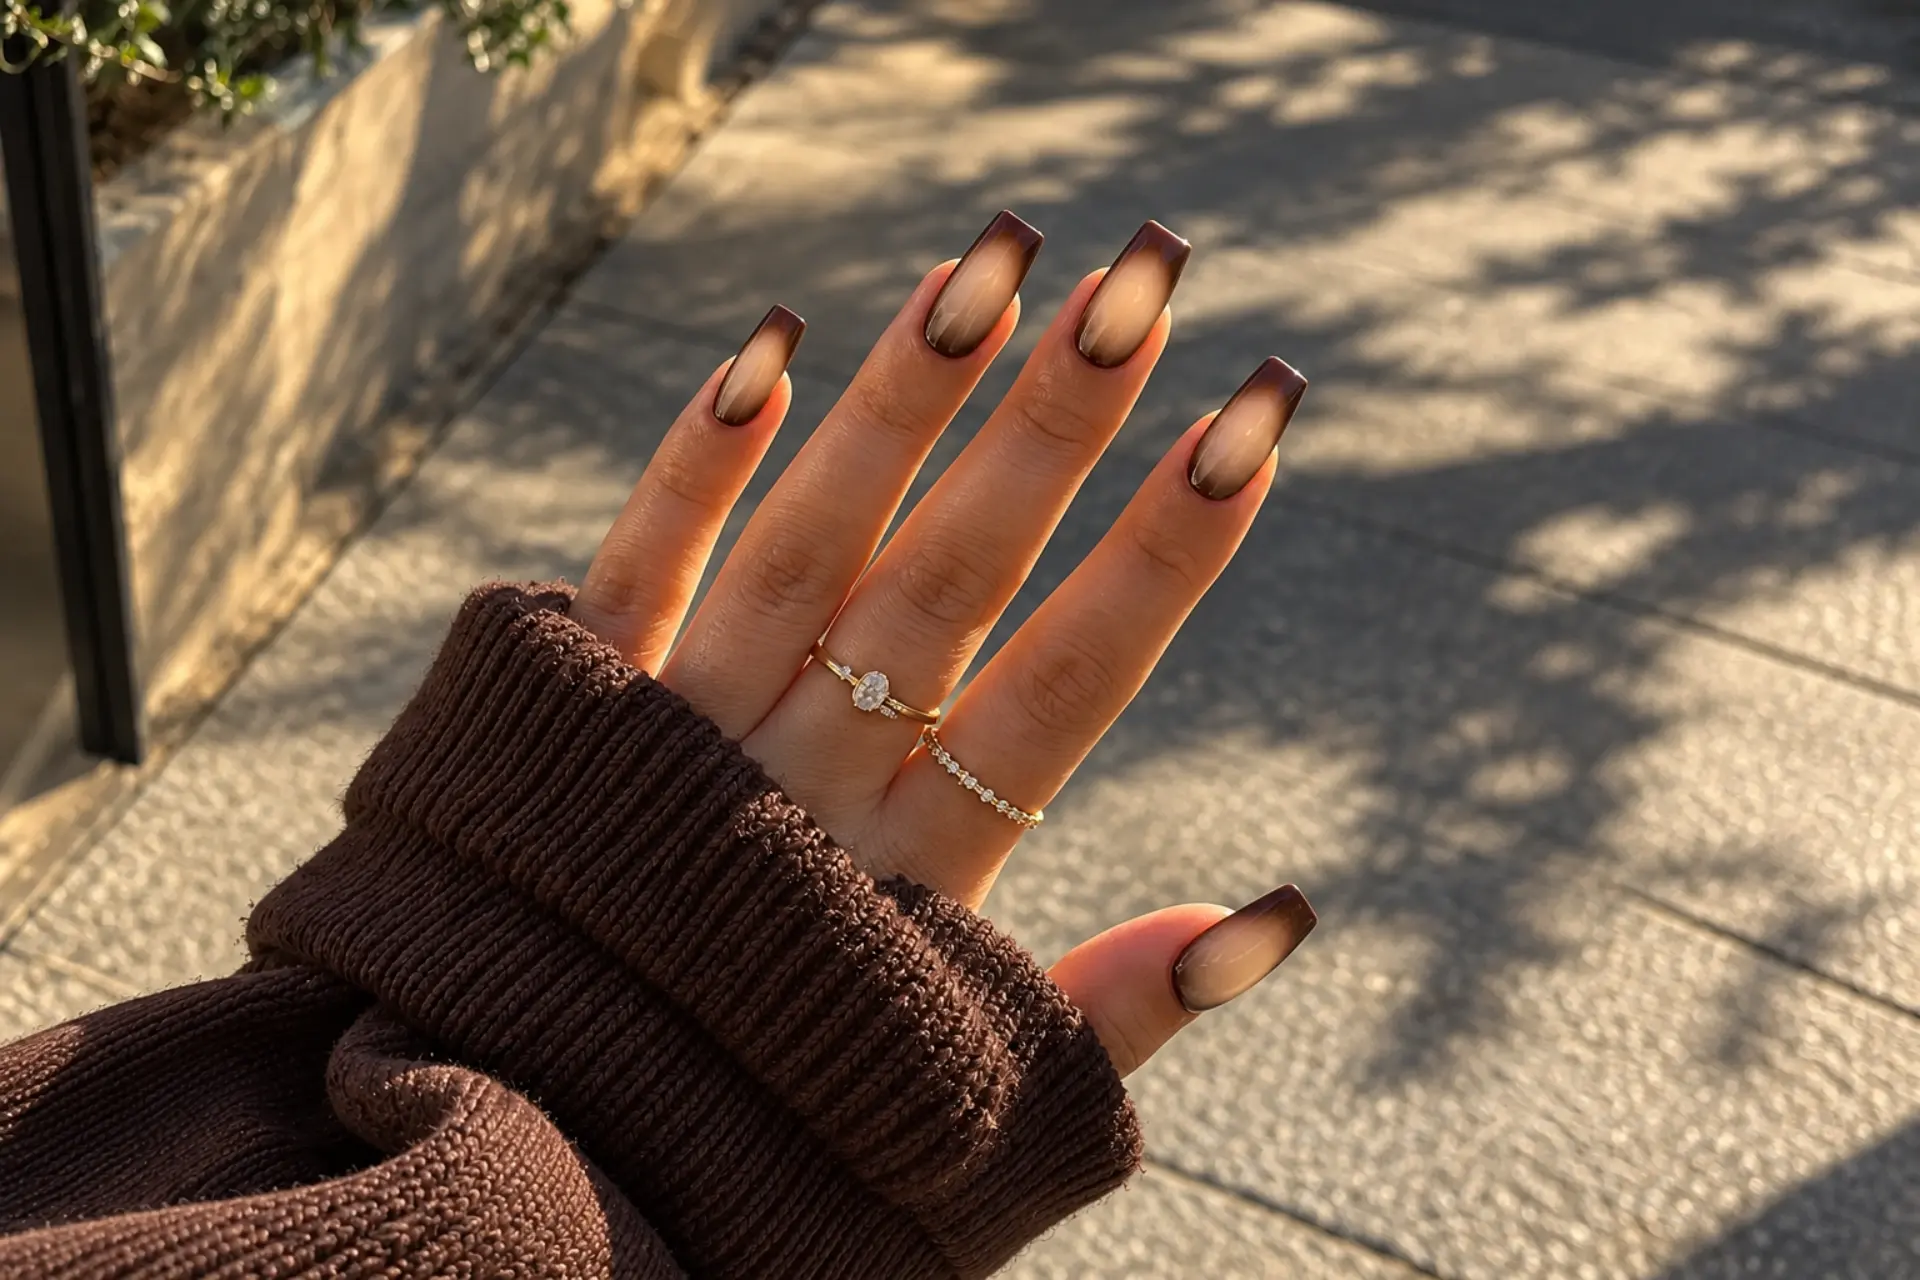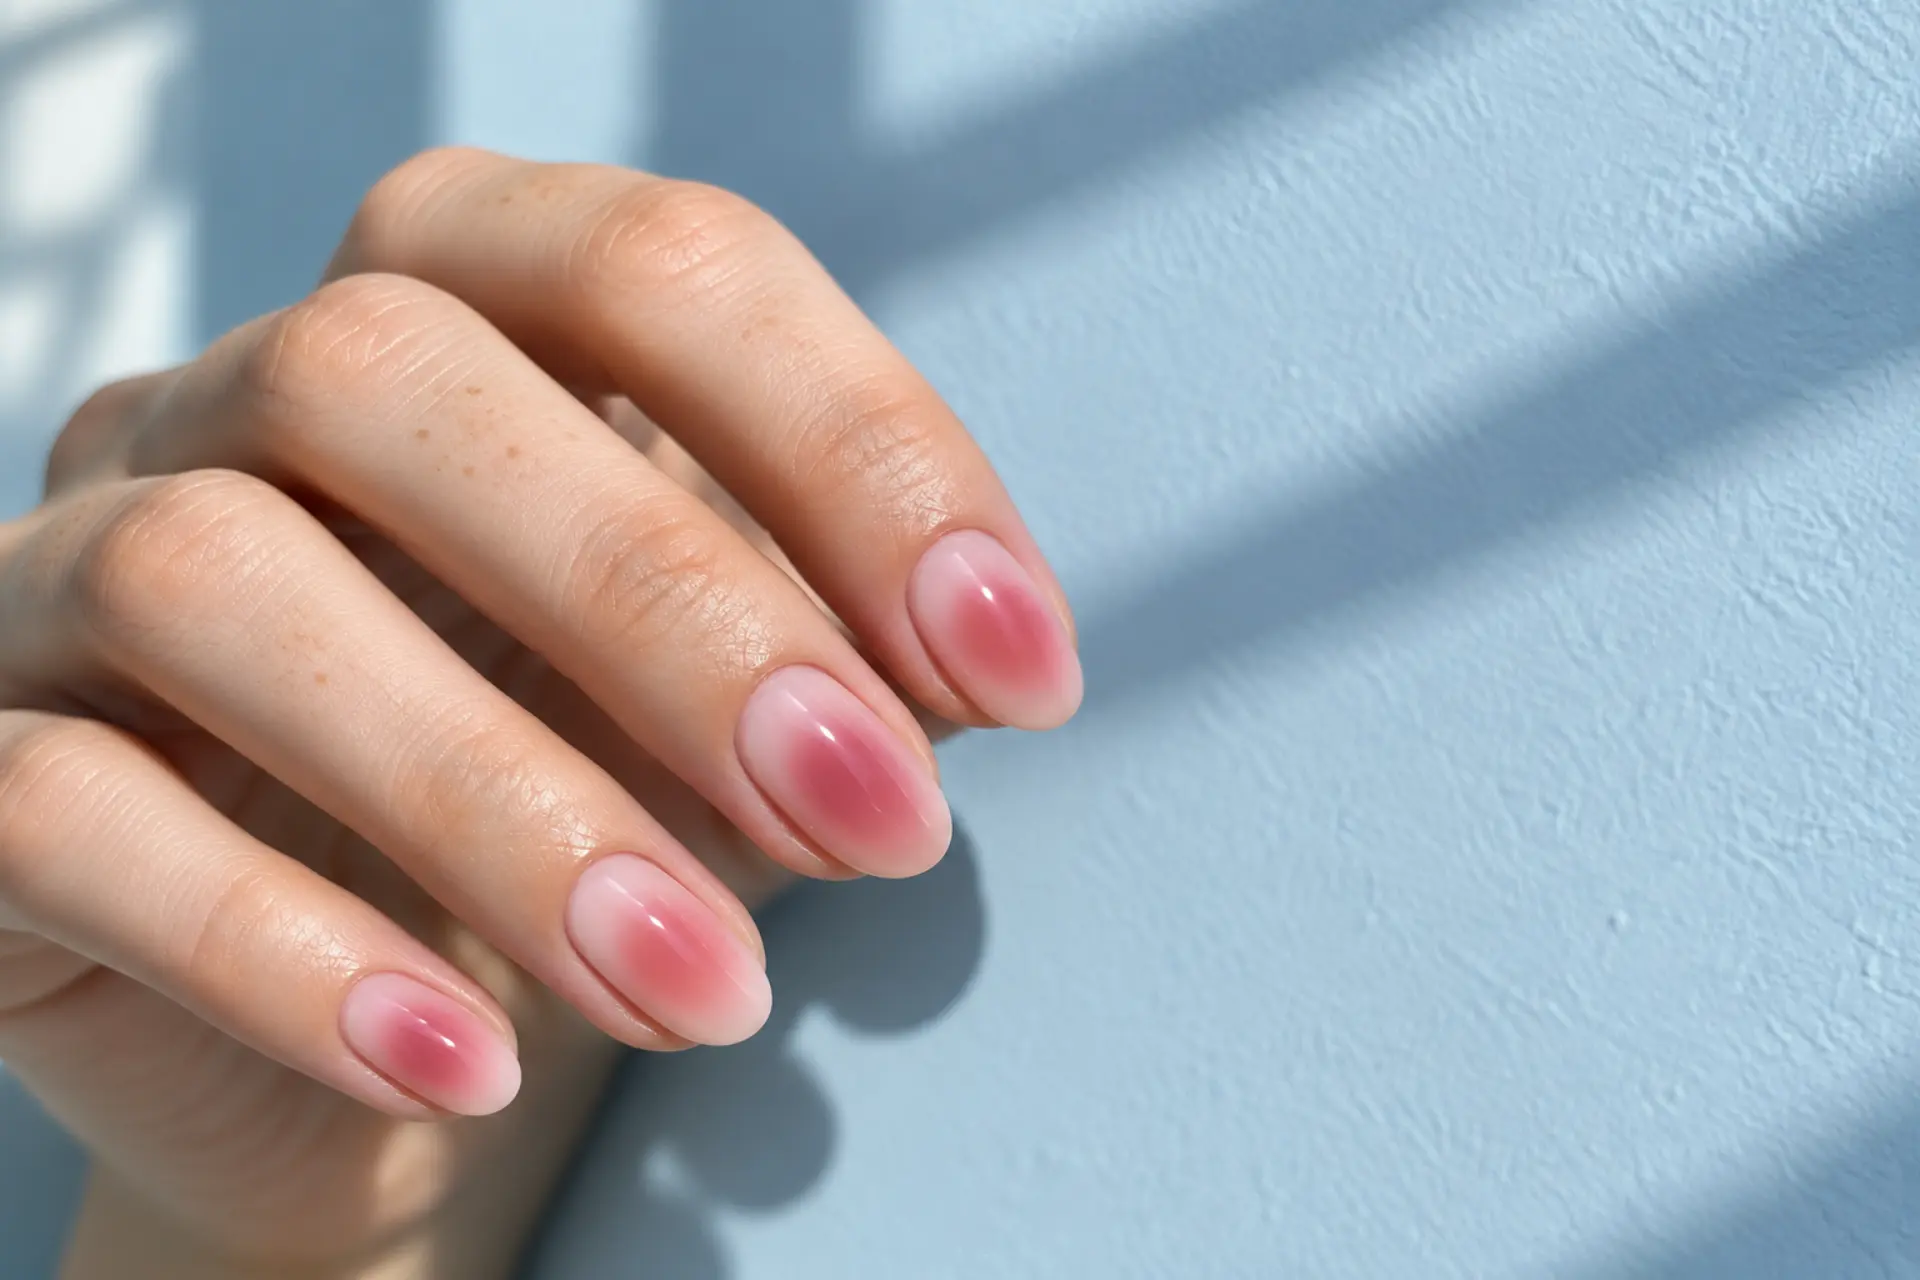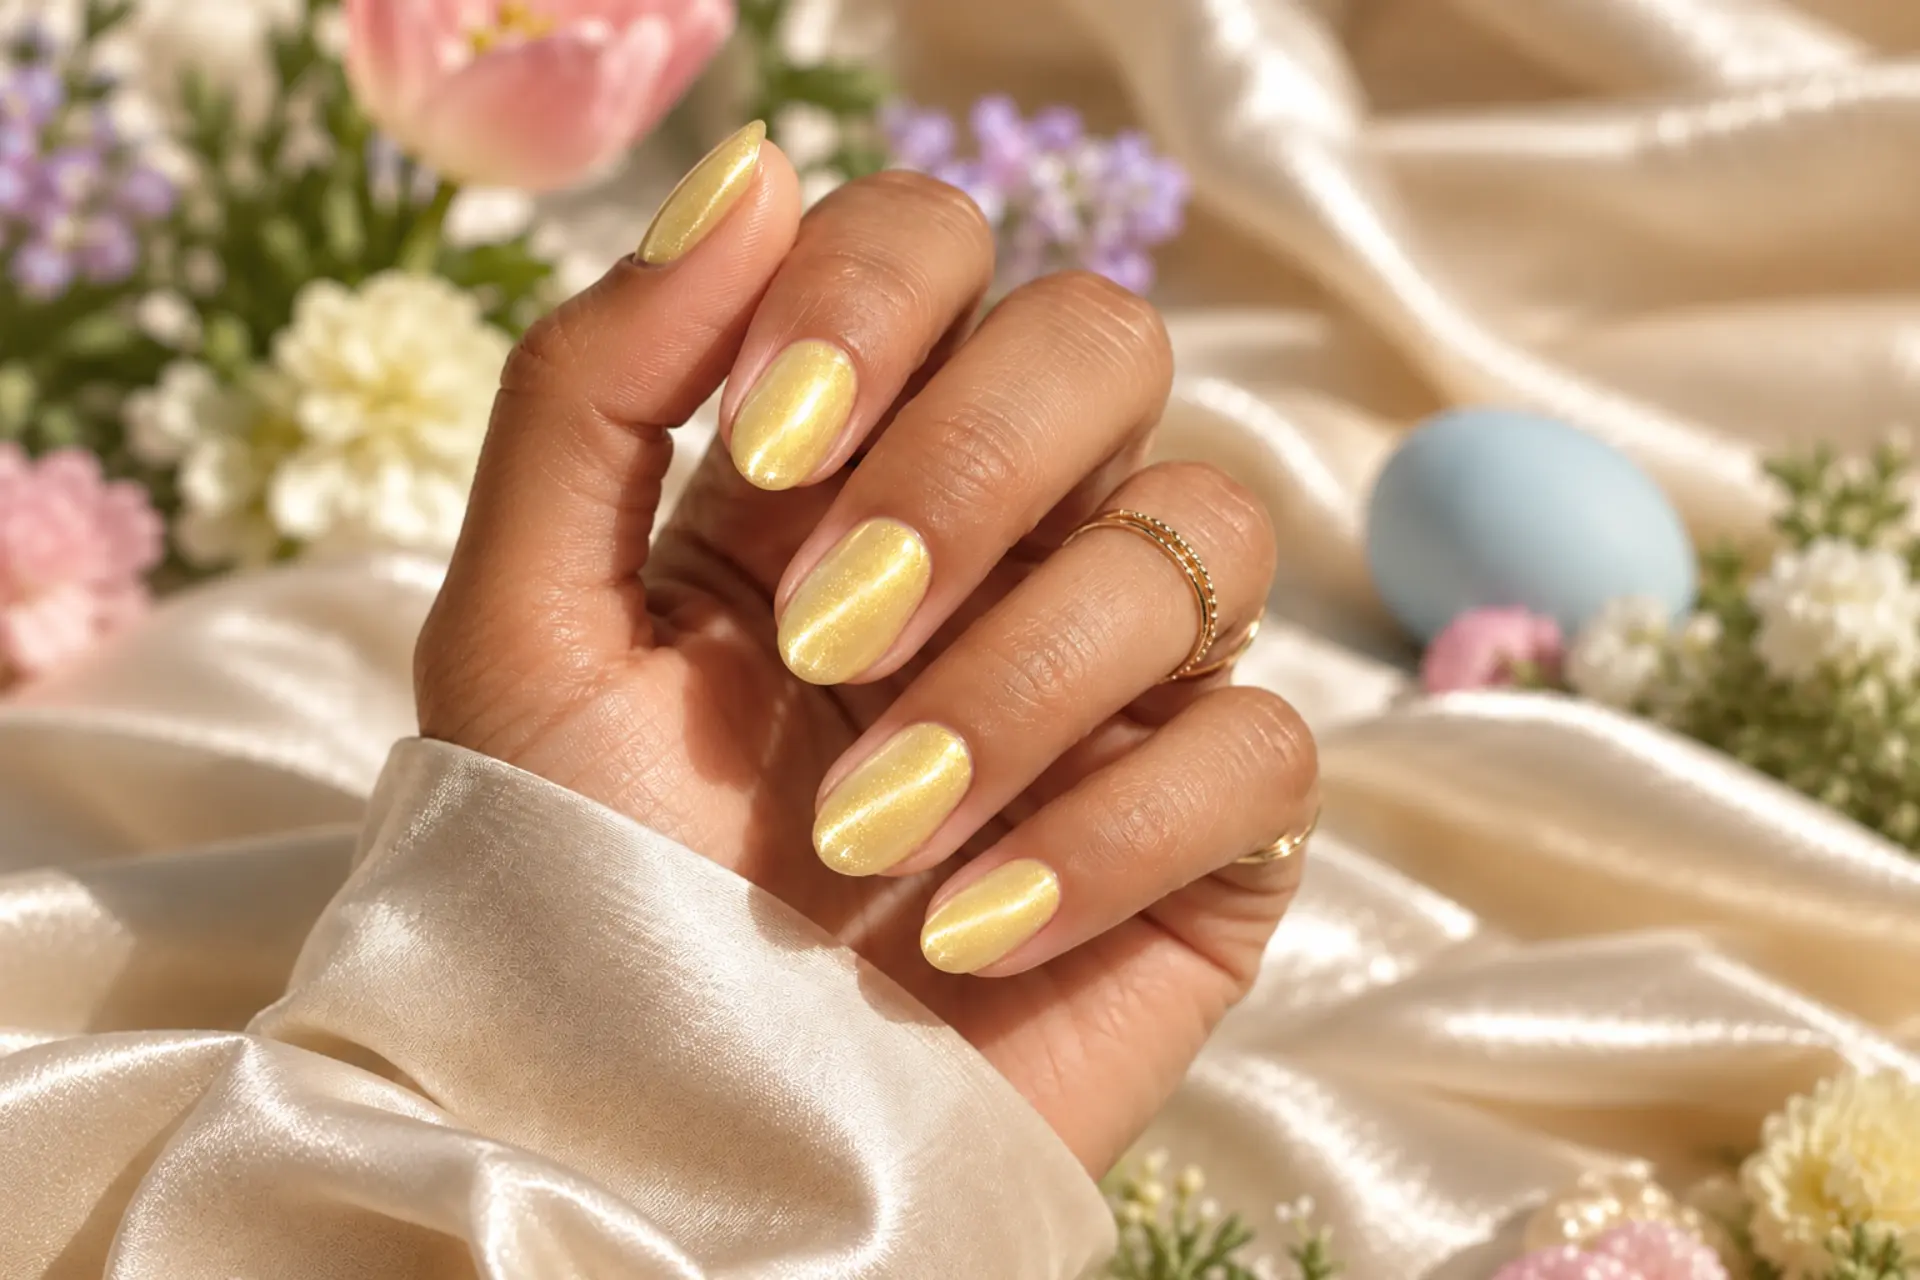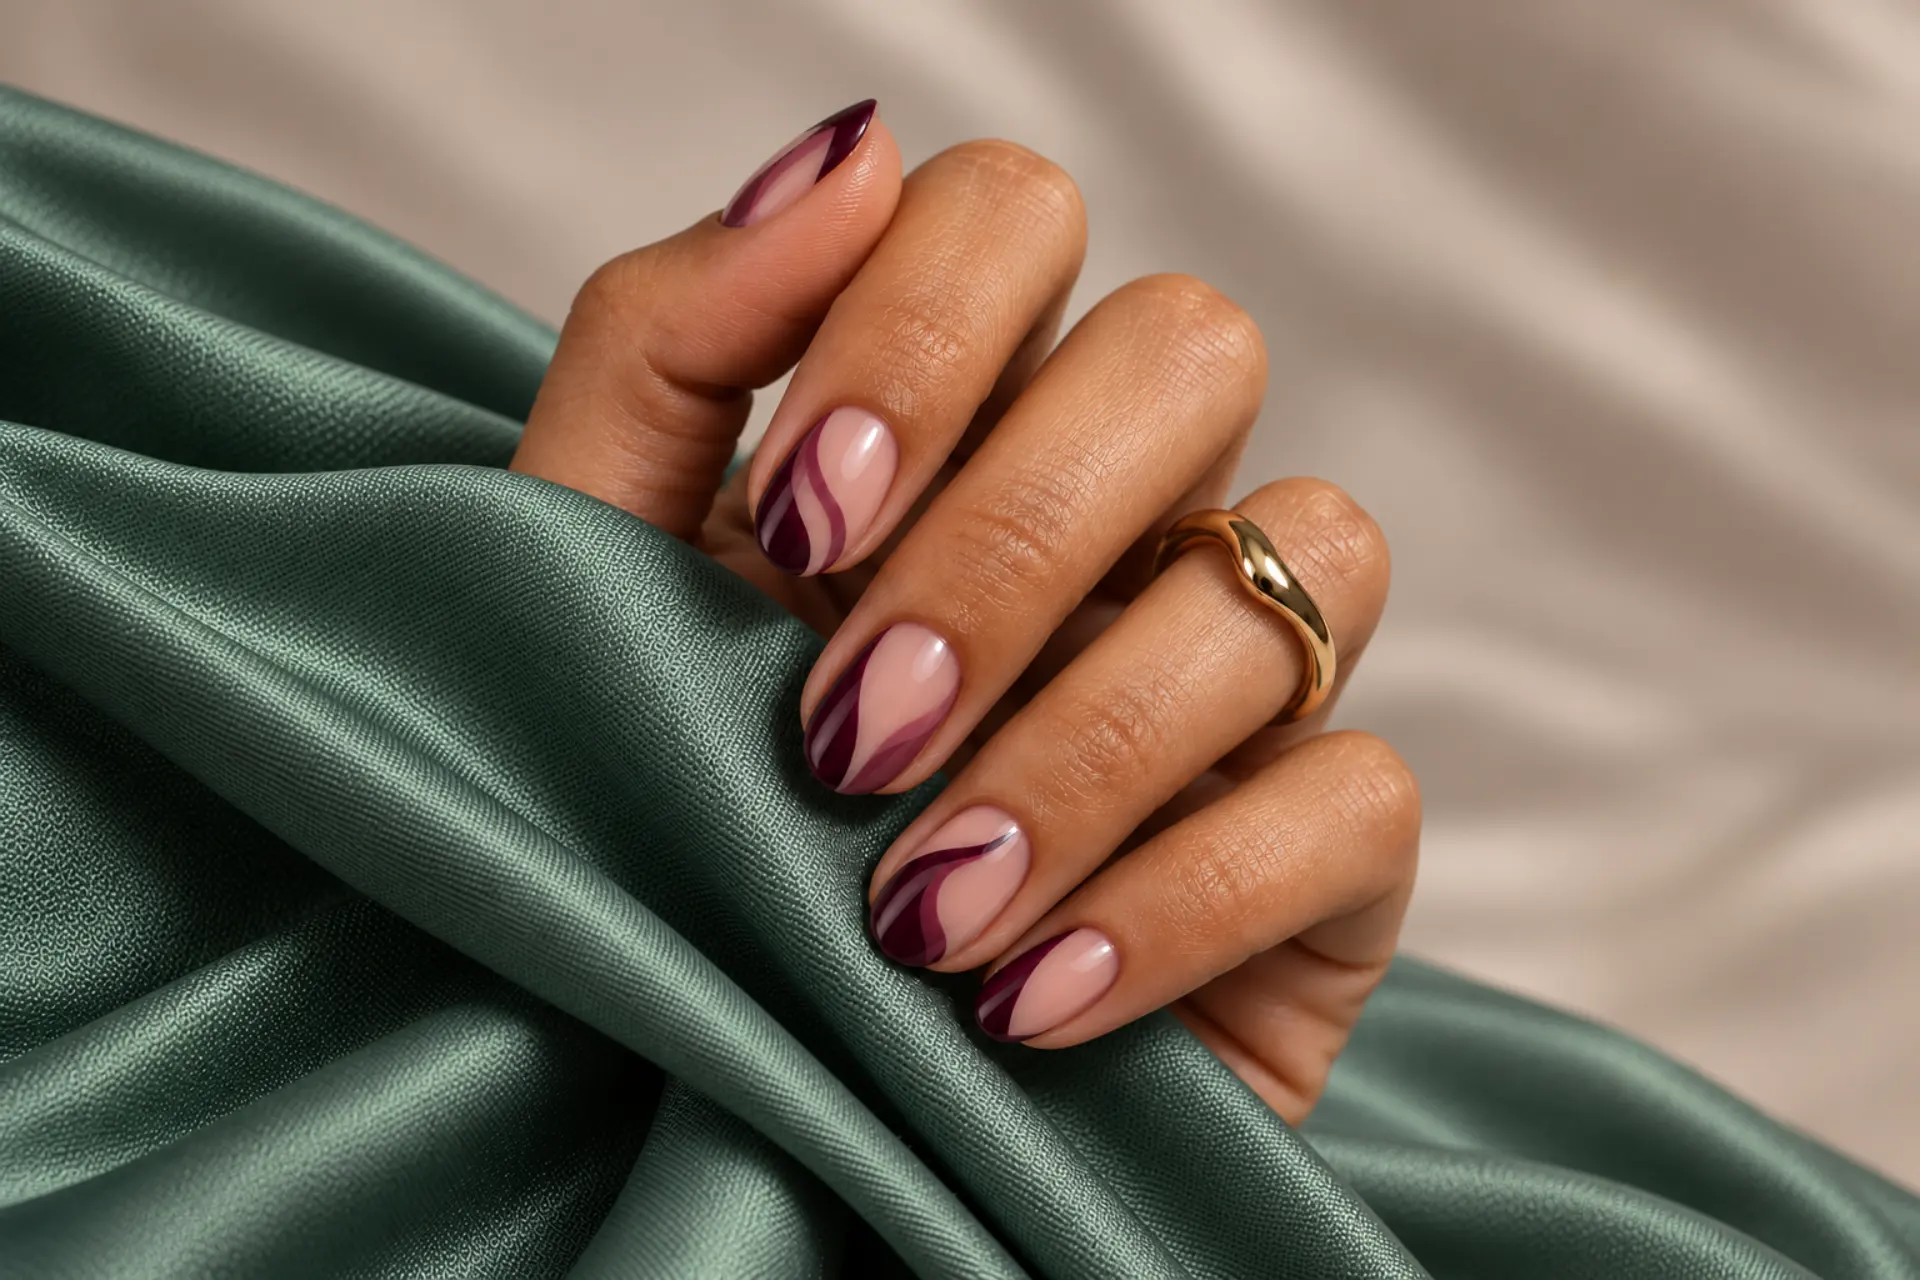
For moody Halloween nails that still feel wearable, start with black cherry, charcoal, oxblood or deep plum. Choose one Halloween cue—a fine spiderweb line, tiny ghost, dark aura or narrow black French tip—and keep the rest of the manicure cohesive. Short nails can use the same ideas at a smaller scale.
Halloween color can be sophisticated when black cherry, smoke, copper, or plum do most of the work. Black Seasonal Solid highlights even full-coverage color; Halloween Chrome Outline instead offers a reflective metallic layer. These choices produce different effects even within one color story.
A tiny celestial mark or dark aura conveys the mood more subtly than a detailed character design on every nail. Use one seasonal cue rather than stacking motifs, glitter and multiple competing colors.
Look closely at Halloween Soft Marble Vein before choosing a final reference: its irregular stone-like veining may need to be scaled for your preferred length. An understated seasonal set can still be worn long after its moment passes.
black cherry, smoked black, amber, plum, and muted pumpkin
medium-short soft almond or squoval, realistic and wearable
Decide whether you prefer even full-coverage color or a reflective metallic layer before asking for extra art.
Black Seasonal Solid
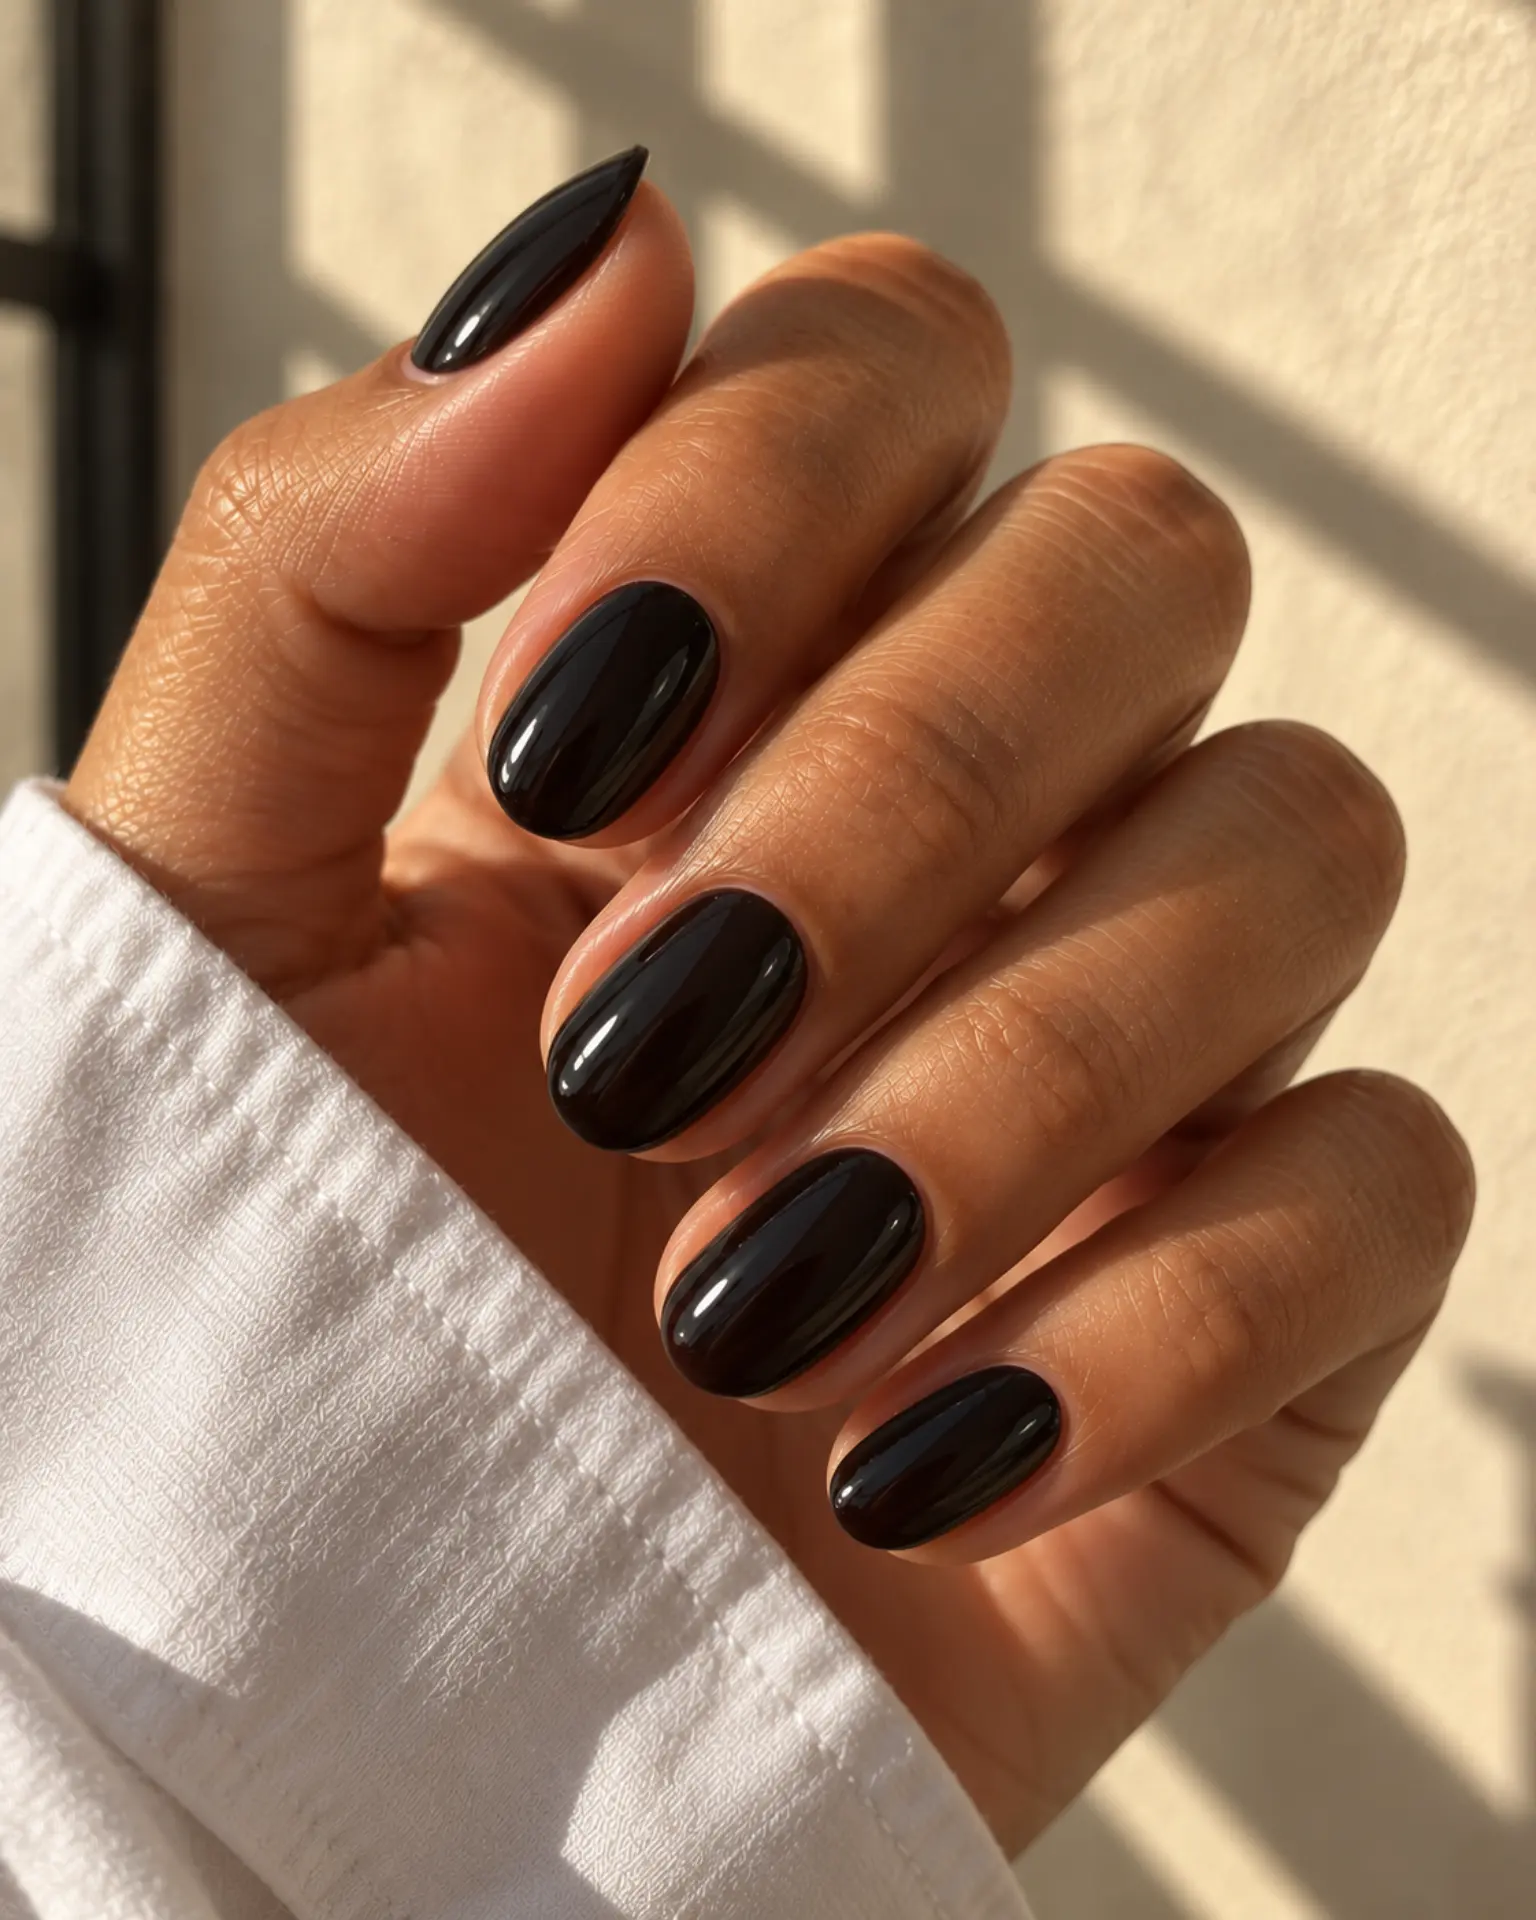
Smooth, consistent color and a clean cuticle edge become the entire design. Before adding extra details to Black Seasonal Solid, check the undertone. Black is graphic even without added art; the free-edge shape becomes more obvious. The undertone and opacity will do more for this look than adding nail art.
Burnt Orange Fine French
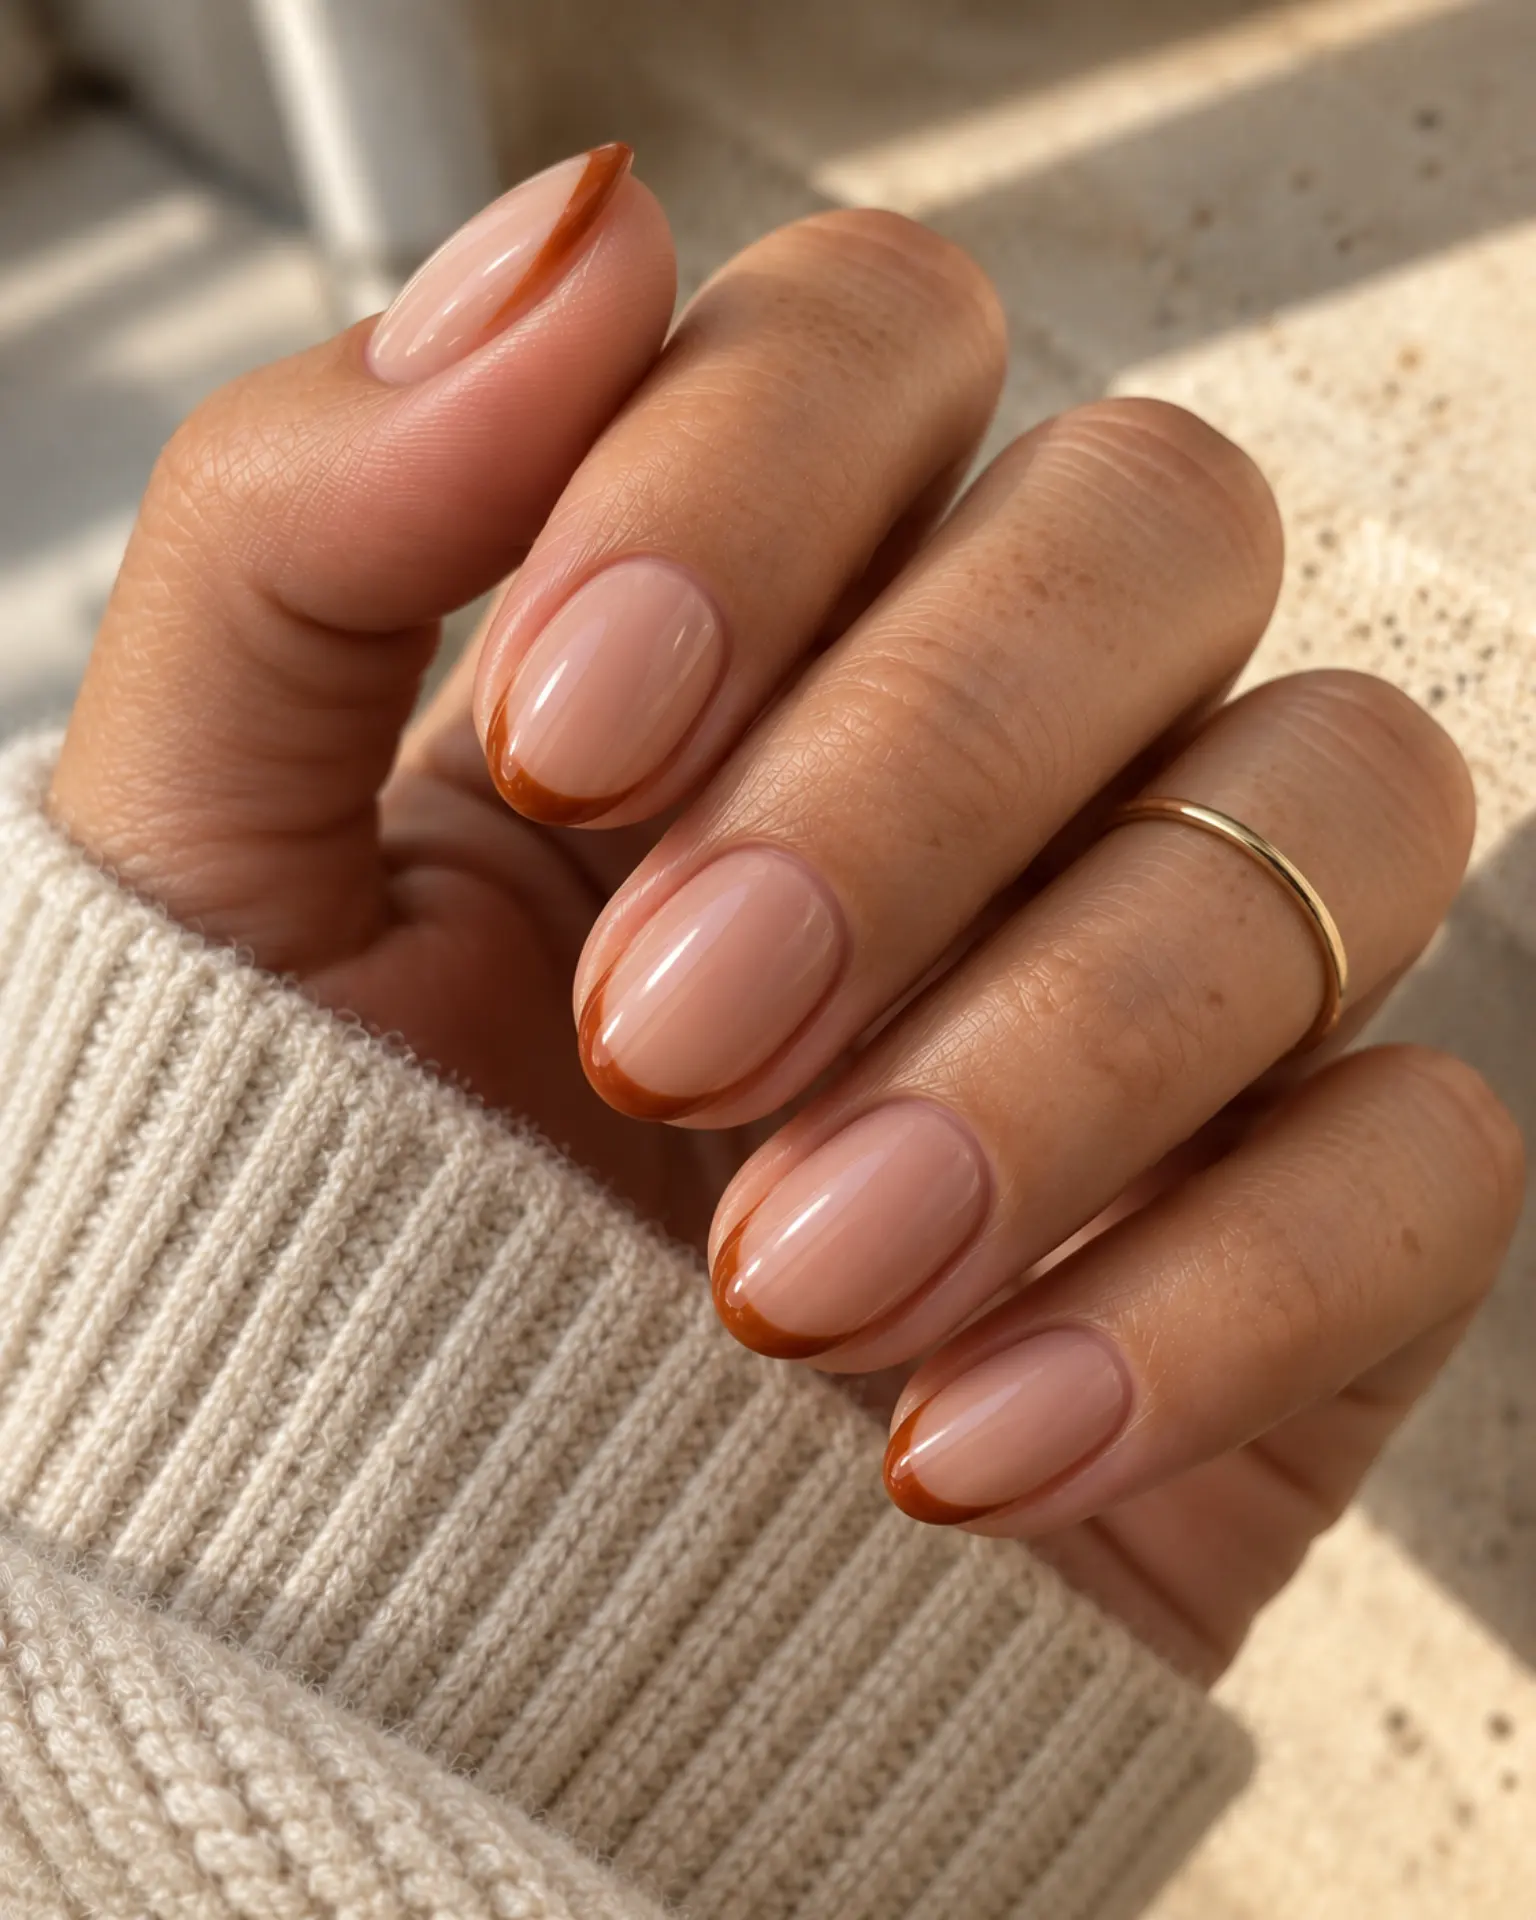
A classic French works because the line draws the eye to the free edge; a small change in curve shifts the whole mood. For Burnt Orange Fine French, the main choice is how much space to give a defined tip and softly curved smile line. Choose the tip thickness based on your actual free edge.
Plum Shimmer Accent
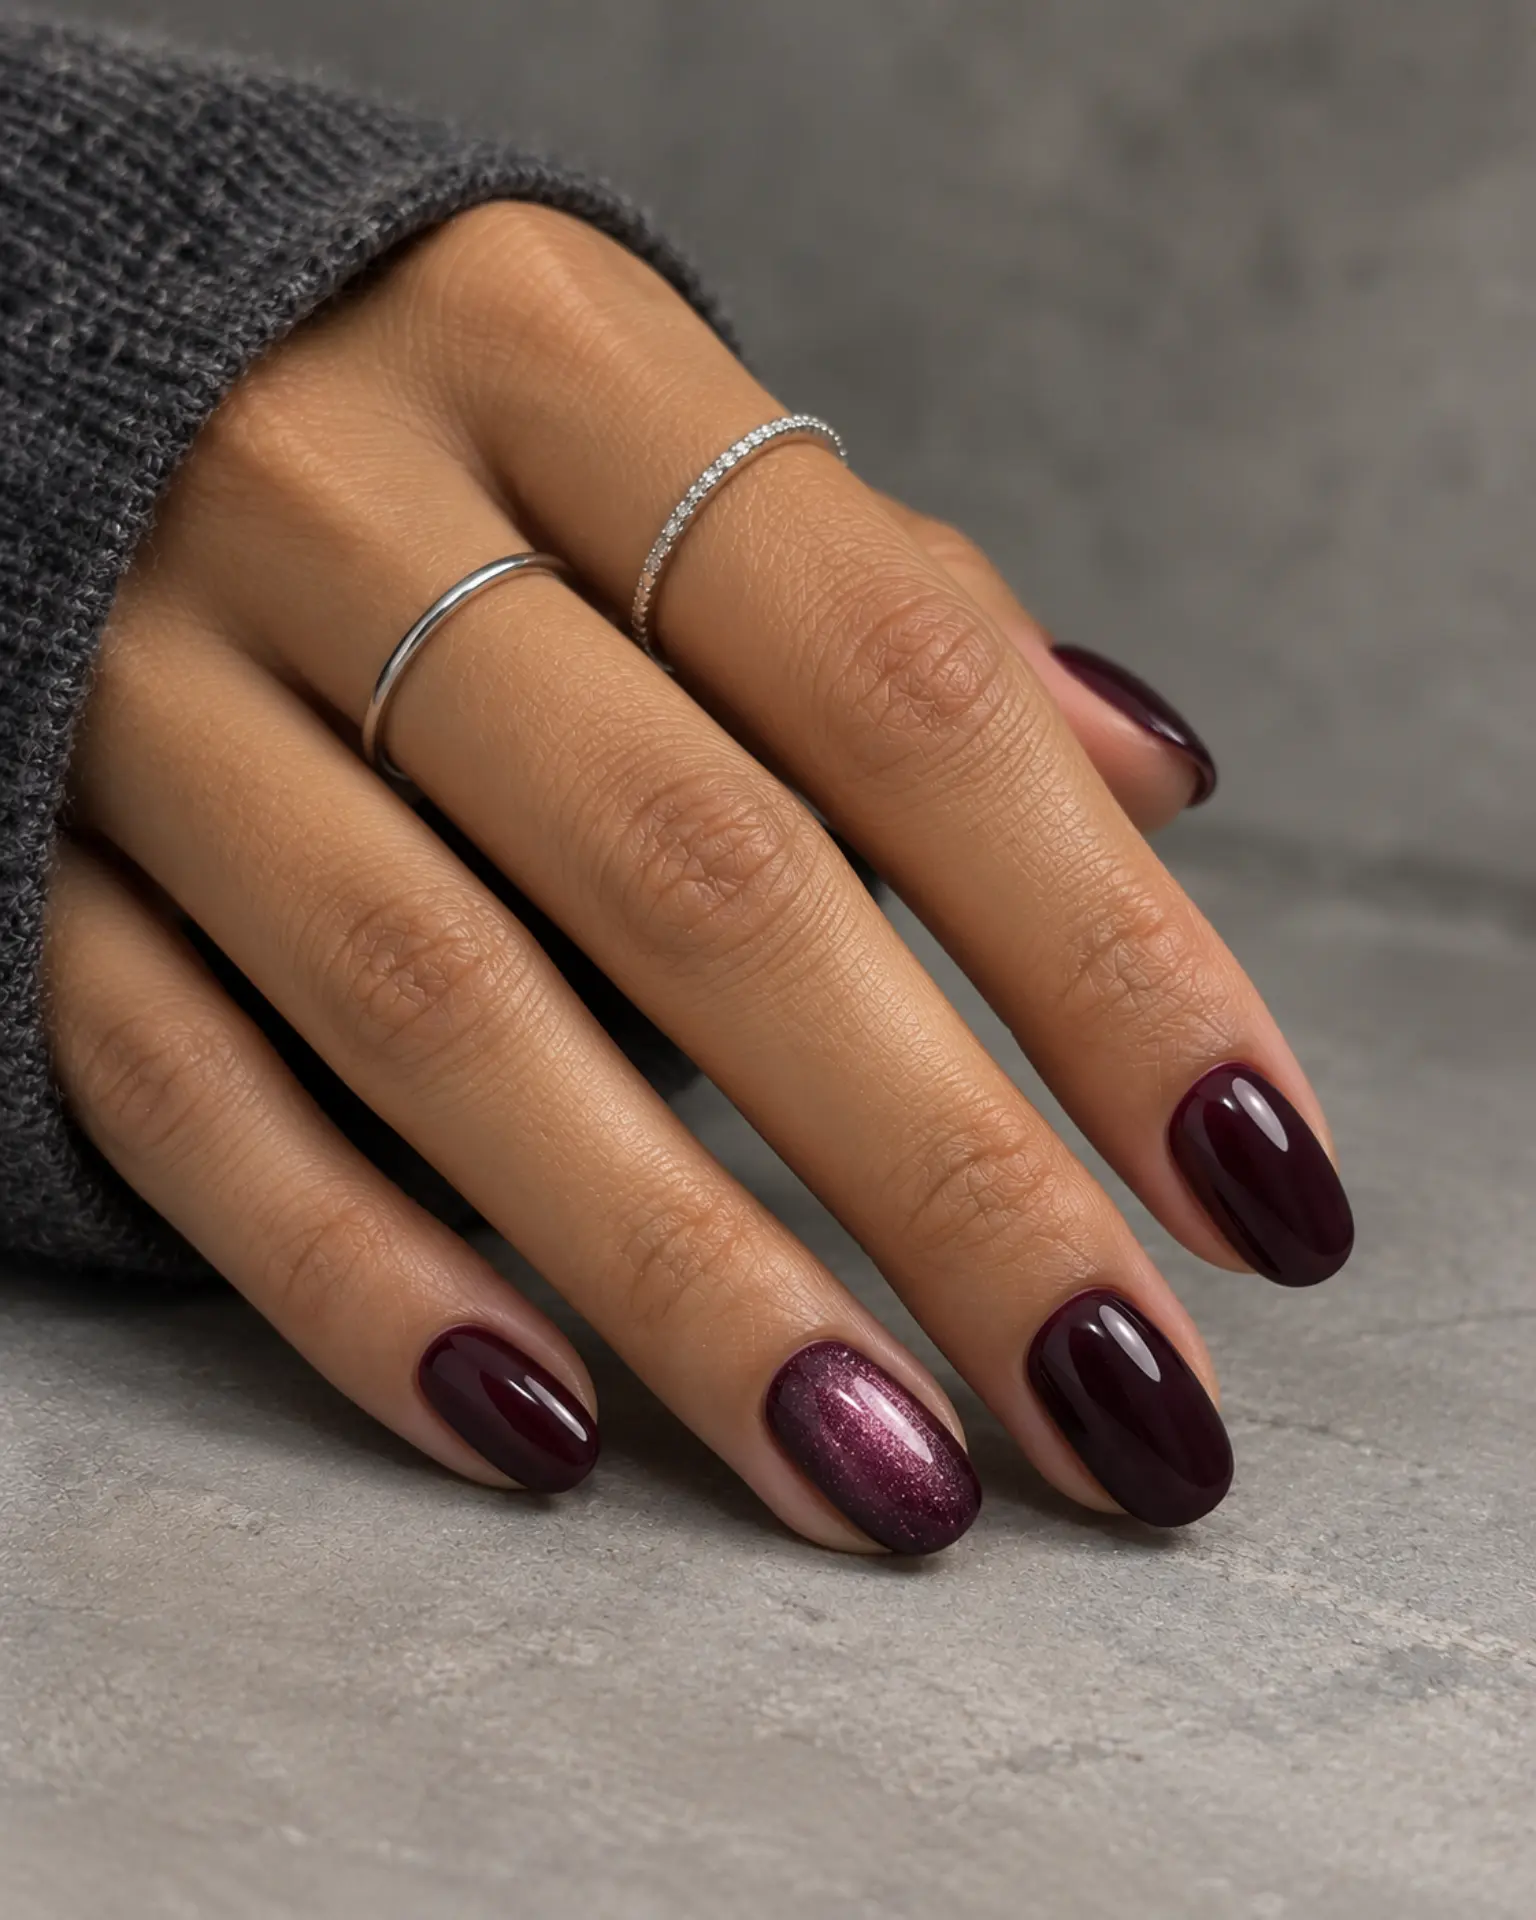
Fine shimmer reflects light in tiny points, giving the base a lively surface without a large motif. Plum Shimmer Accent feels more considered when you account for the shade: plum adds a purple cast to a dark red or wine base. One recognizable seasonal detail is enough; let the base shade carry the rest of the look.
Bone White Soft Chrome
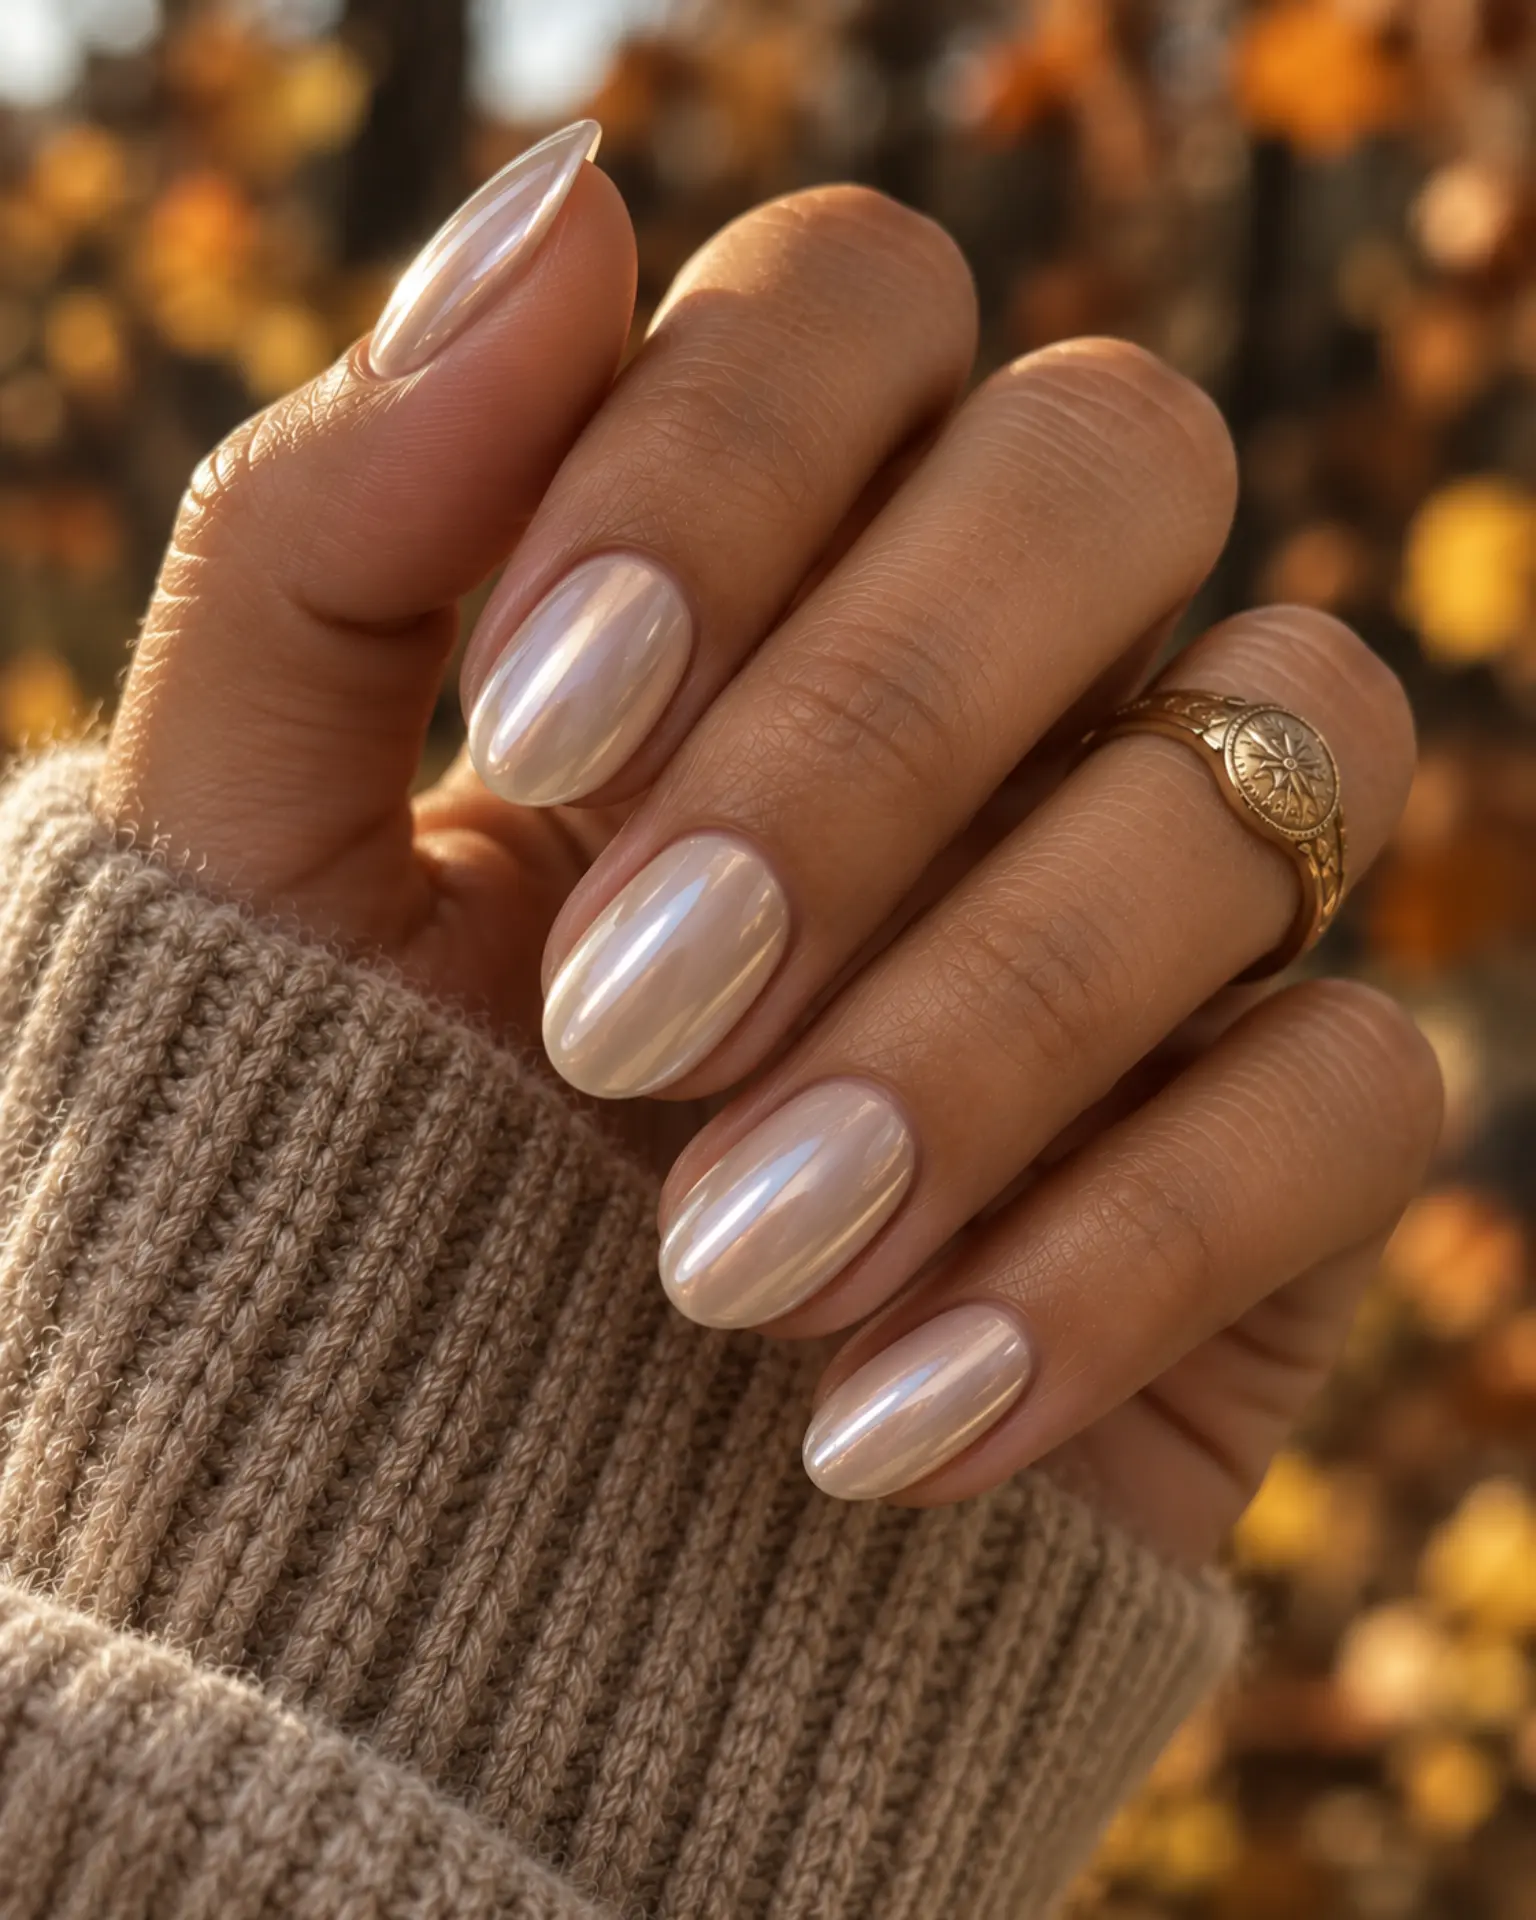
Chrome powder highlights imperfections, so the underlying surface needs to be even for a clean mirrorlike glow. Bone White Soft Chrome feels more considered when you account for the shade: white reflects light strongly and needs careful, streak-free coverage. Choose whether you prefer a soft pearl or more intense reflection.
Smoky Gray Tiny Motif
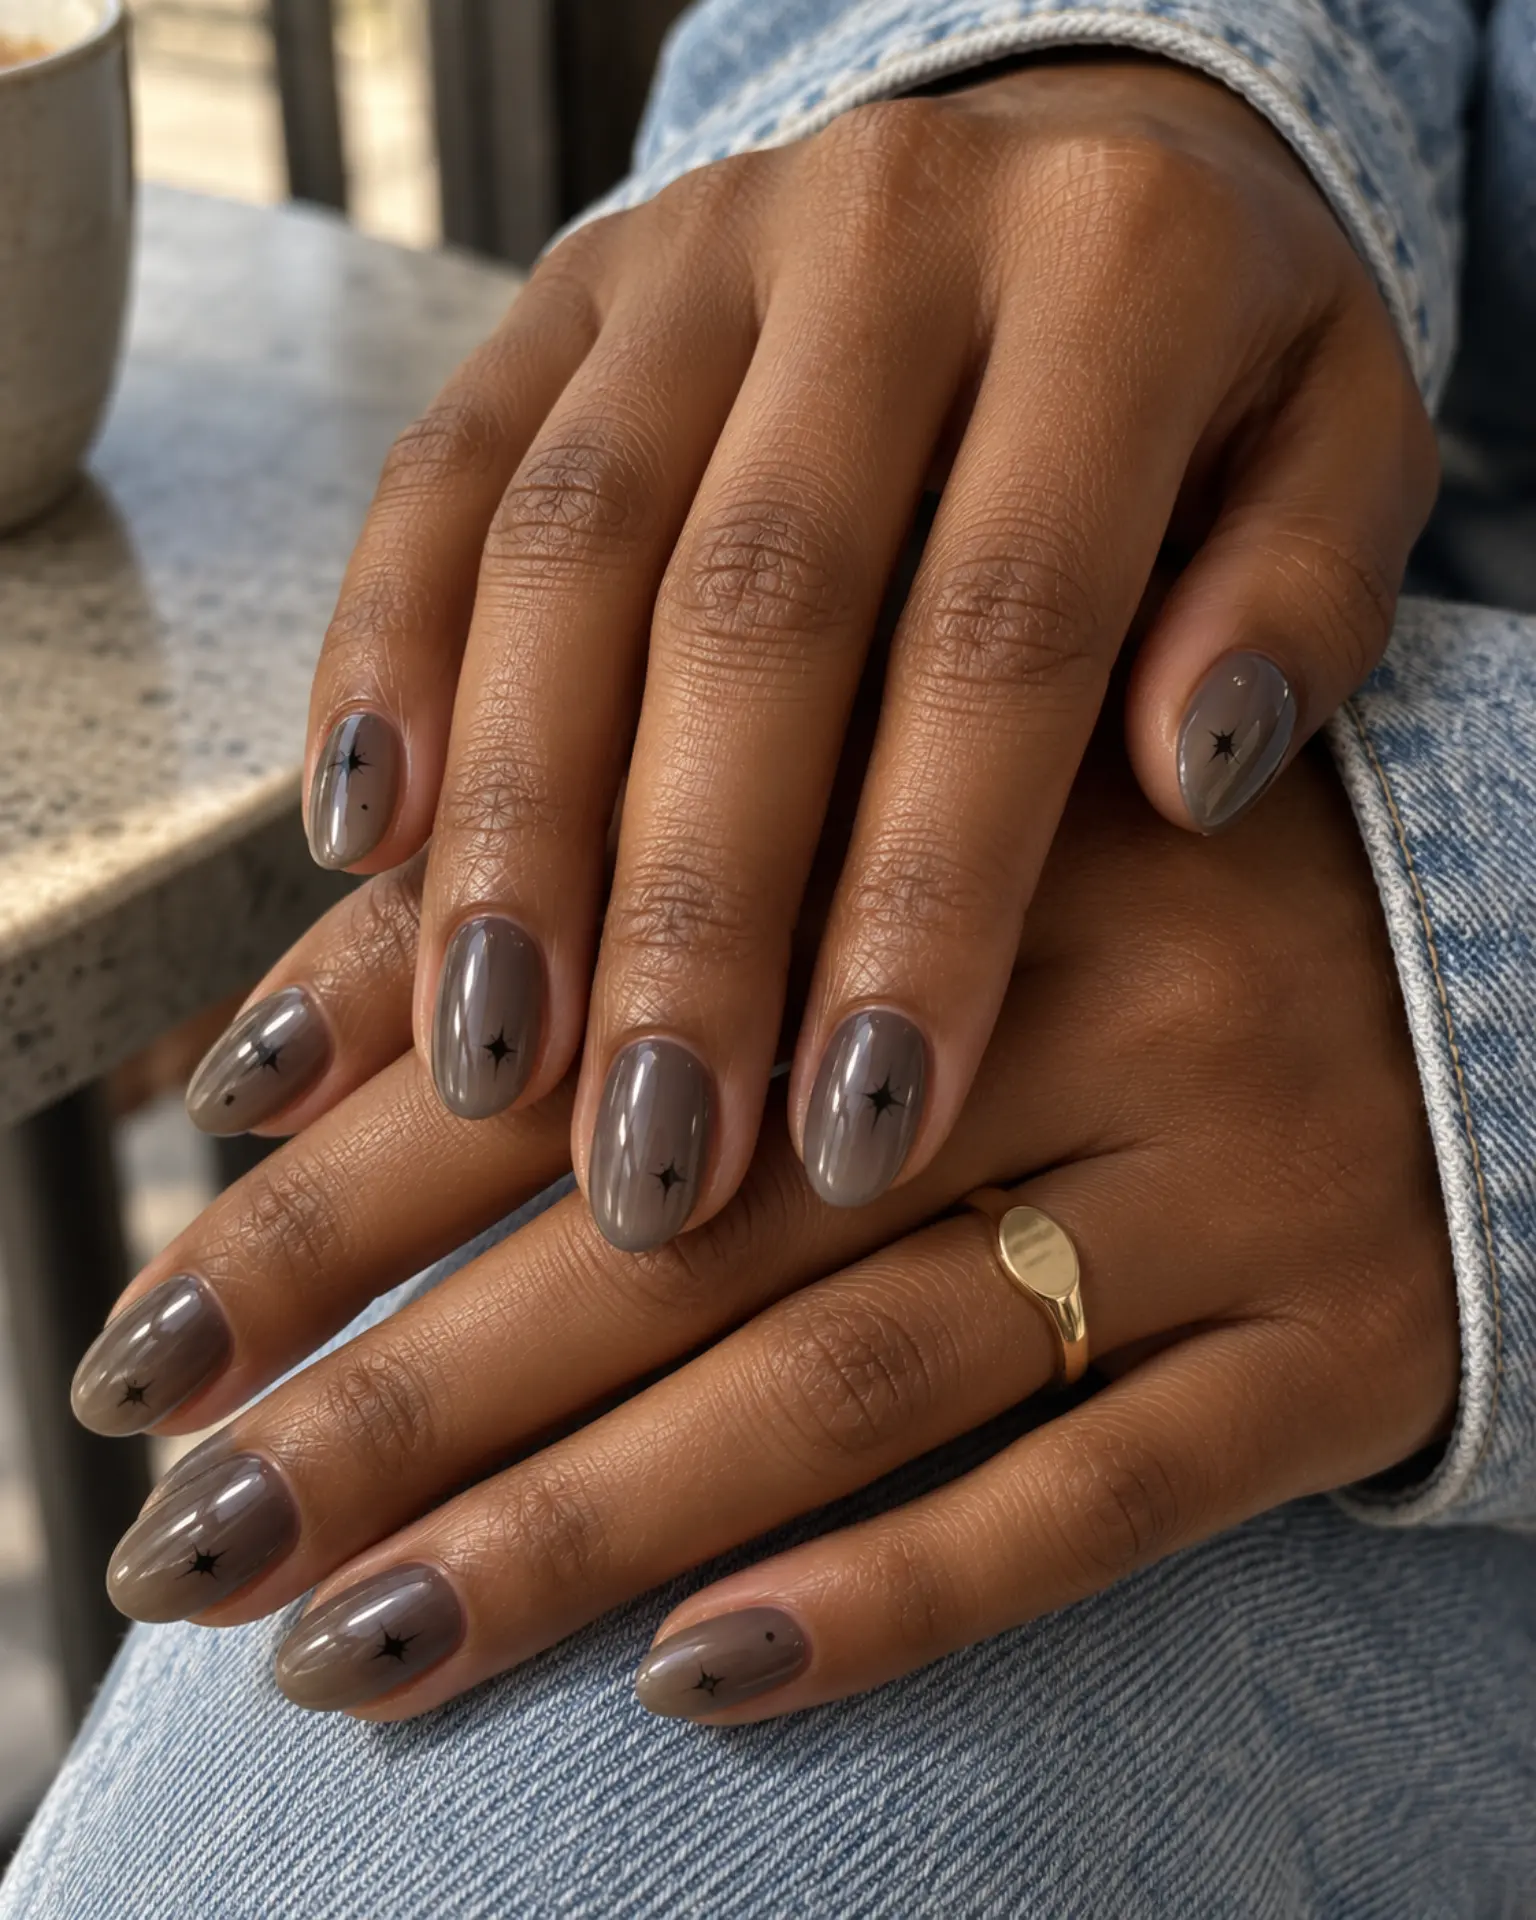
One tiny graphic detail reads more clearly than many miniatures crammed onto a short nail. Smoky Gray Tiny Motif is strongest when a small decorative mark stays clear against the base. Keep neighboring nails quieter if this is your seasonal accent design.
Black to Smoky Gray Tonal Mix
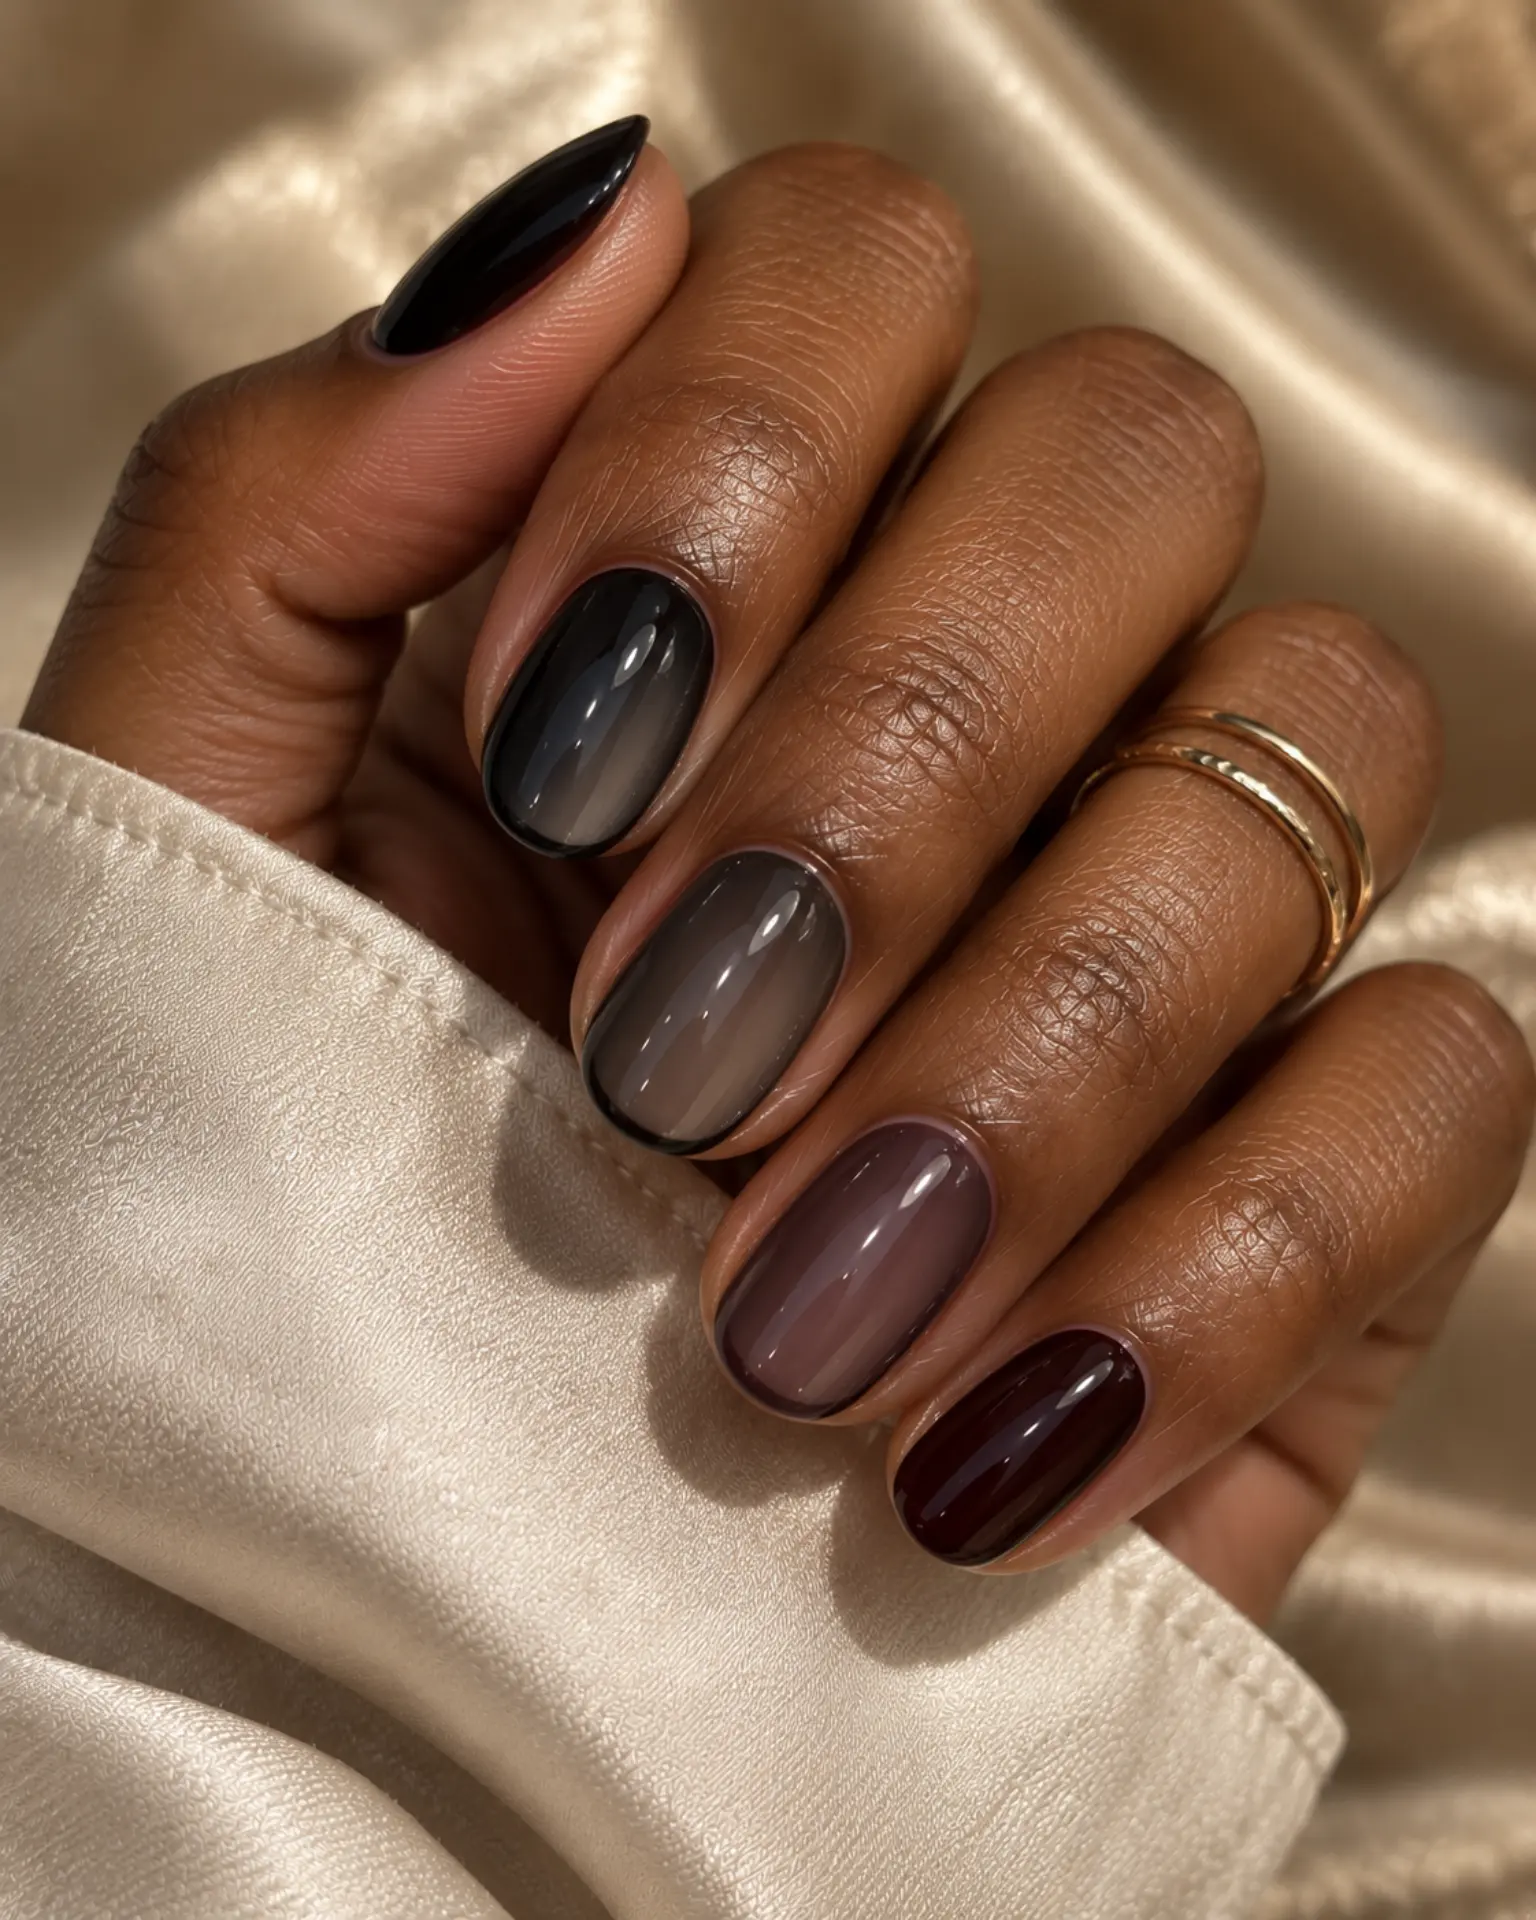
Before adding extra details to Black to Smoky Gray Tonal Mix, check the undertone. Black is graphic even without added art; the free-edge shape becomes more obvious. Neighboring shades across the fingers create the variation while the finish keeps the set cohesive. Compare all swatches next to each other before applying.
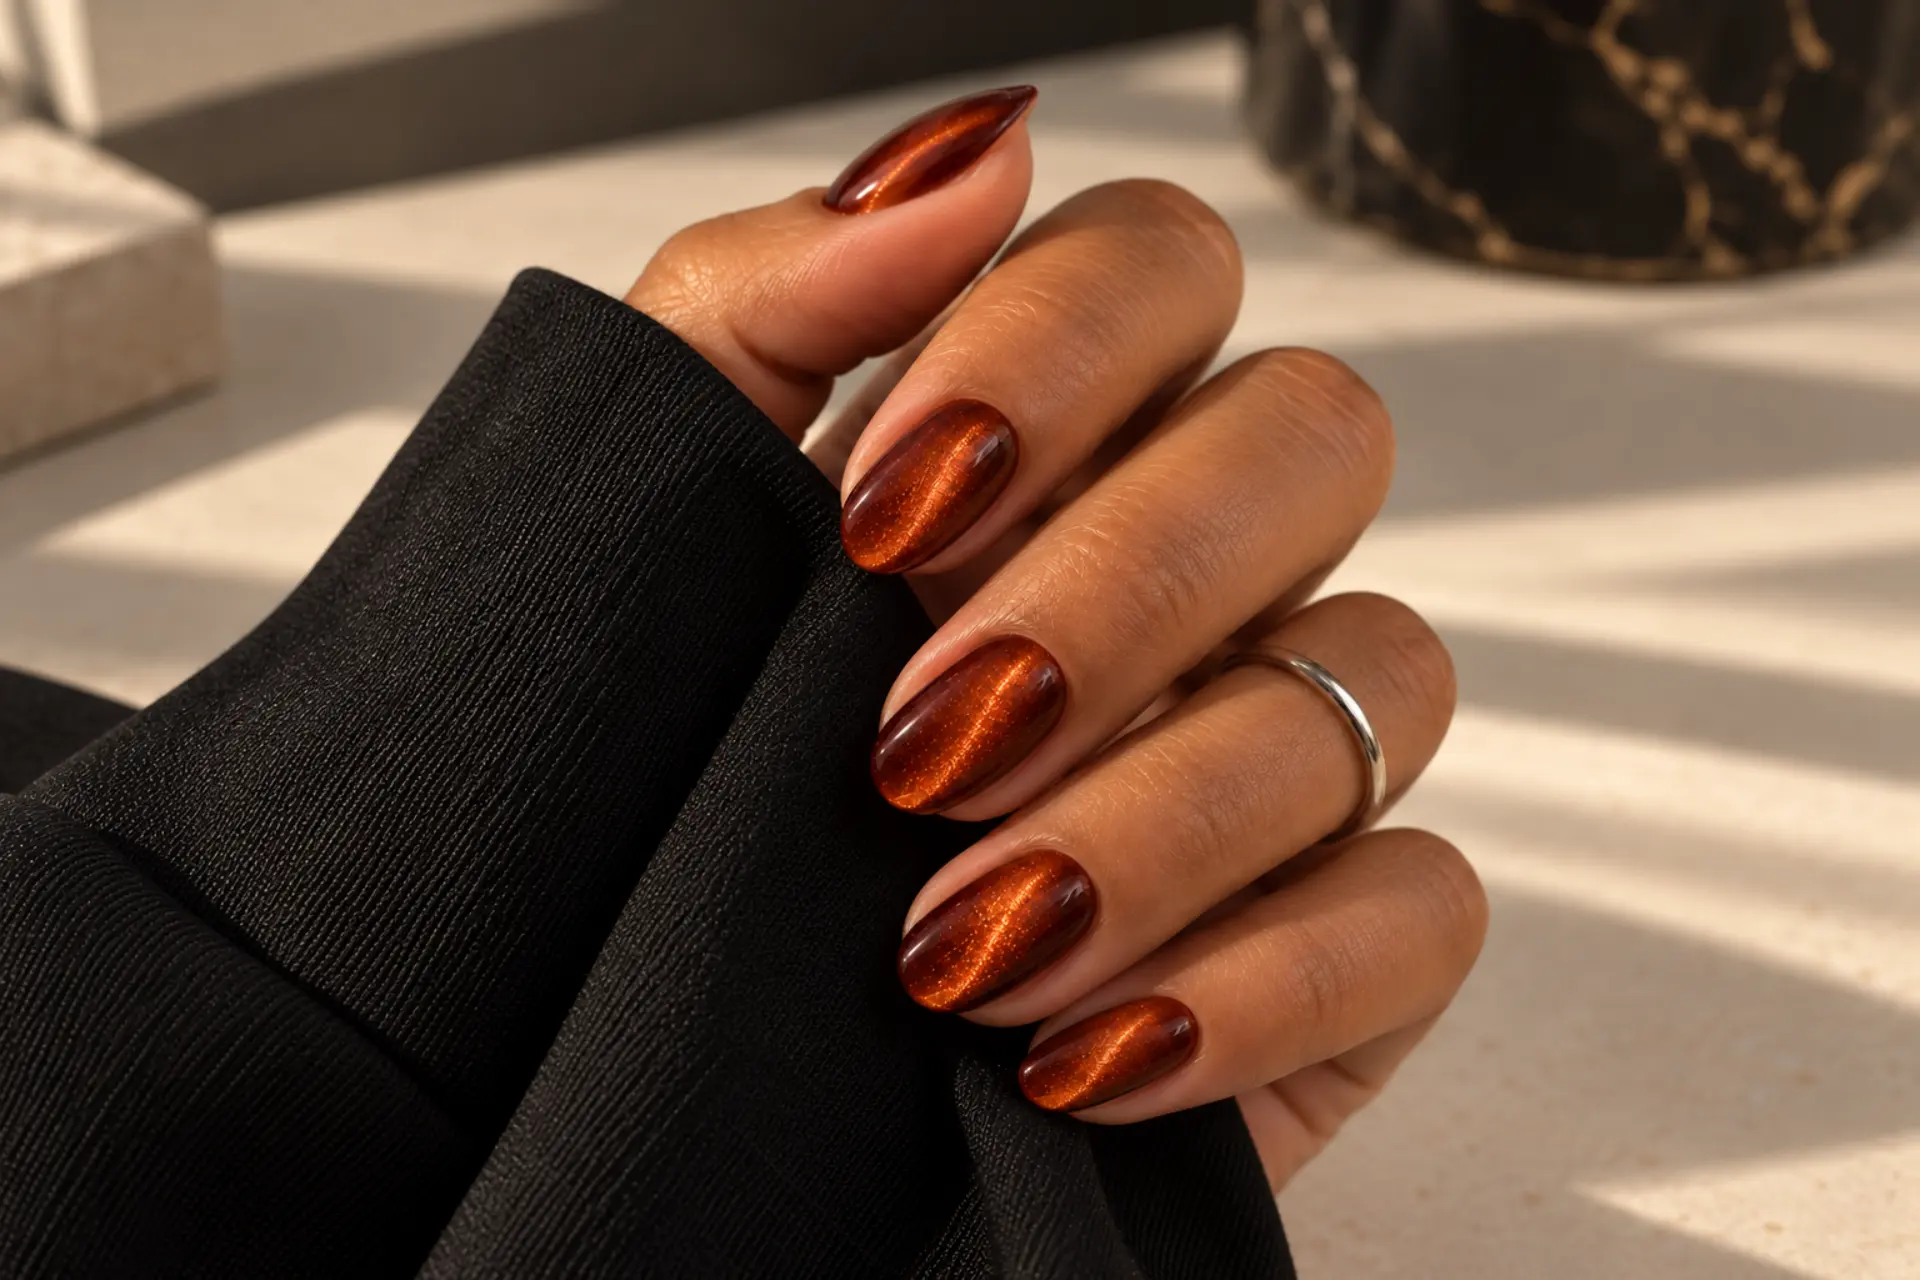
Burnt Orange Velvet Cat-Eye
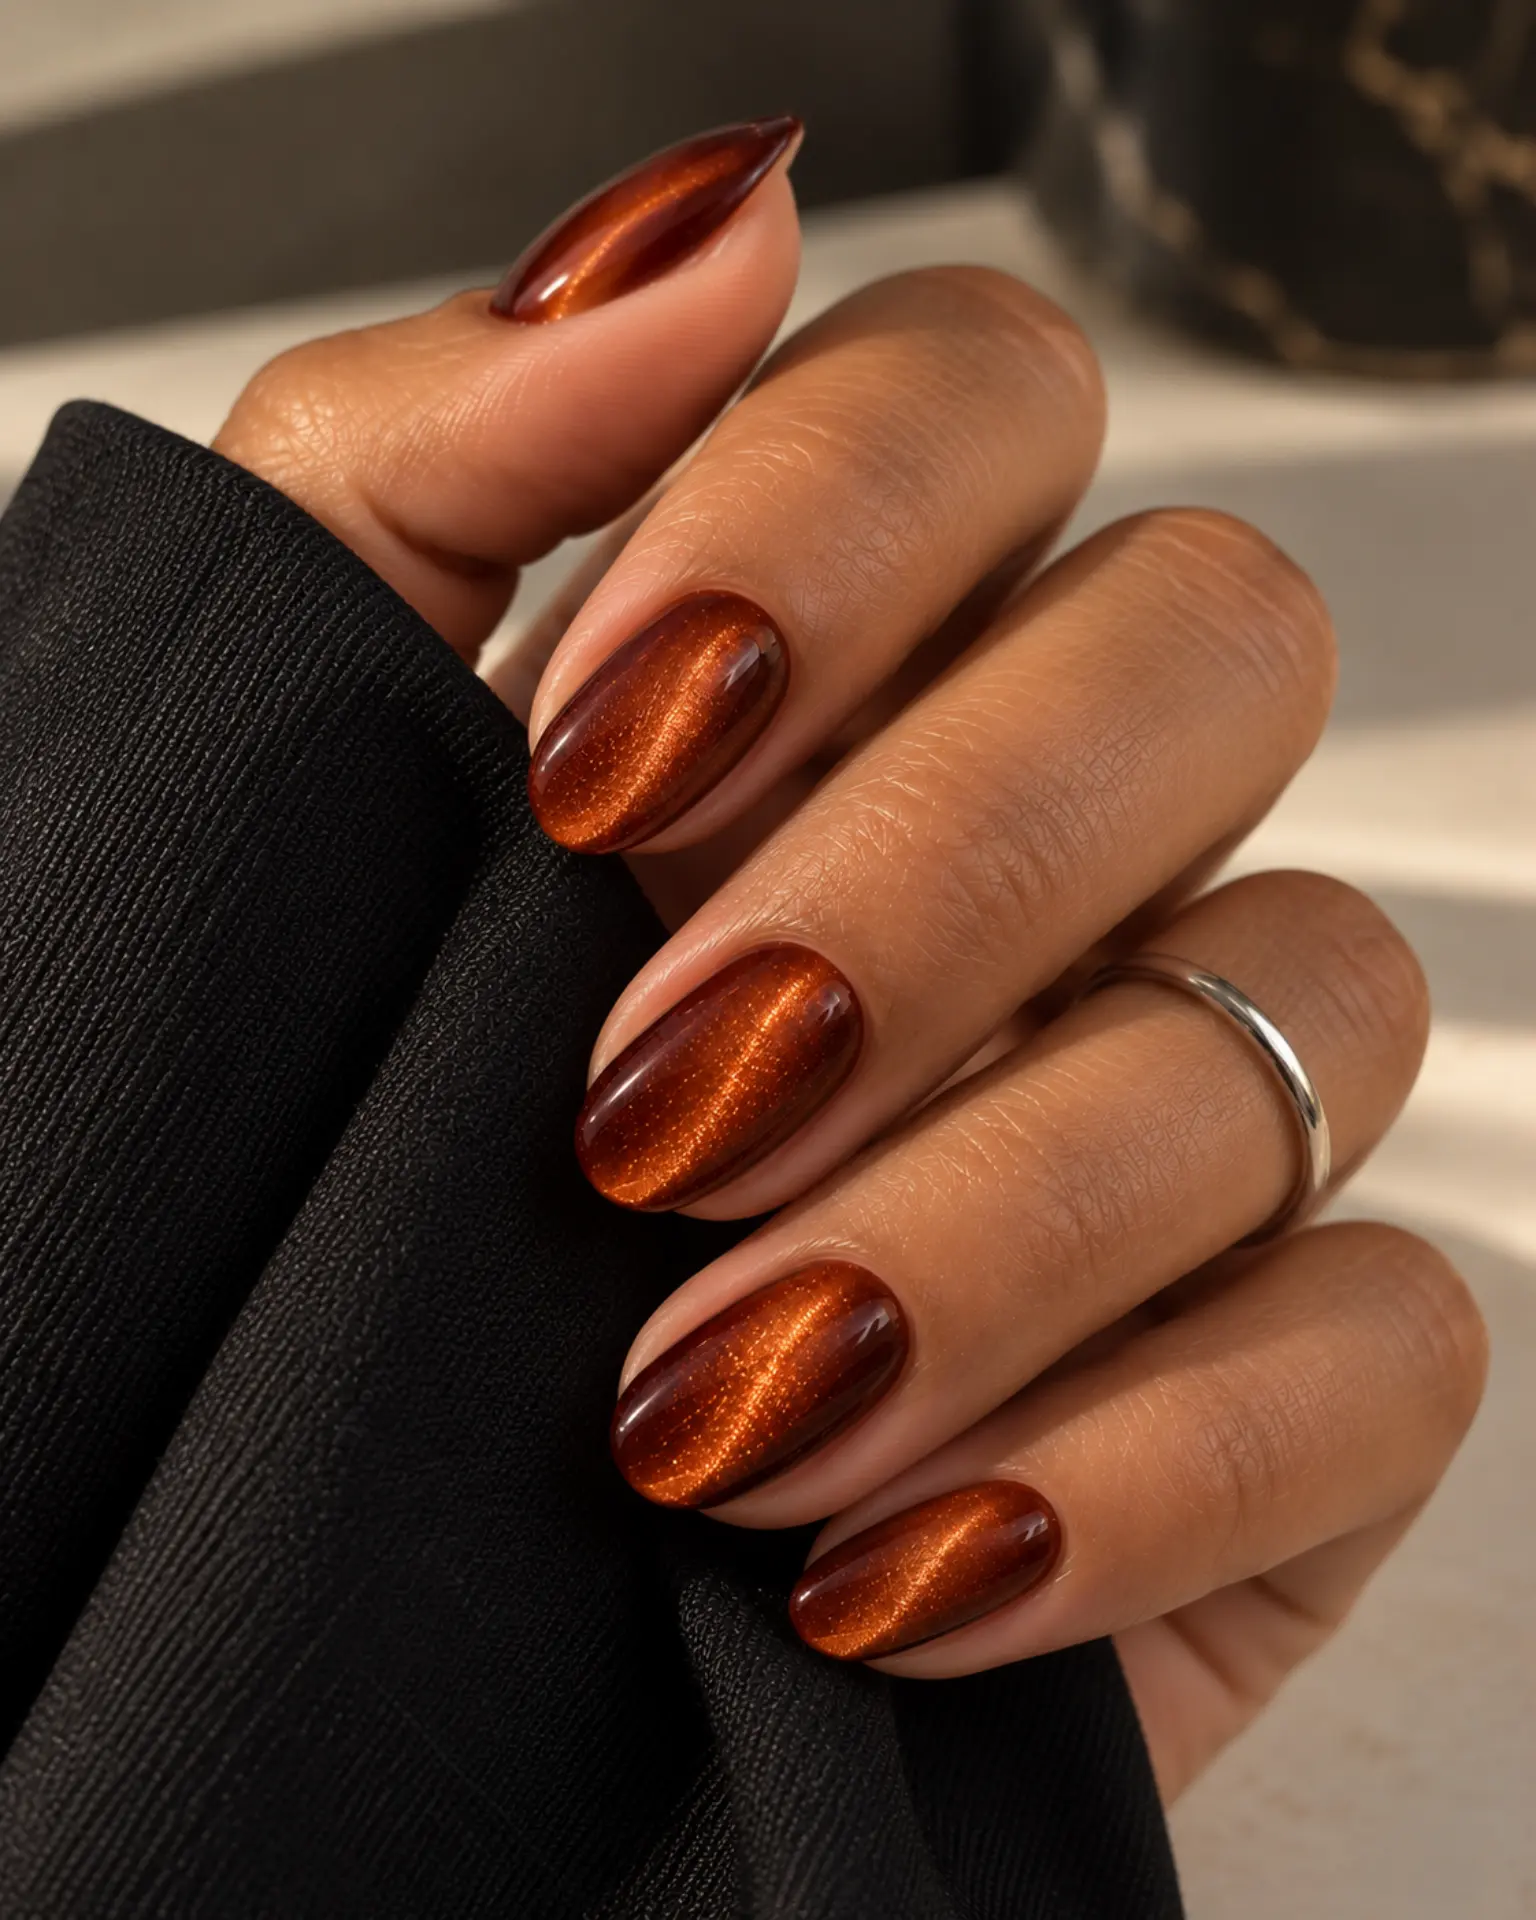
For Burnt Orange Velvet Cat-Eye, the main choice is how much space to give a directional velvet-like highlight. The velvet effect feels dimensional because reflective particles gather into a diffuse highlight rather than a flat glitter layer. Look from different angles before the polish is cured.
Plum Negative Space
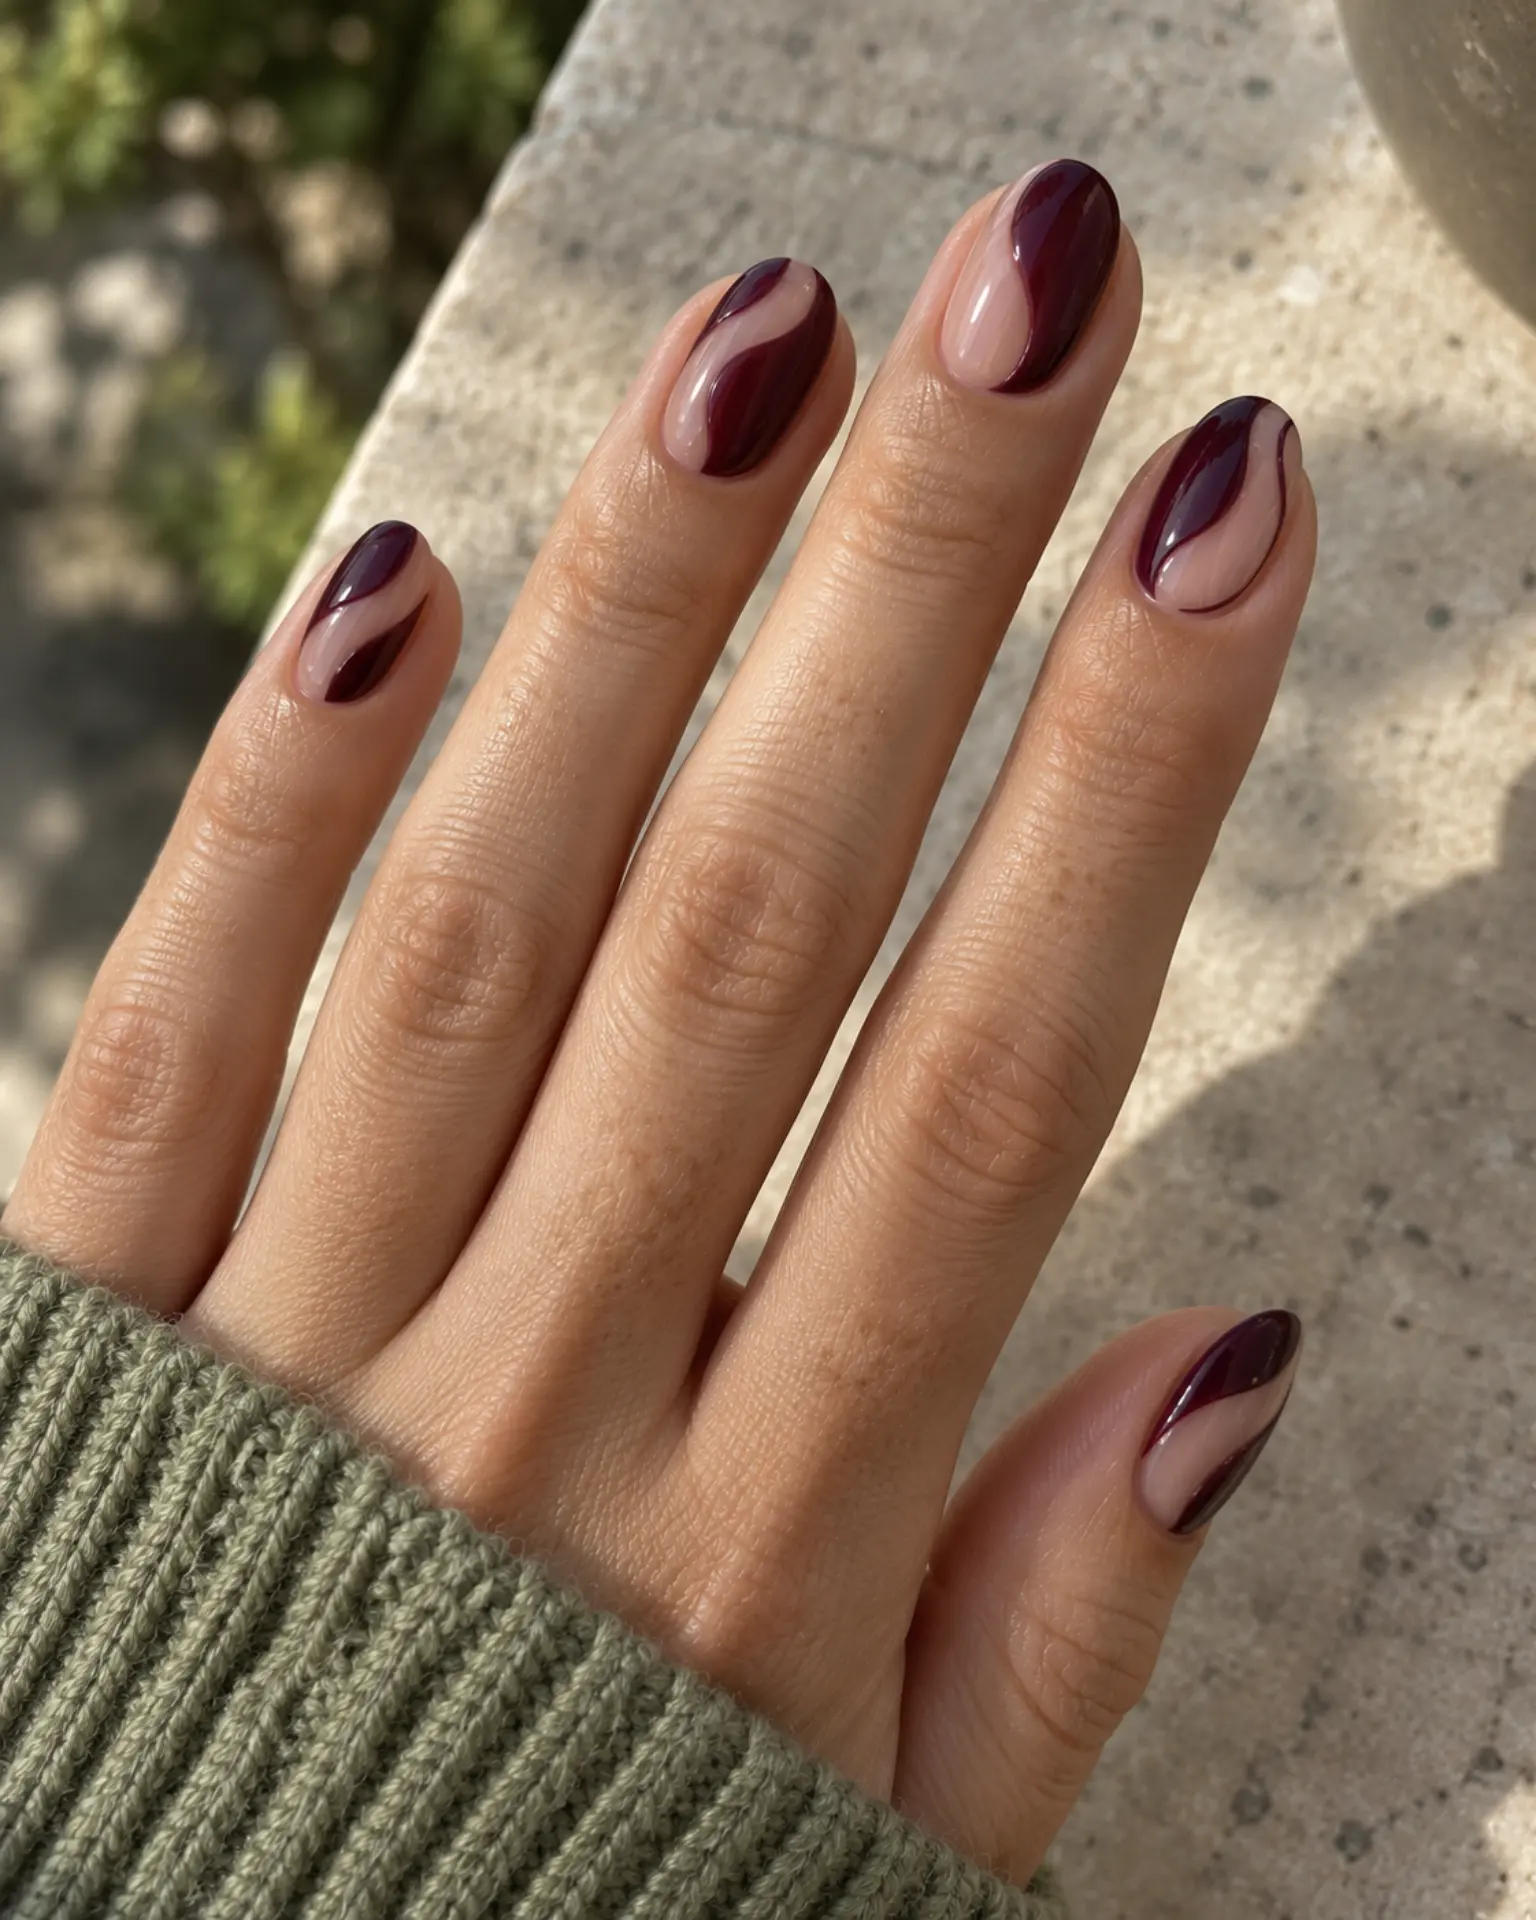
For Plum Negative Space, remember that plum adds a purple cast to a dark red or wine base. Clear or softly sheer sections give the colored area a graphic outline without making the entire nail opaque. Keep neighboring nails quieter if this is your seasonal accent design.
Halloween Velvet Cat-Eye
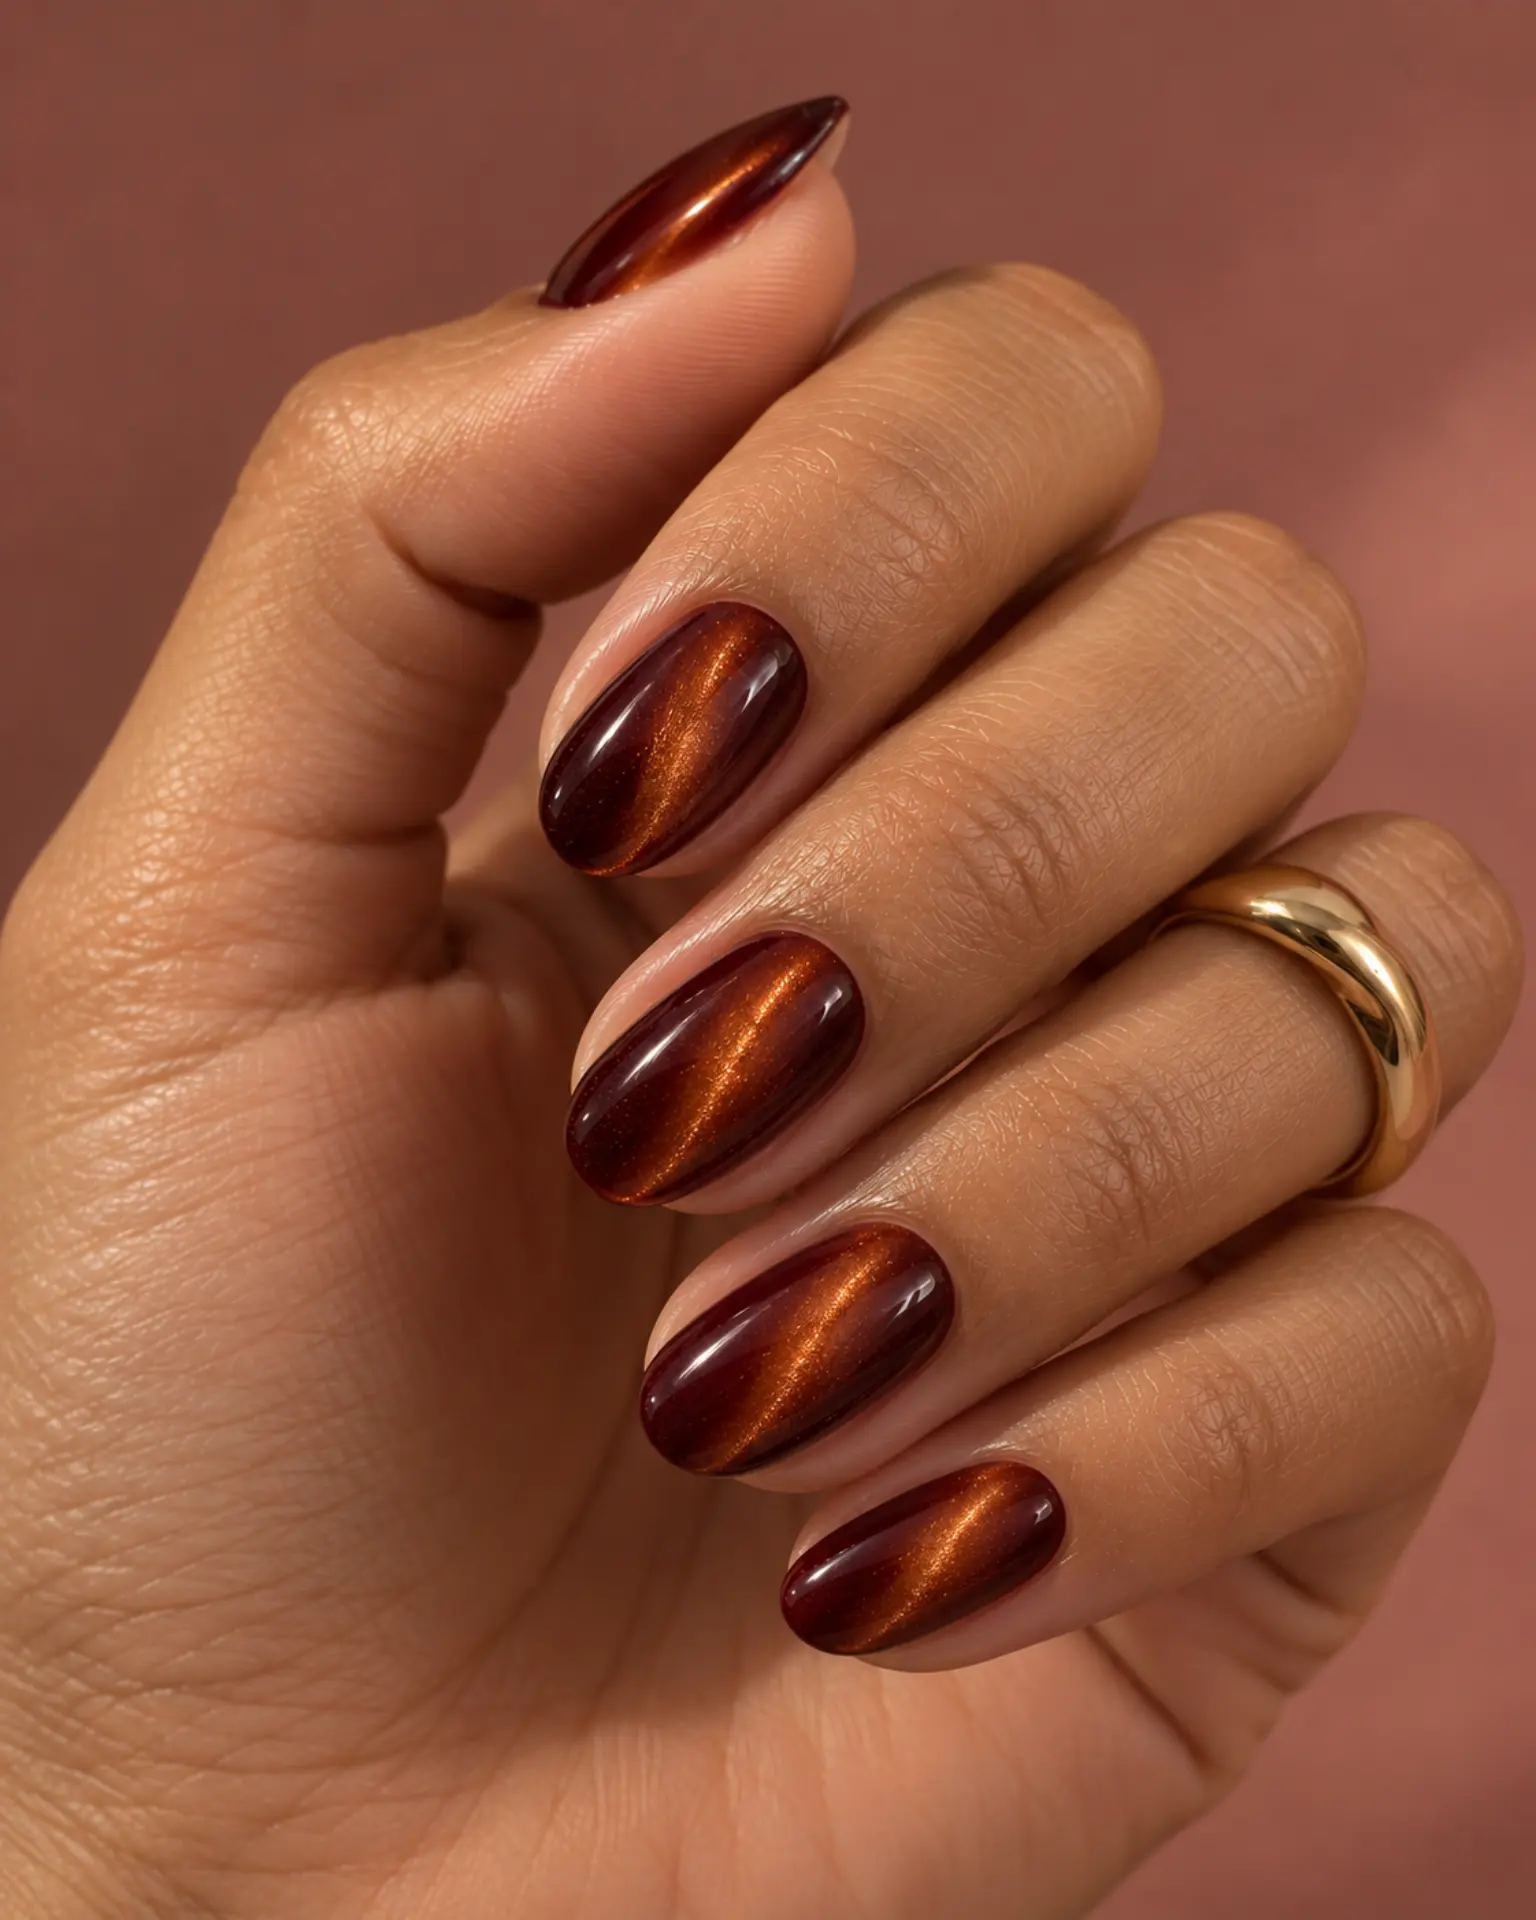
A magnetic shimmer forms a soft shifting beam when light moves across the nail. The direction of that beam is part of the design. For Halloween Velvet Cat-Eye, the main choice is how much space to give a directional velvet-like highlight. Look from different angles before the polish is cured.
Halloween Micro French Edge
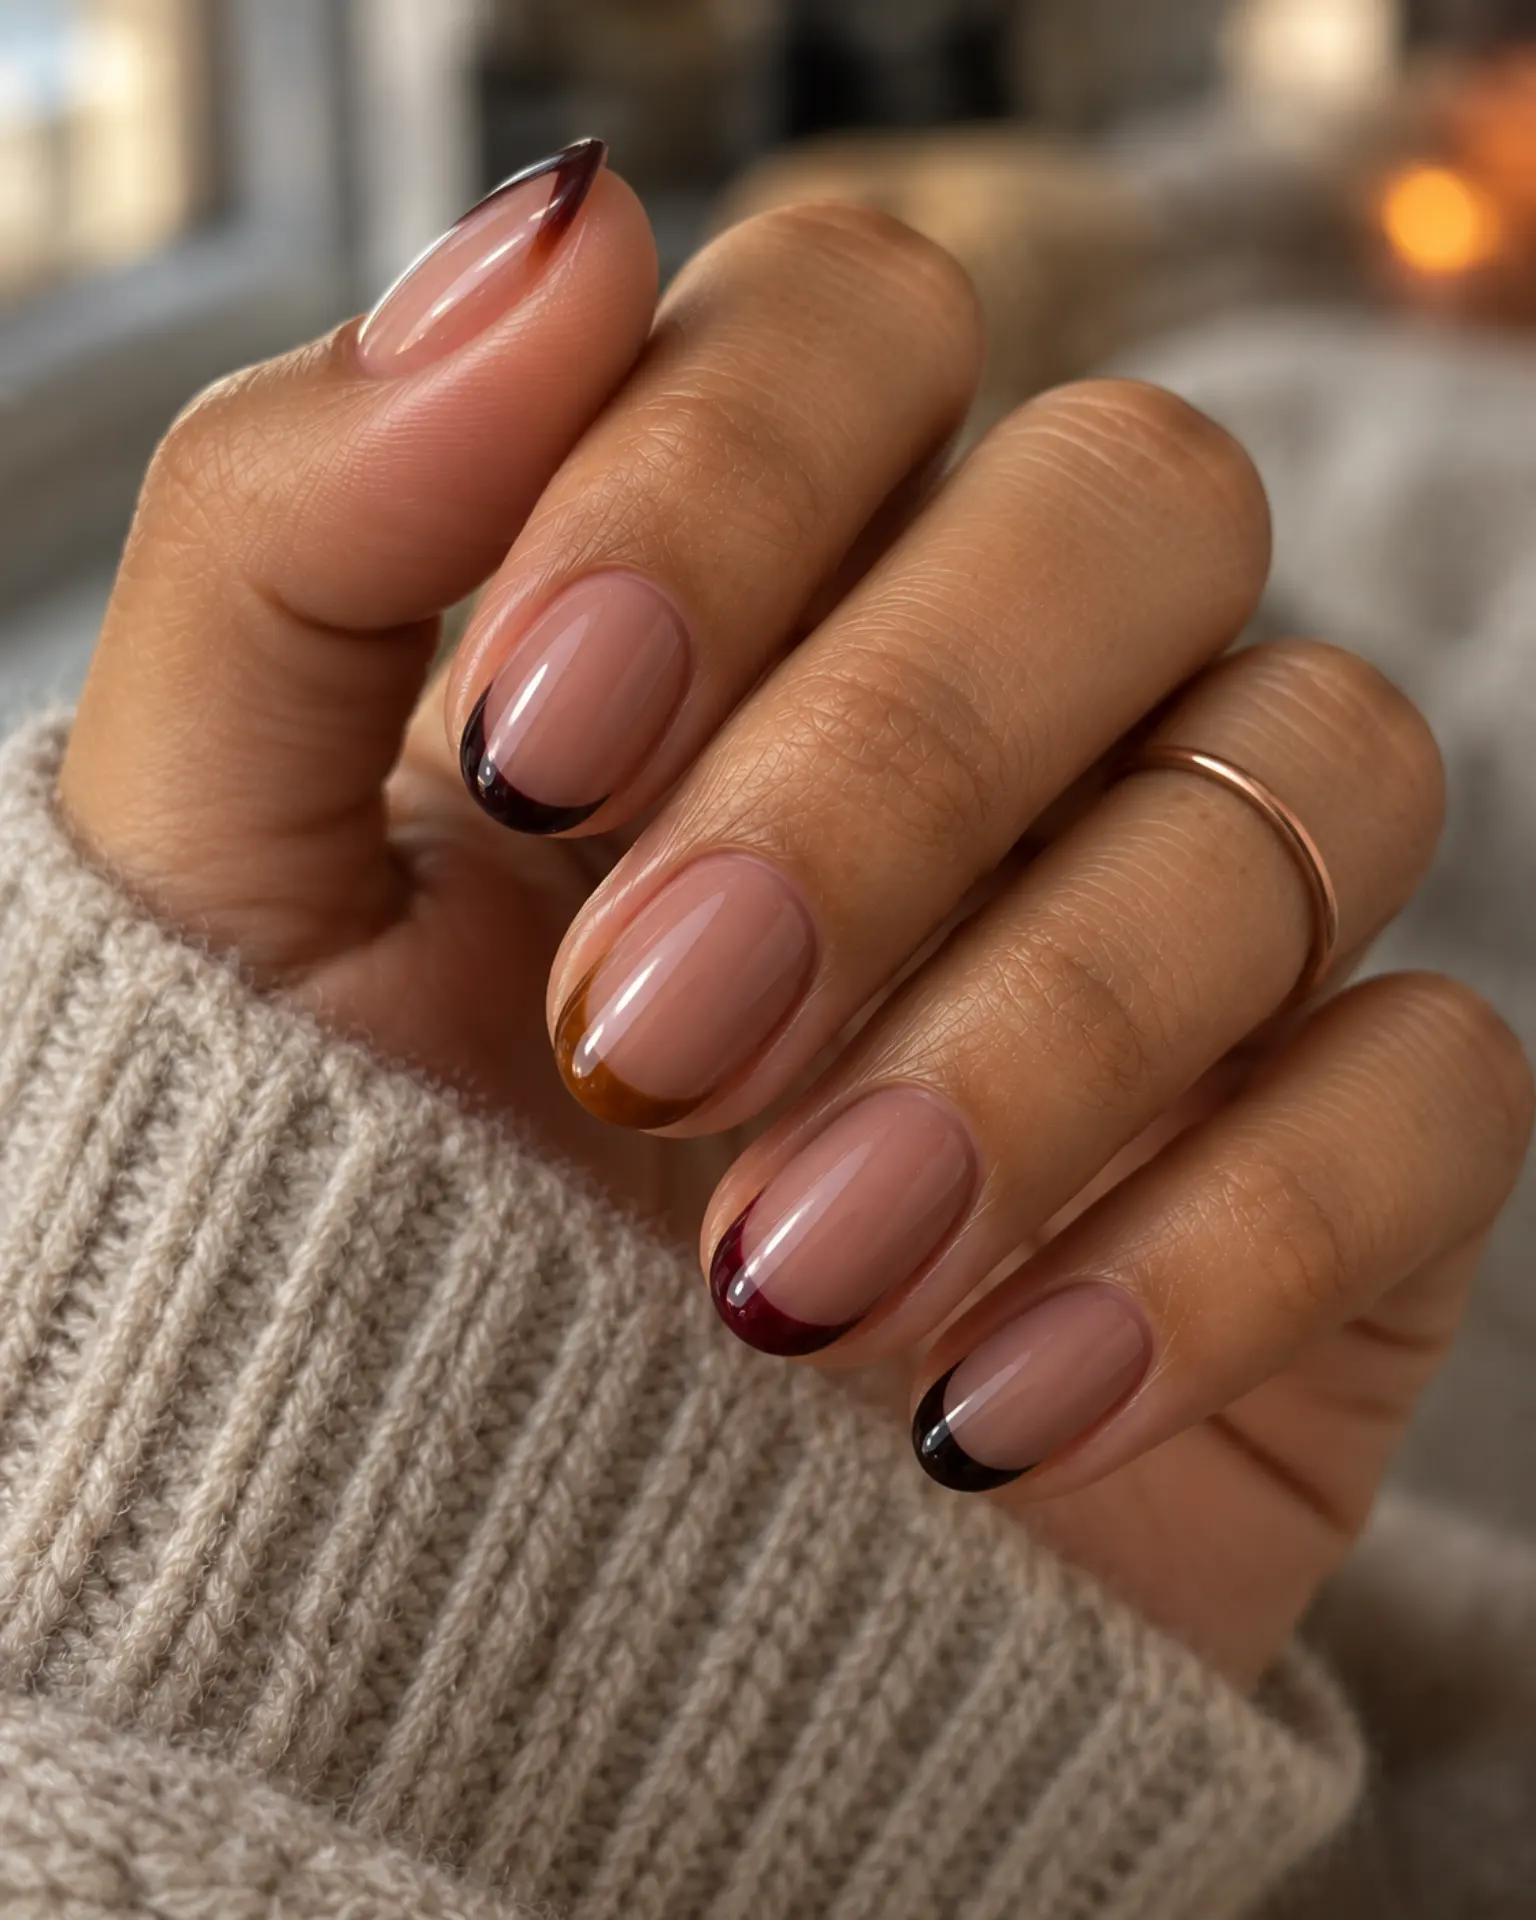
For Halloween Micro French Edge, the main choice is how much space to give a hairline tip. A hairline of color at the very edge lets the base remain visible and makes even compact nails look tidy. Ask to see the tip against the nail length before curing.
Halloween Sheer Jelly Wash
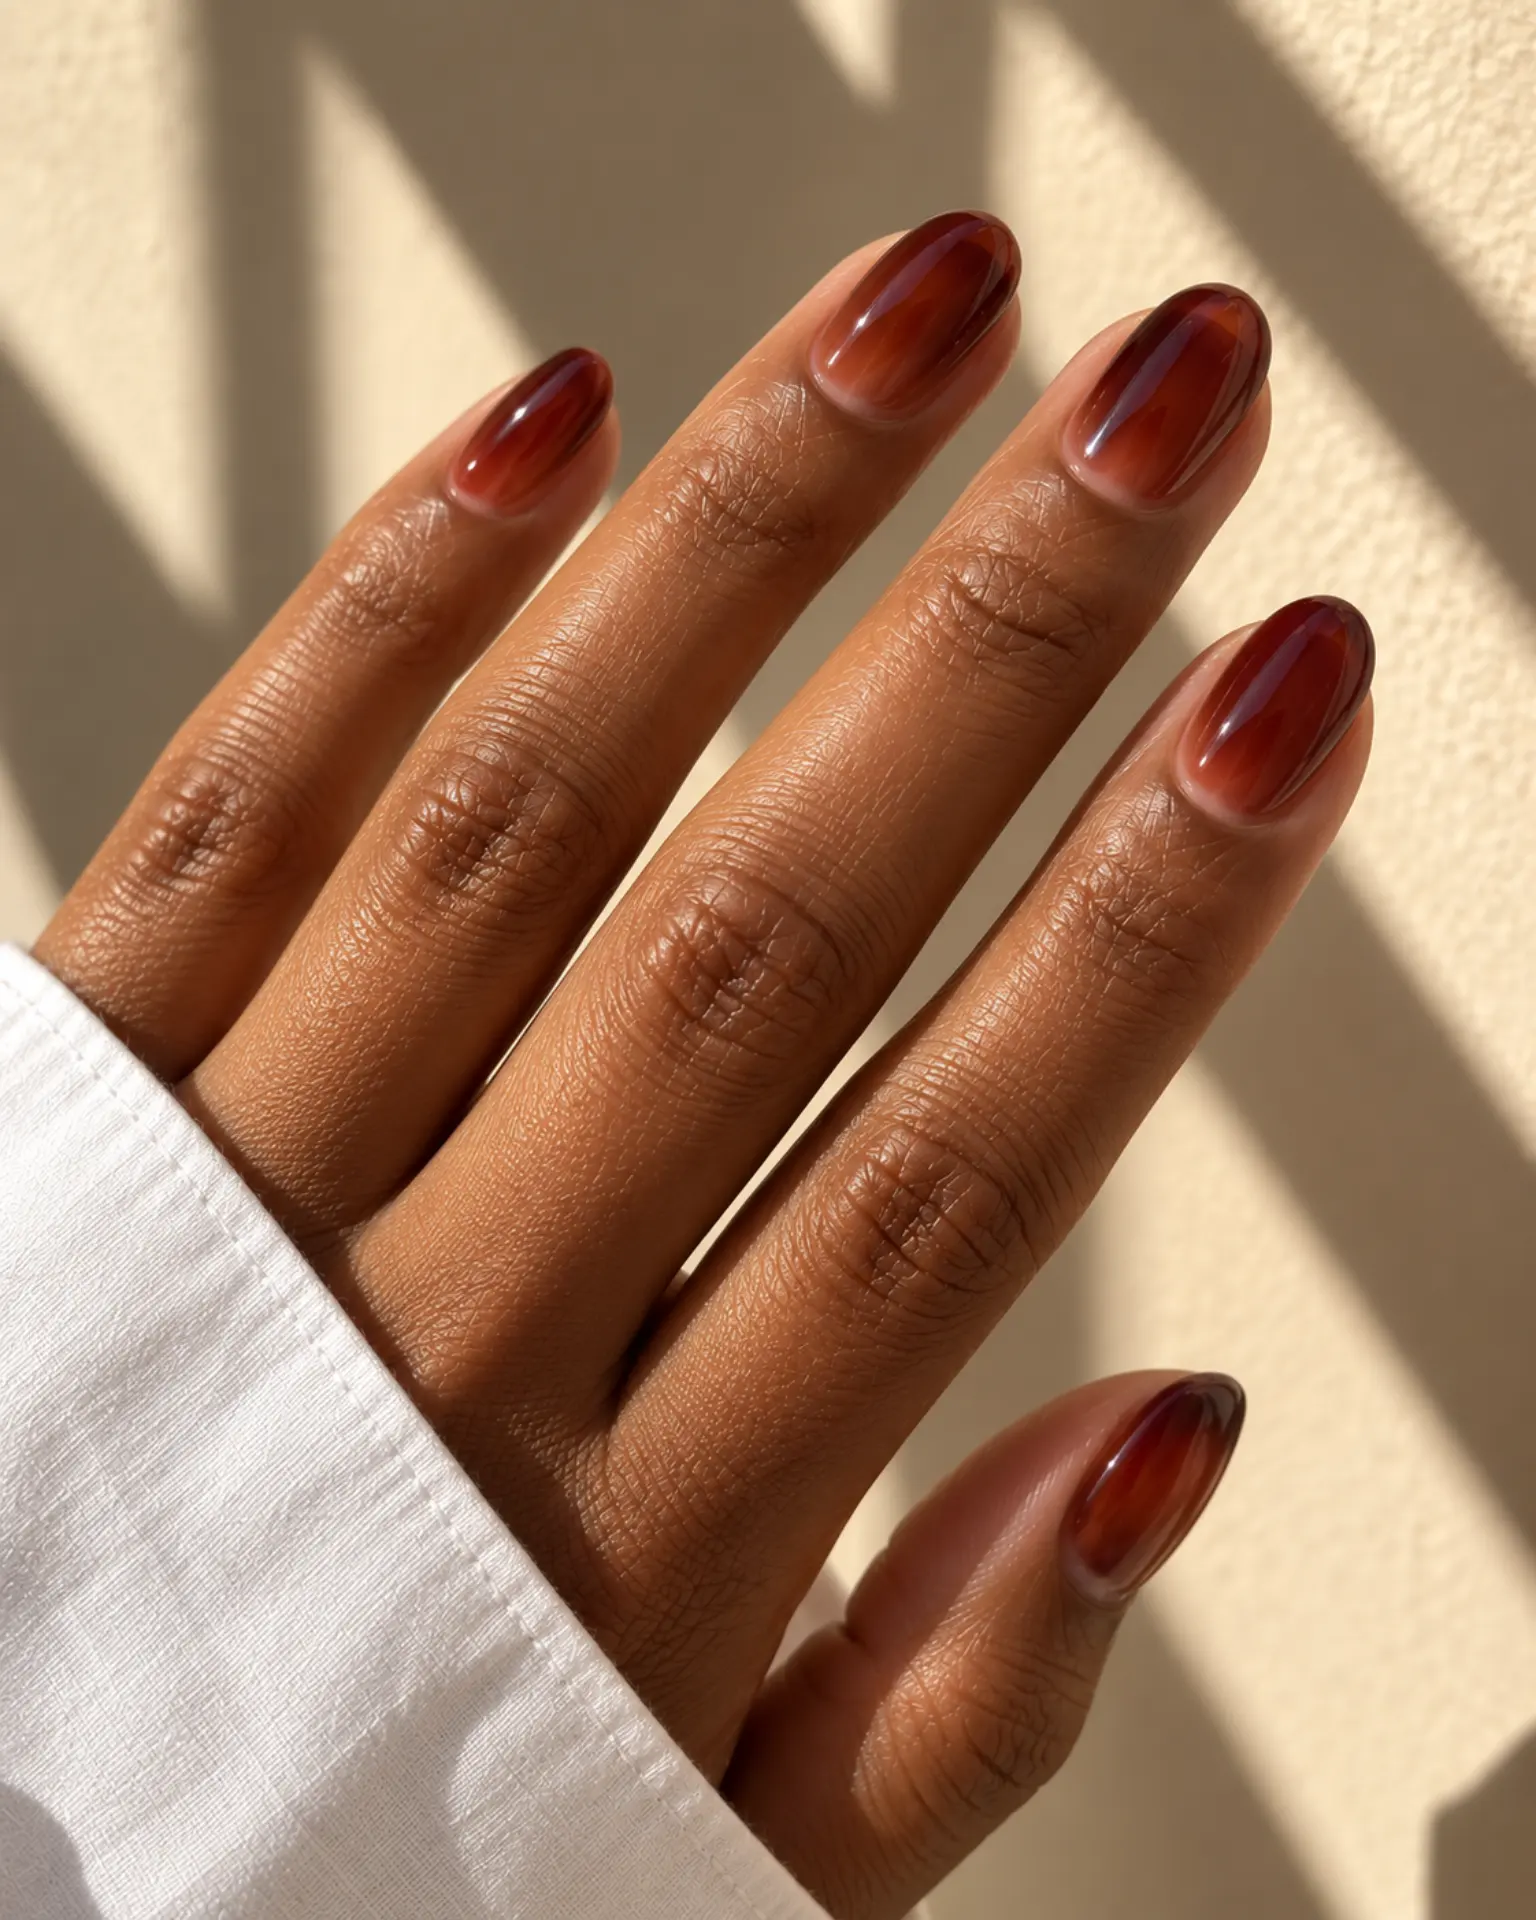
Translucent layers create a colored-glass effect rather than a solid opaque block. The nail underneath is meant to show through. Keep Halloween Sheer Jelly Wash focused on translucent color with visible nail underneath rather than building several competing effects. Set the opacity target before the final coat.
Halloween Tonal Aura Fade
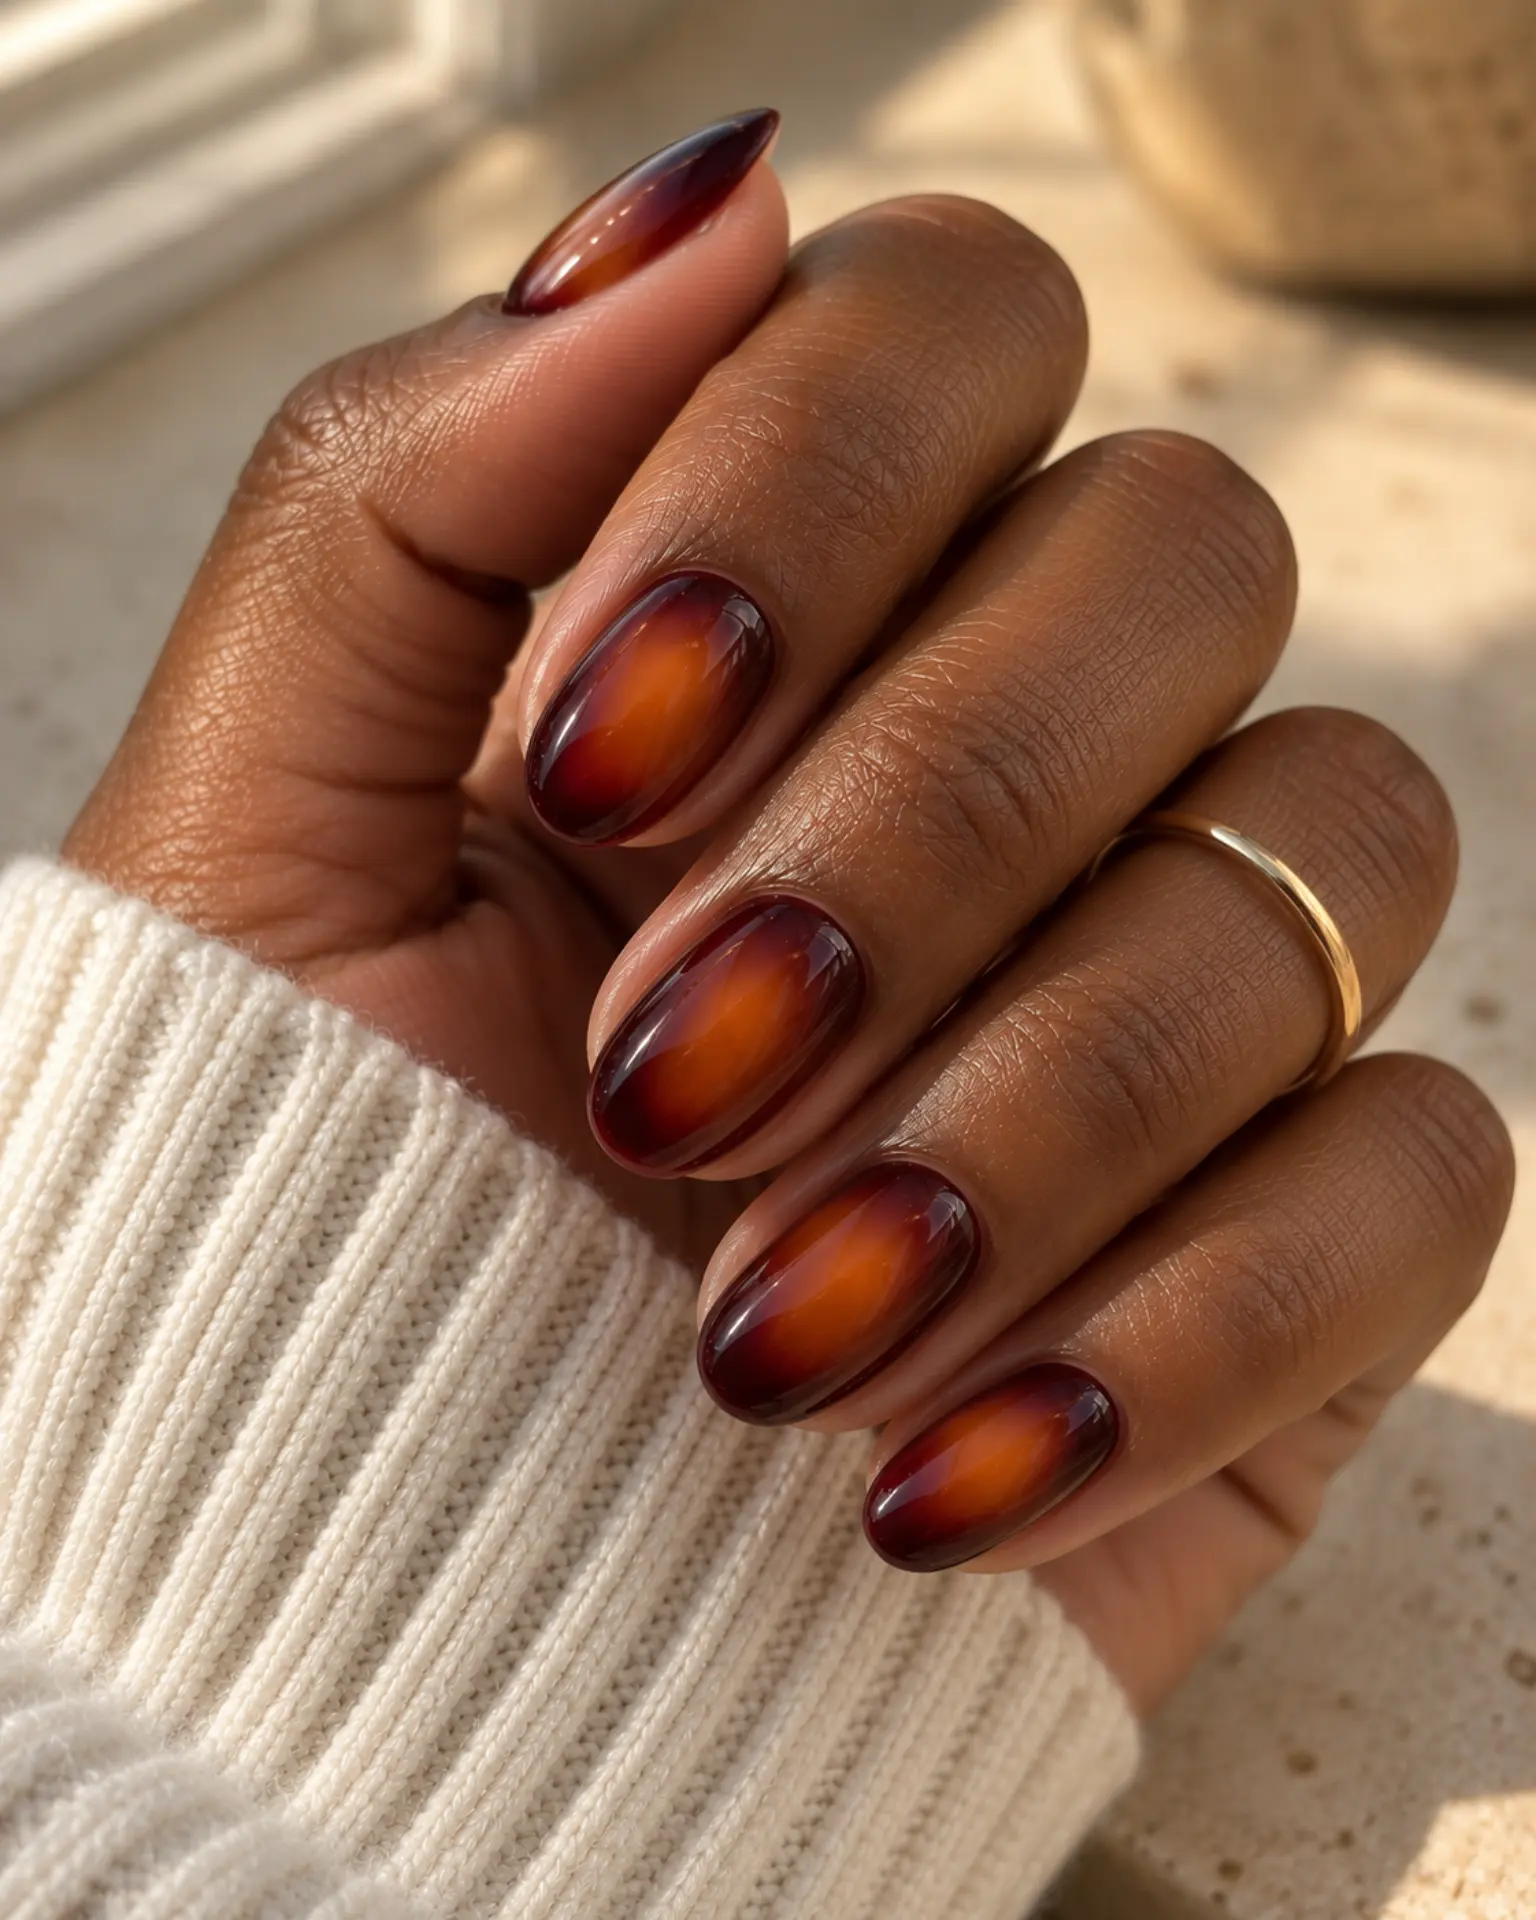
Keep Halloween Tonal Aura Fade focused on a diffused center glow rather than building several competing effects. A blurred center of color creates a glow that fades gently toward the edges, with no hard circular border. Ask for soft edges without an obvious ring.
Halloween Chrome Outline
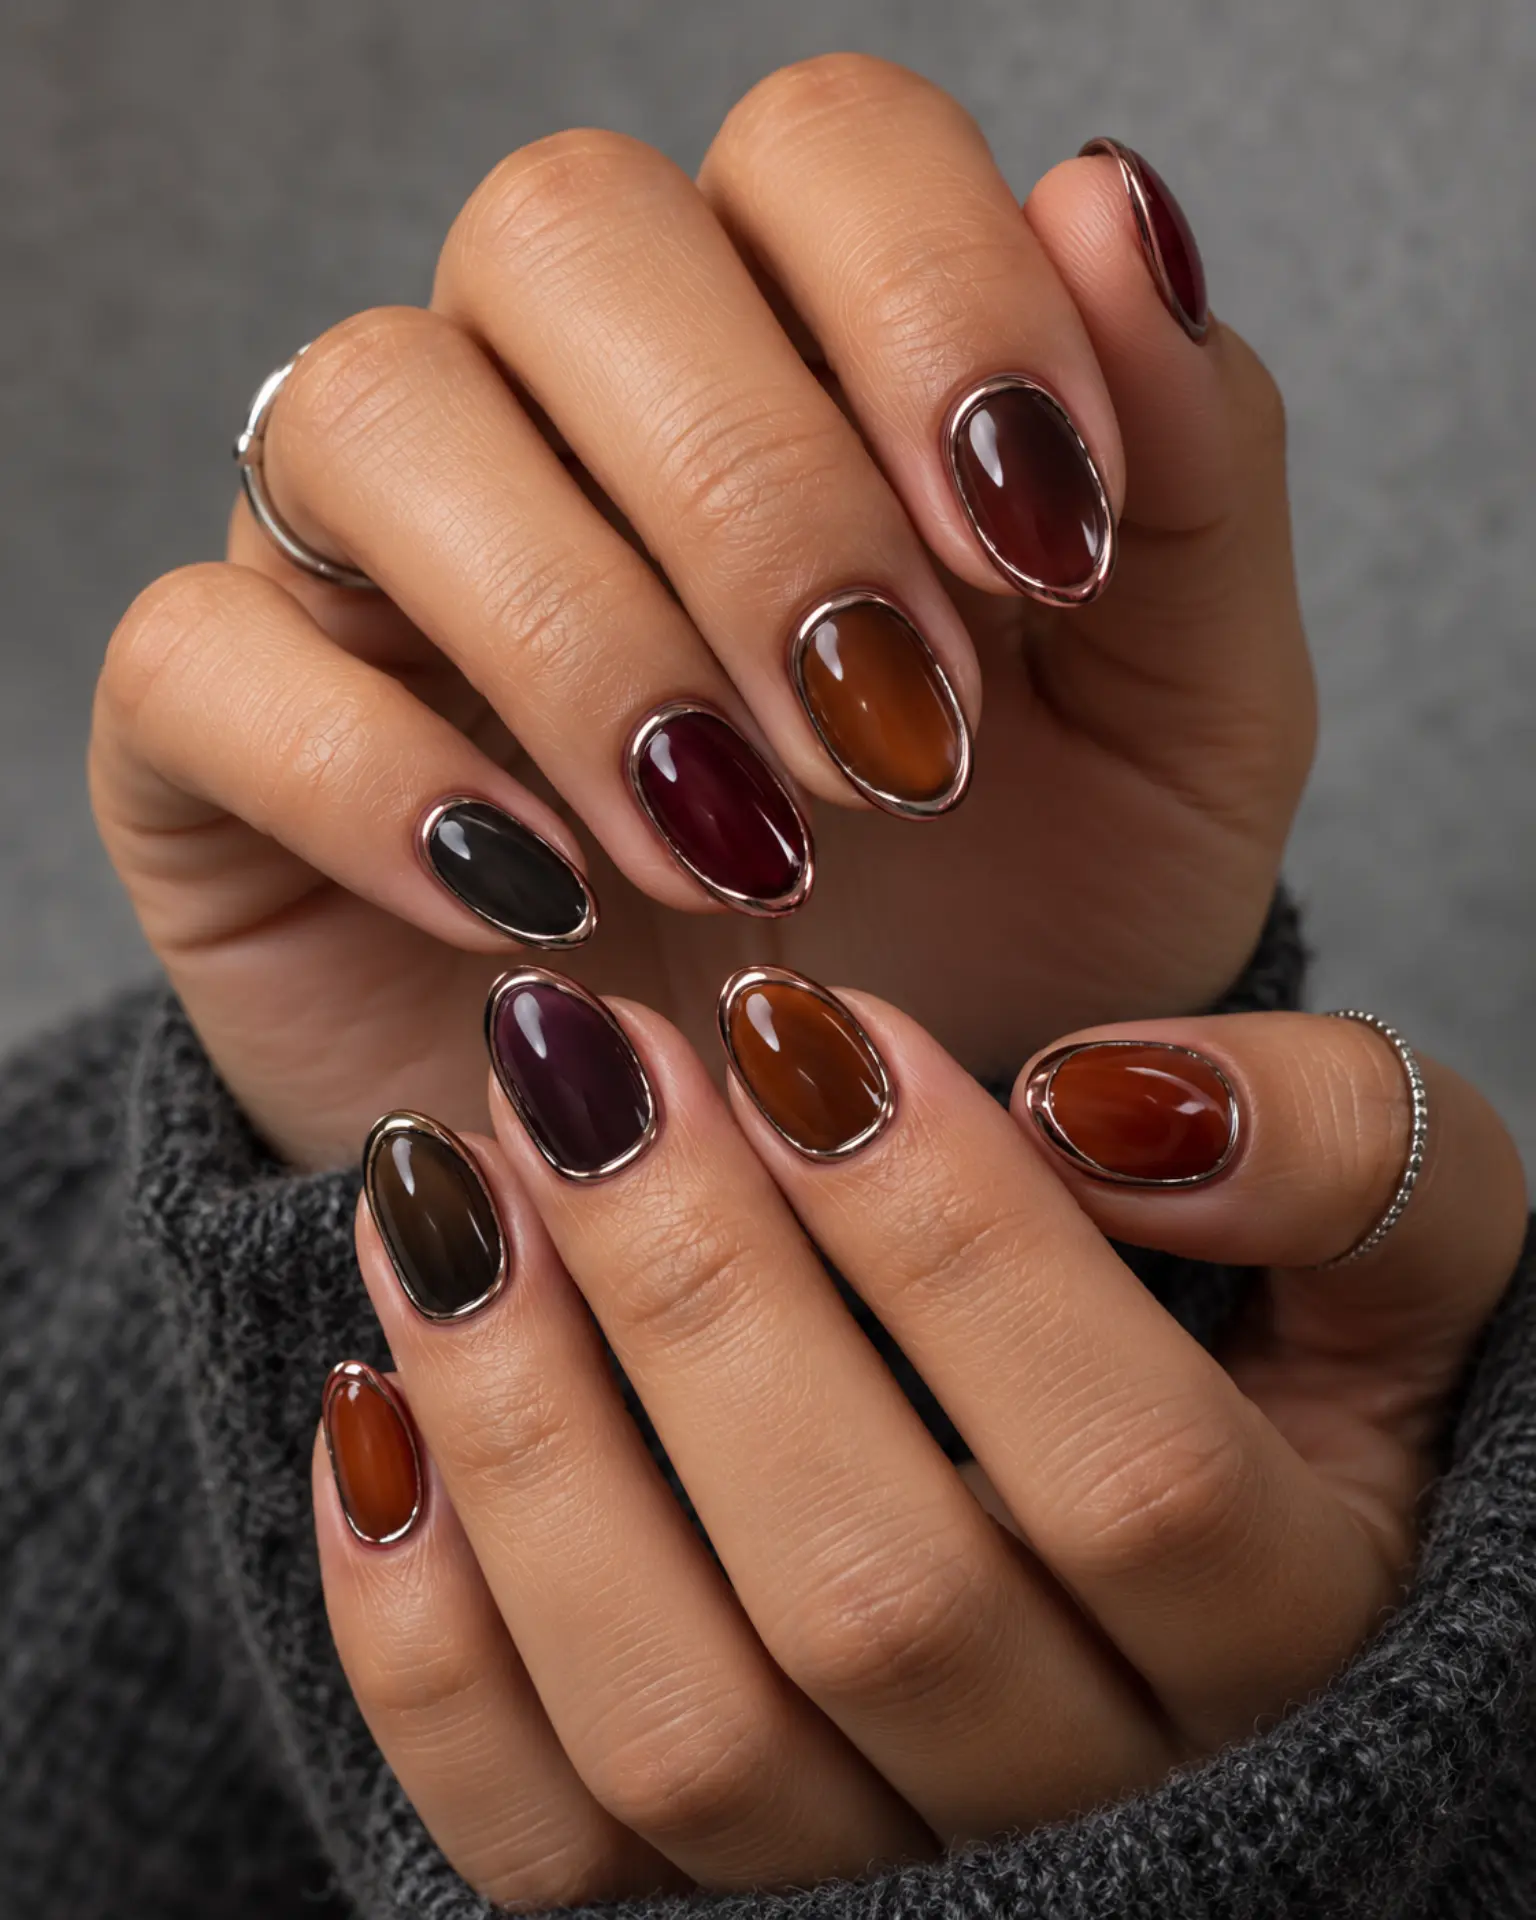
A smooth reflective finish changes character with the underlying base: pale colors look pearly, dark bases look more metallic. Keep Halloween Chrome Outline focused on a reflective metallic layer rather than building several competing effects. The simpler balance makes this style usable after the holiday or season has passed.
Halloween Negative-Space Curve
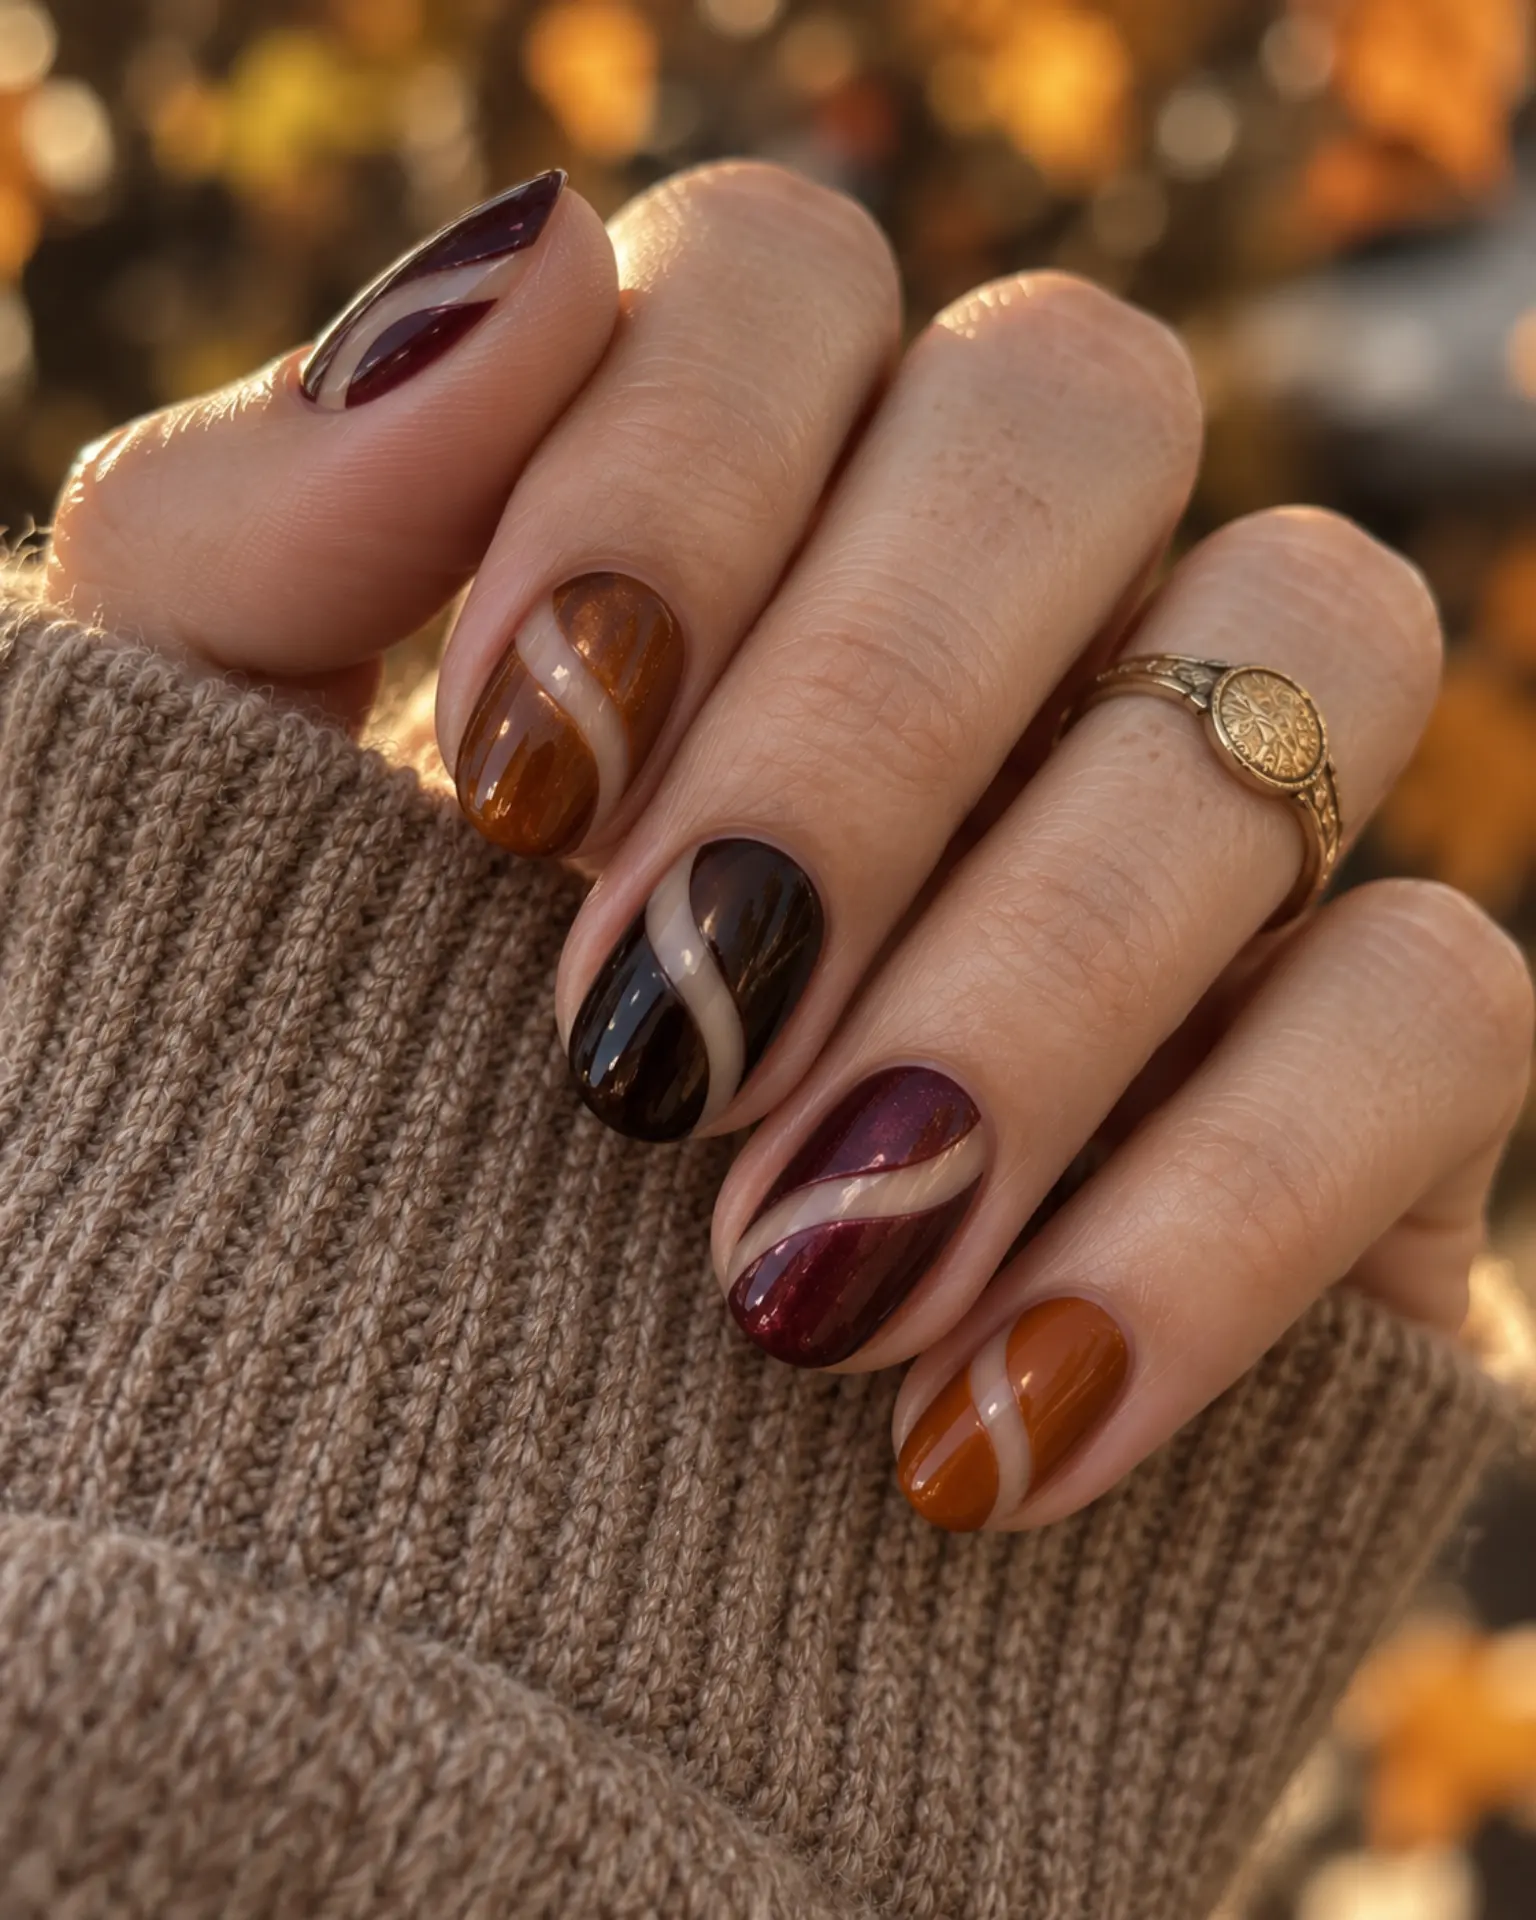
Leaving part of the nail deliberately open creates contrast through shape, not extra pigments. The border needs to be crisp. The focal point of Halloween Negative-Space Curve is clear space within the color; let the rest of the polish remain quiet. Check the negative space from a normal viewing distance.
Halloween Glazed Pearl Veil
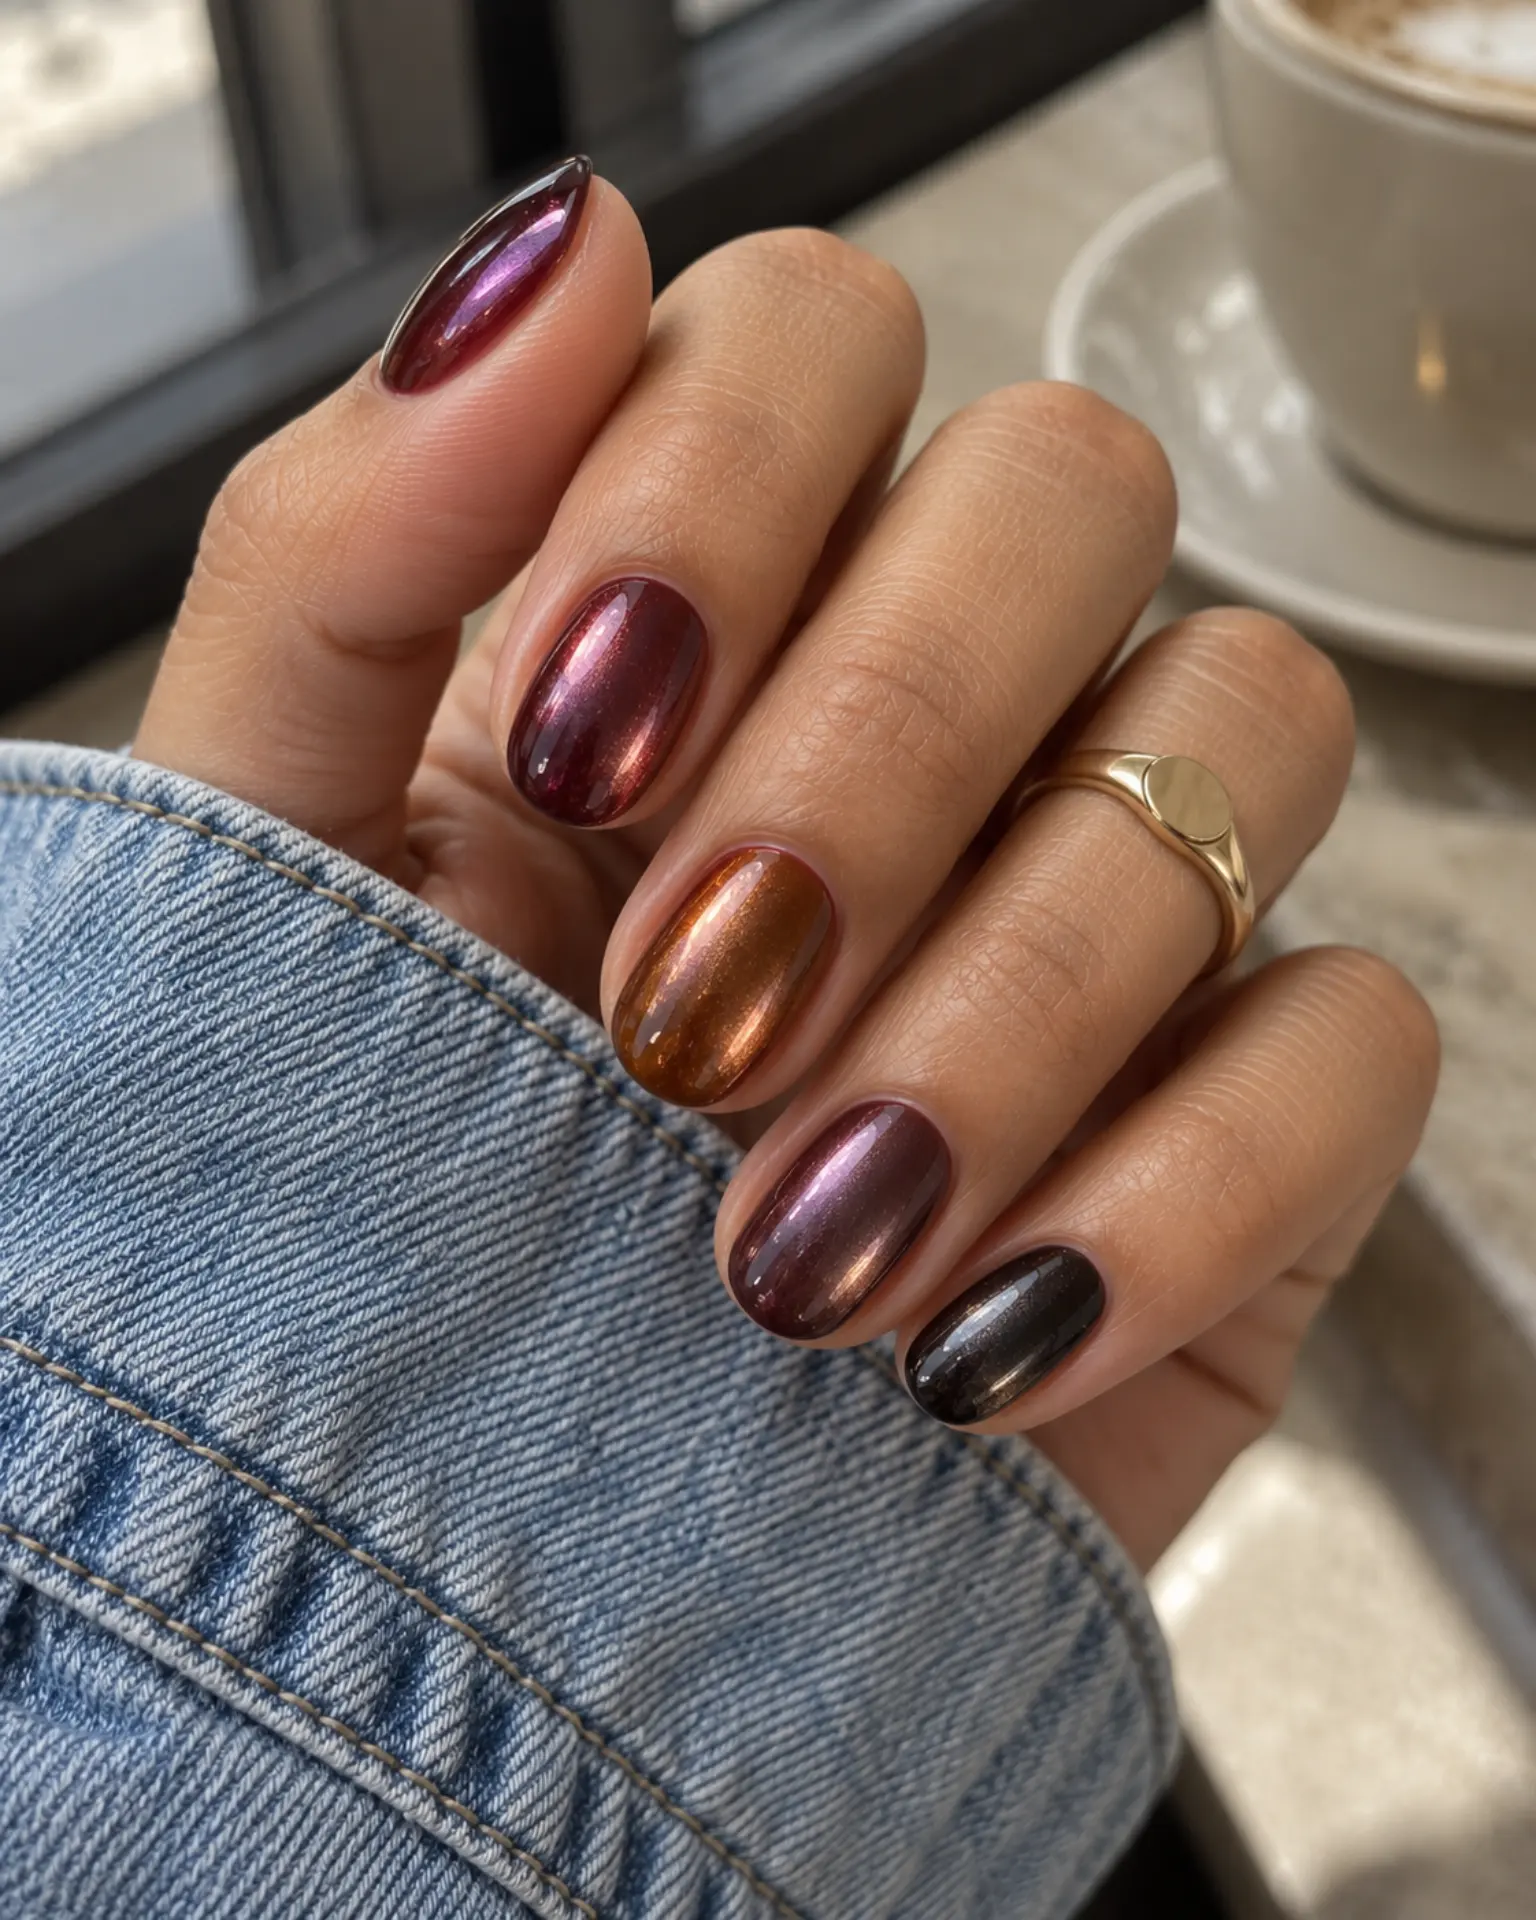
A fine pearl veil lends shine without fully changing the underlying shade. Its reflection should feel translucent rather than foiled. Before adding extra details to Halloween Glazed Pearl Veil, check the undertone. Pearl creates a softer shift of light than metallic foil. One recognizable seasonal detail is enough; let the base shade carry the rest of the look.
Halloween Tonal Ombré
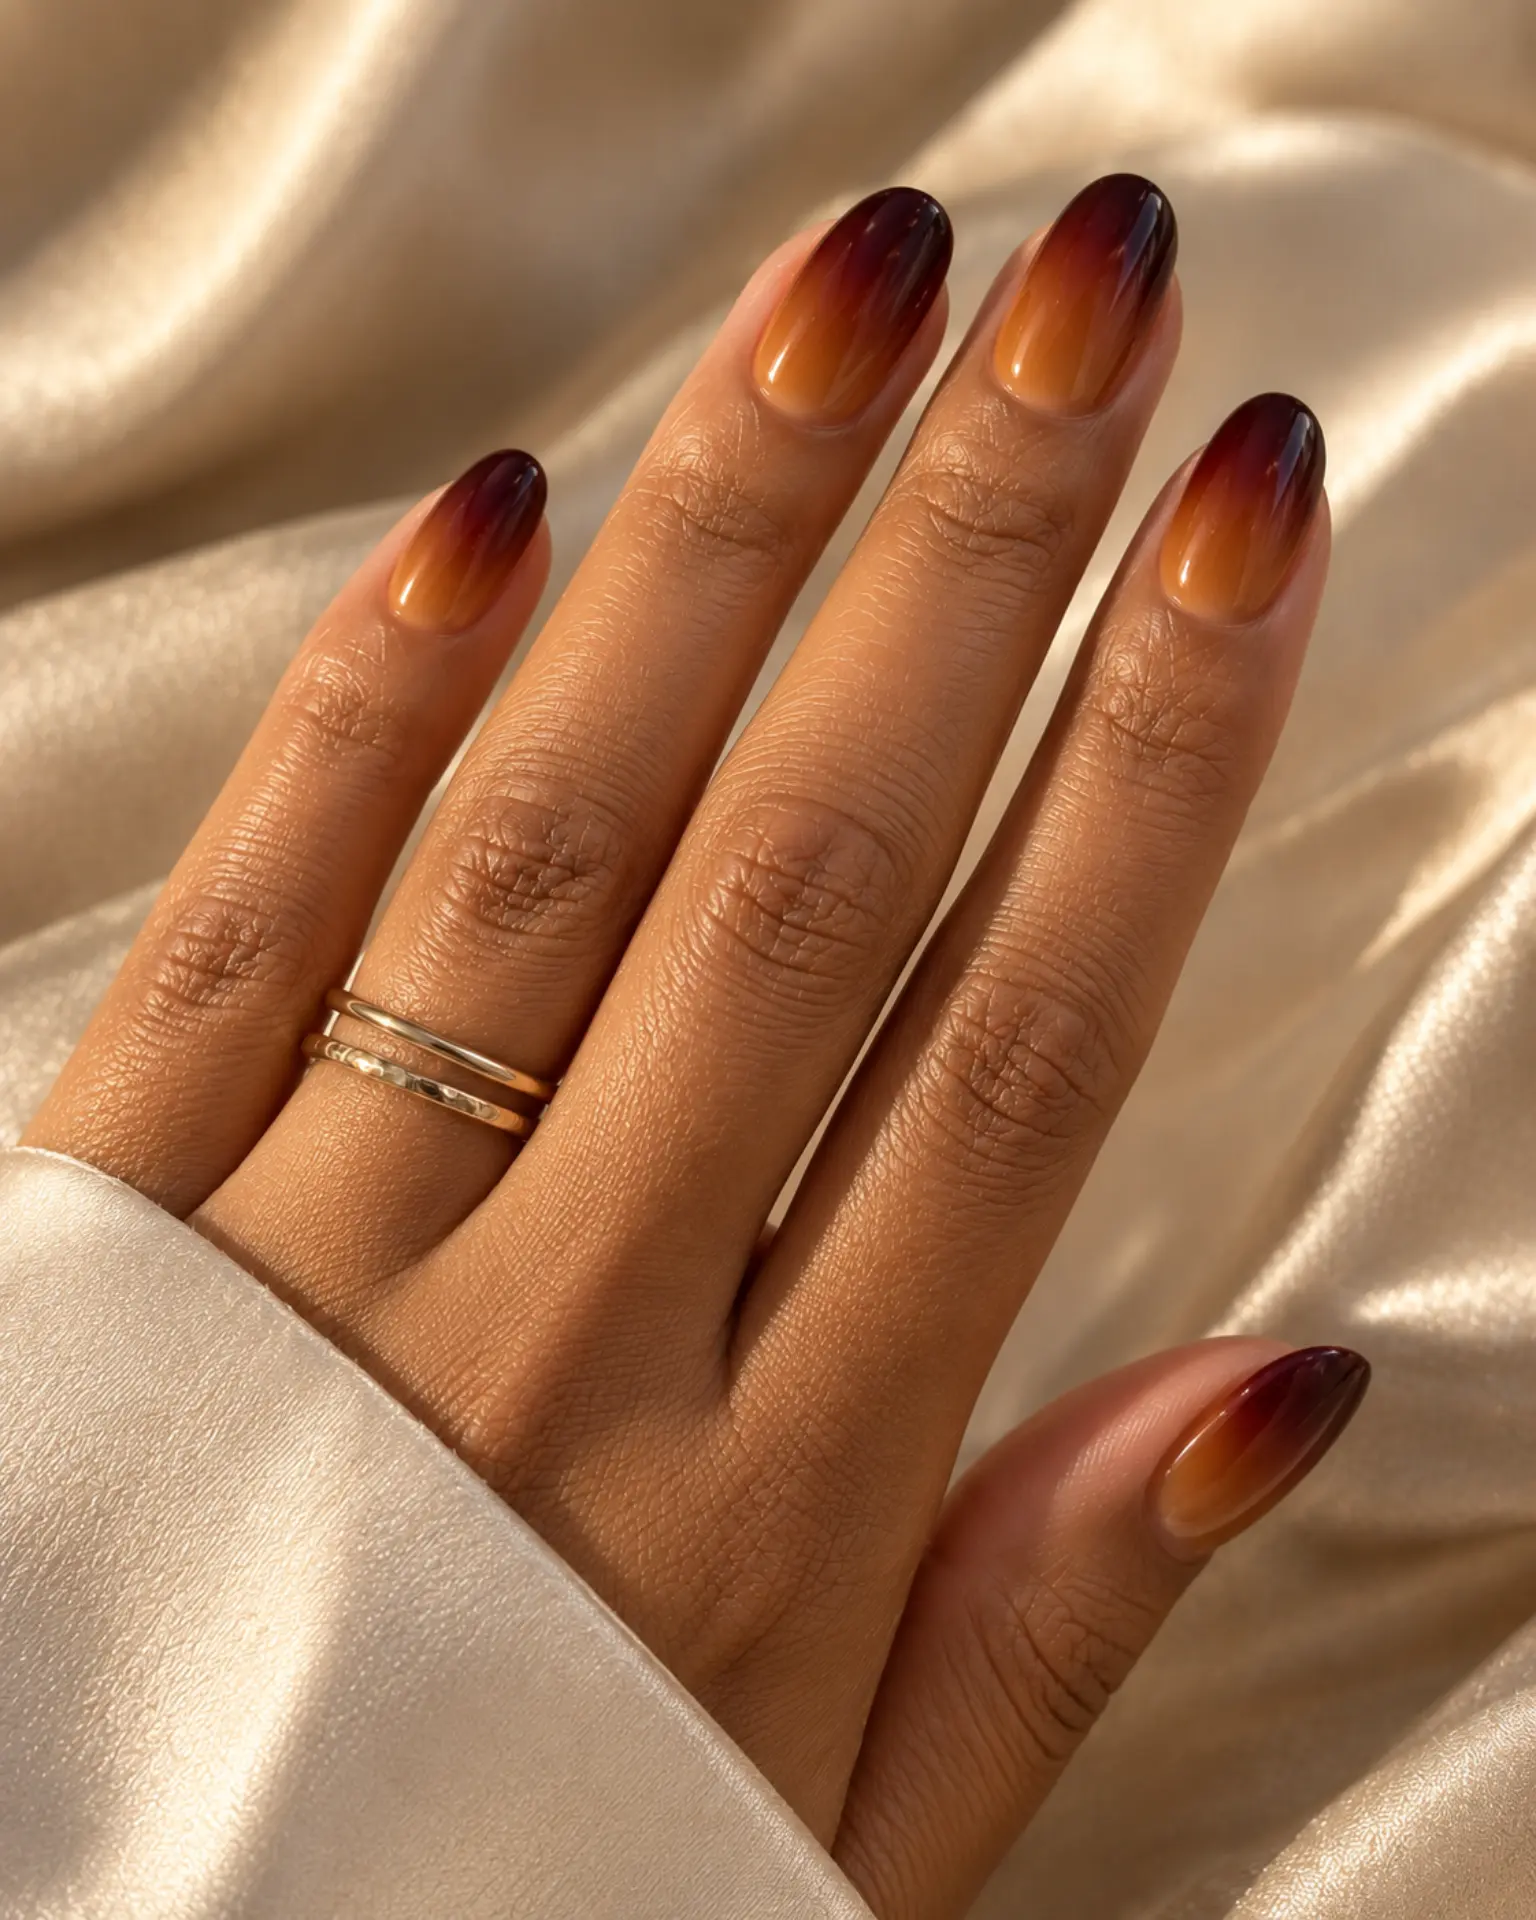
A smooth ombré needs a gradual transition; the fade should look deliberate even from the side of the finger. Keep Halloween Tonal Ombré focused on a gradual blend of related tones rather than building several competing effects. Keep the blended area proportionate to the nail length.
Halloween Side-French Sweep
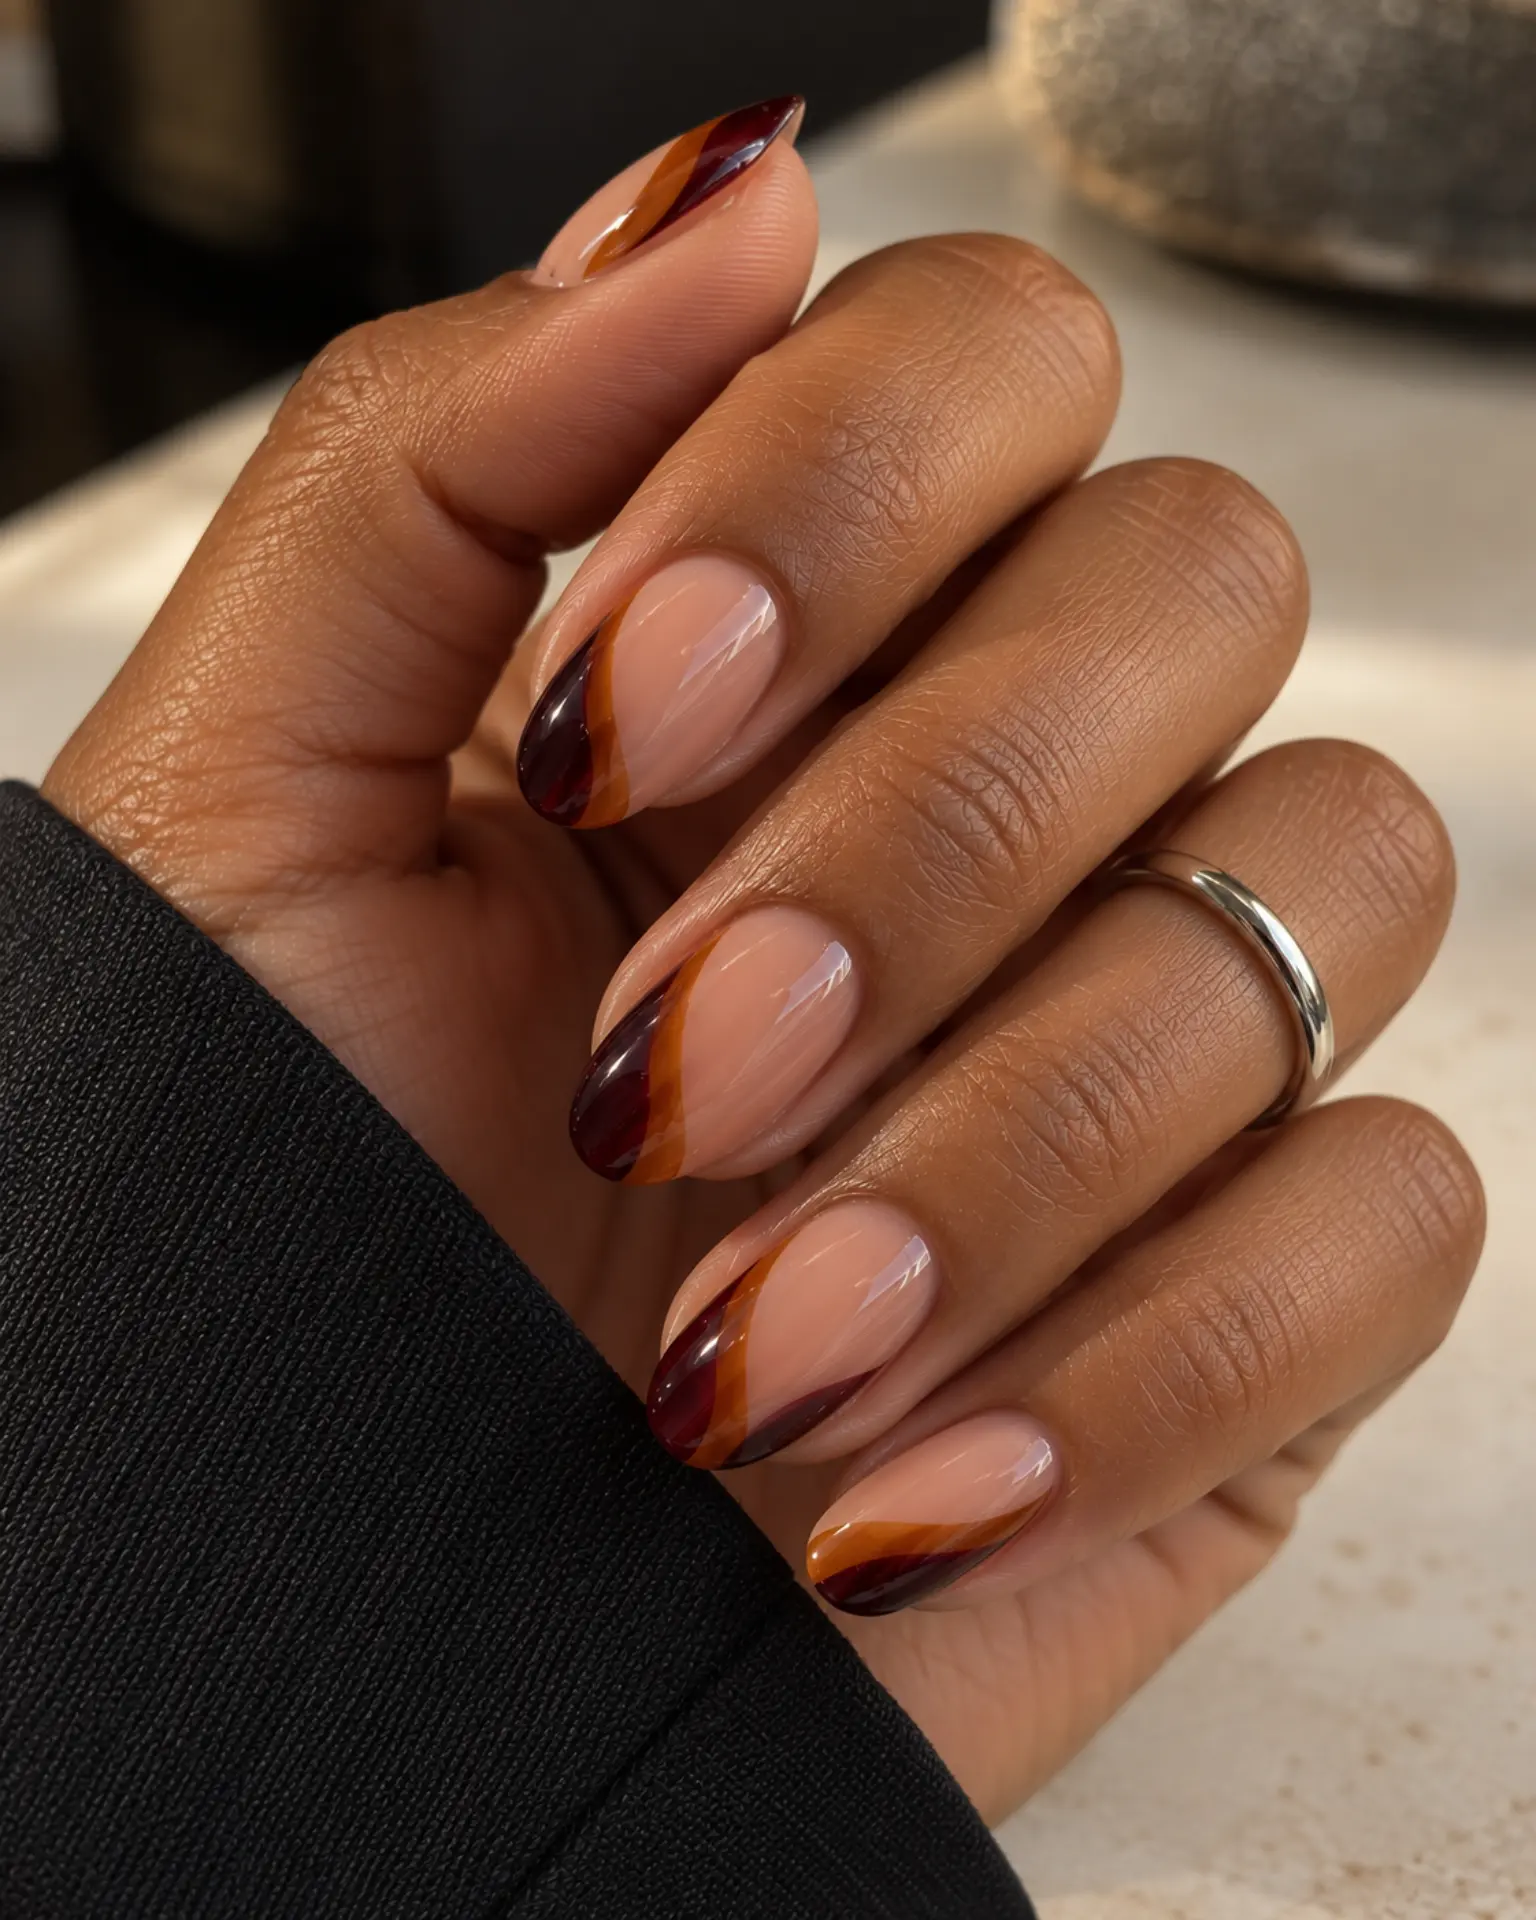
The focal point of Halloween Side-French Sweep is an off-center tip running along a sidewall; let the rest of the polish remain quiet. This angled tip is more architectural than a classic smile line; the starting point matters more than making the stripe wide. Keep neighboring nails quieter if this is your seasonal accent design.
Halloween Fine-Line Swirl
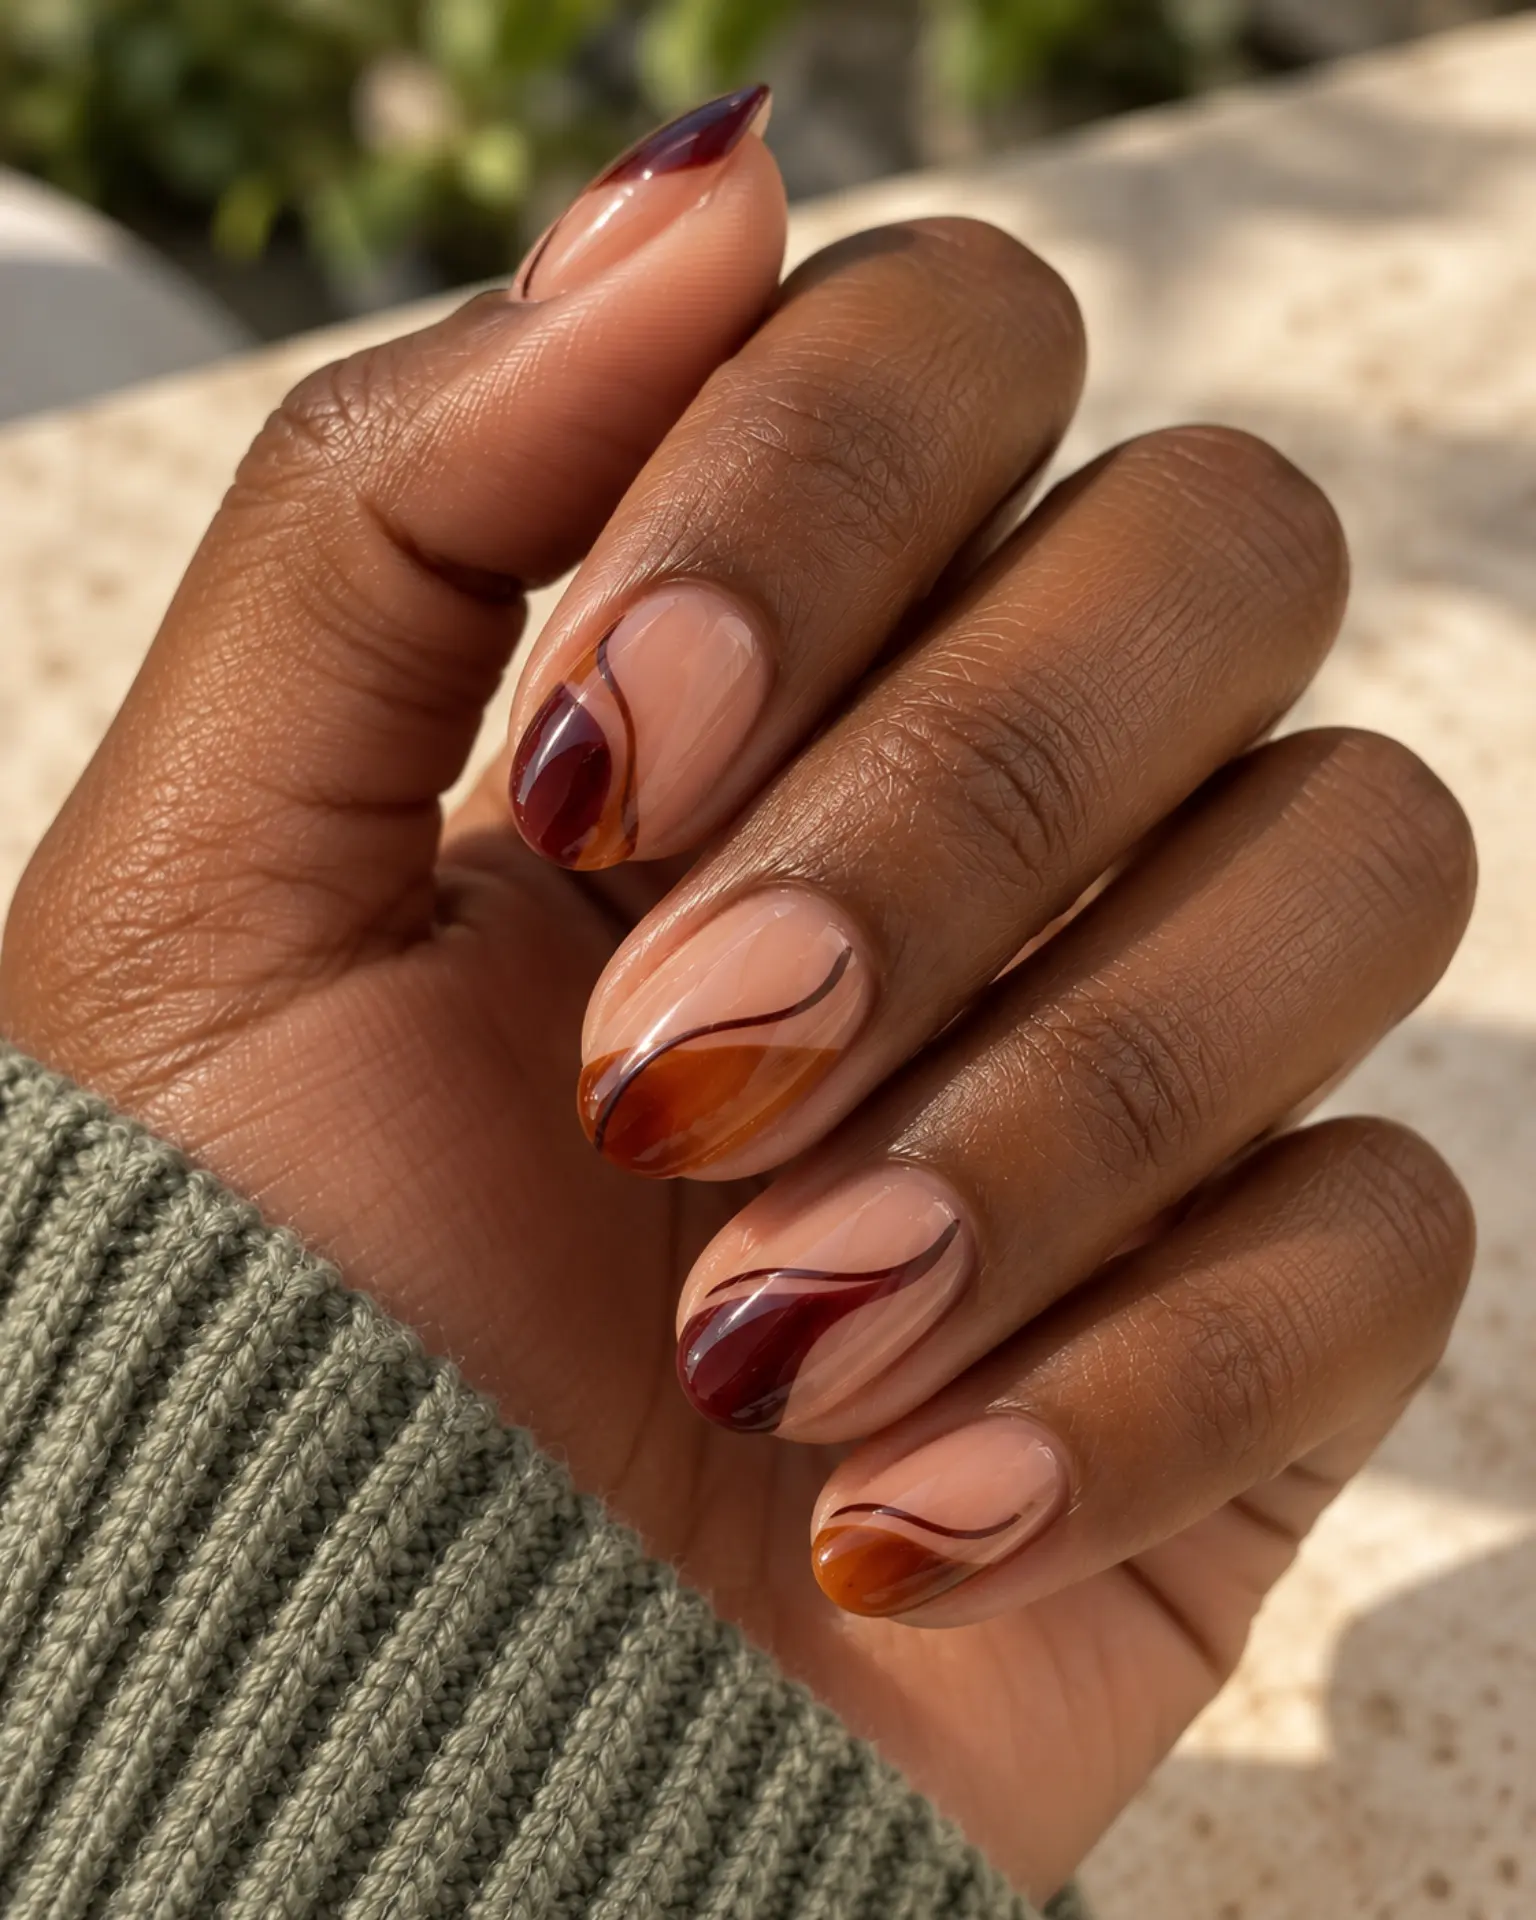
For Halloween Fine-Line Swirl, the main choice is how much space to give a single flowing curved line. One flowing stroke creates movement along the nail, leaving space for the base color to show around it. One recognizable seasonal detail is enough; let the base shade carry the rest of the look.
Halloween Matte + Gloss Tip
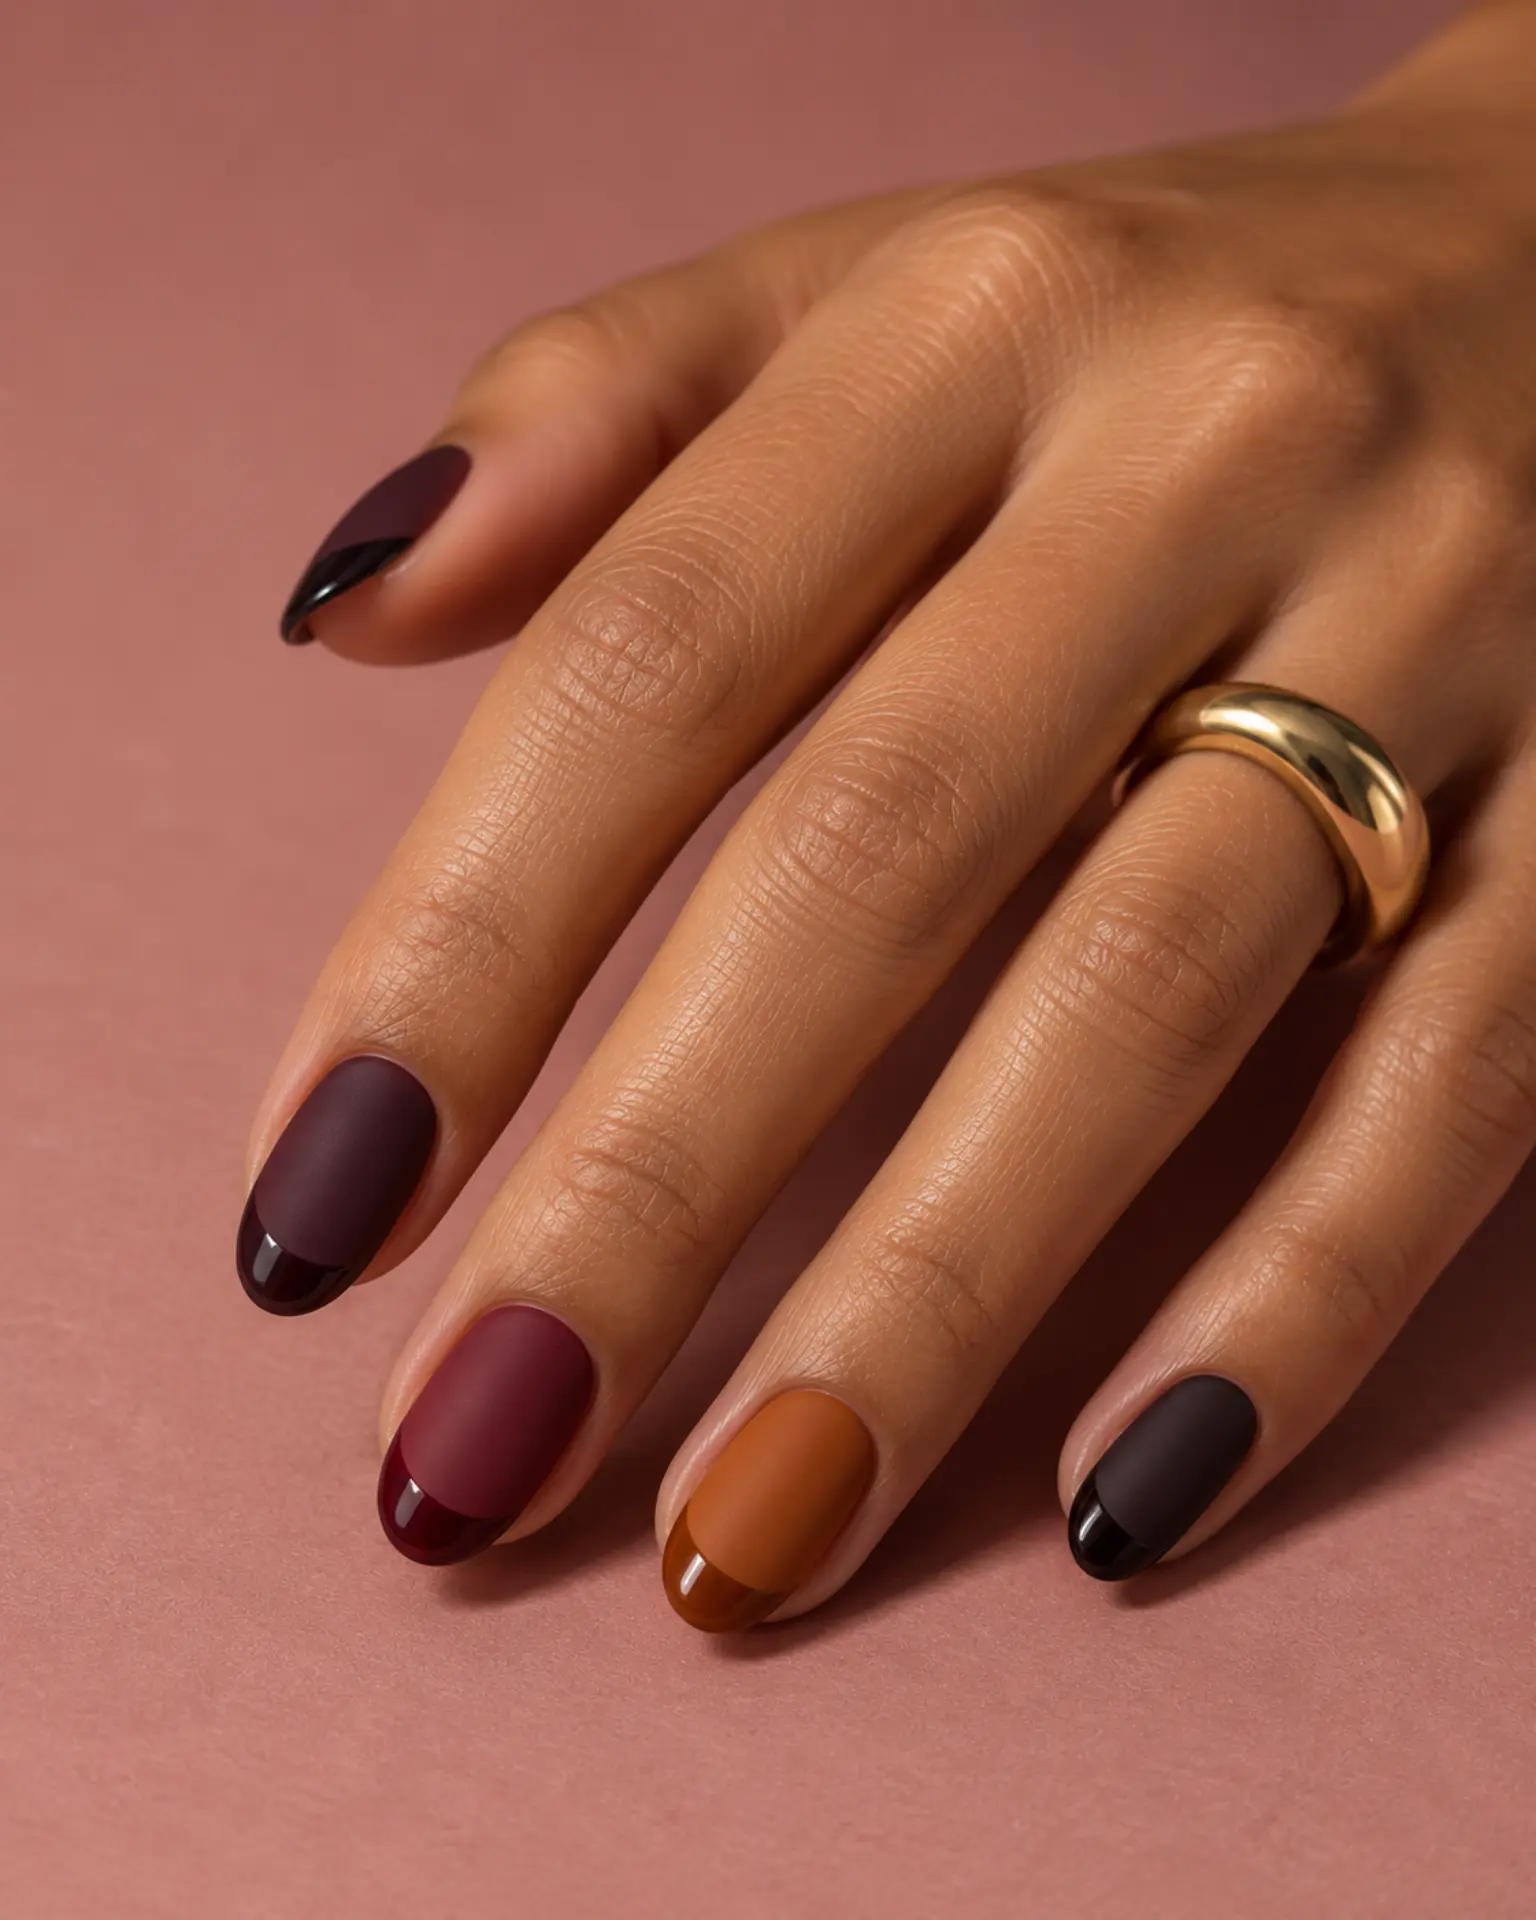
Glossy edges against a matte body create contrast without a second color. The border between finishes should stay crisp. Keep Halloween Matte + Gloss Tip focused on contrast between matte and gloss rather than building several competing effects. Confirm where topcoat should and should not go.
Halloween Half-Moon Detail
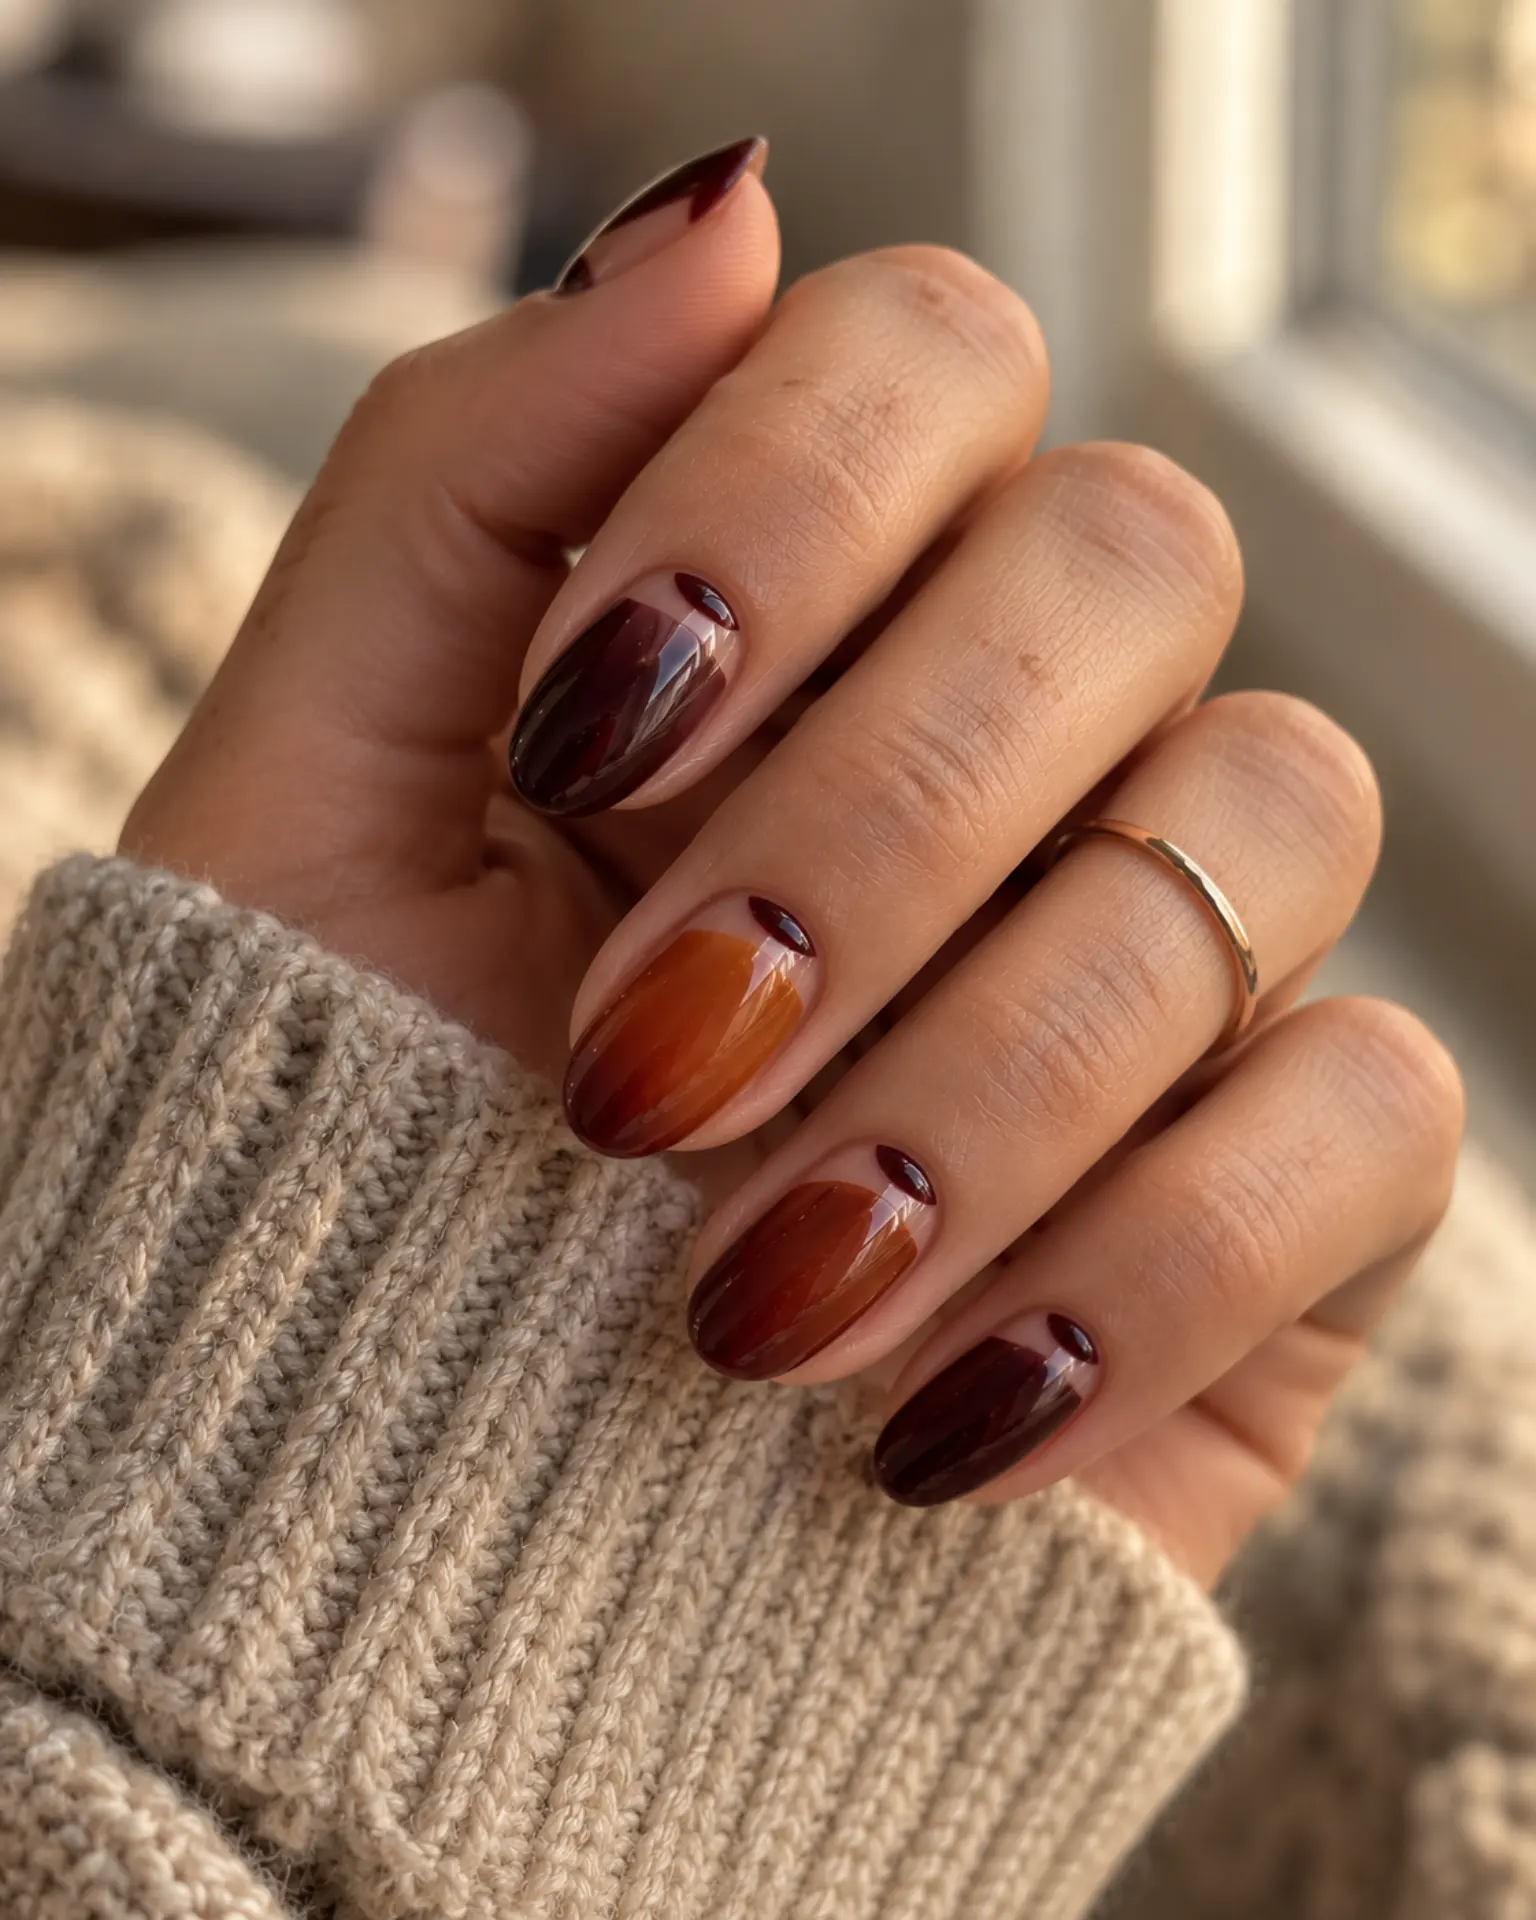
Halloween Half-Moon Detail is strongest when a small crescent by the cuticle stays clear against the base. The color sits in a narrow arc near the cuticle rather than at the free edge. A small, even gap makes that placement look clean. Keep the crescent shallow if your nail beds are short.
Halloween Reverse French
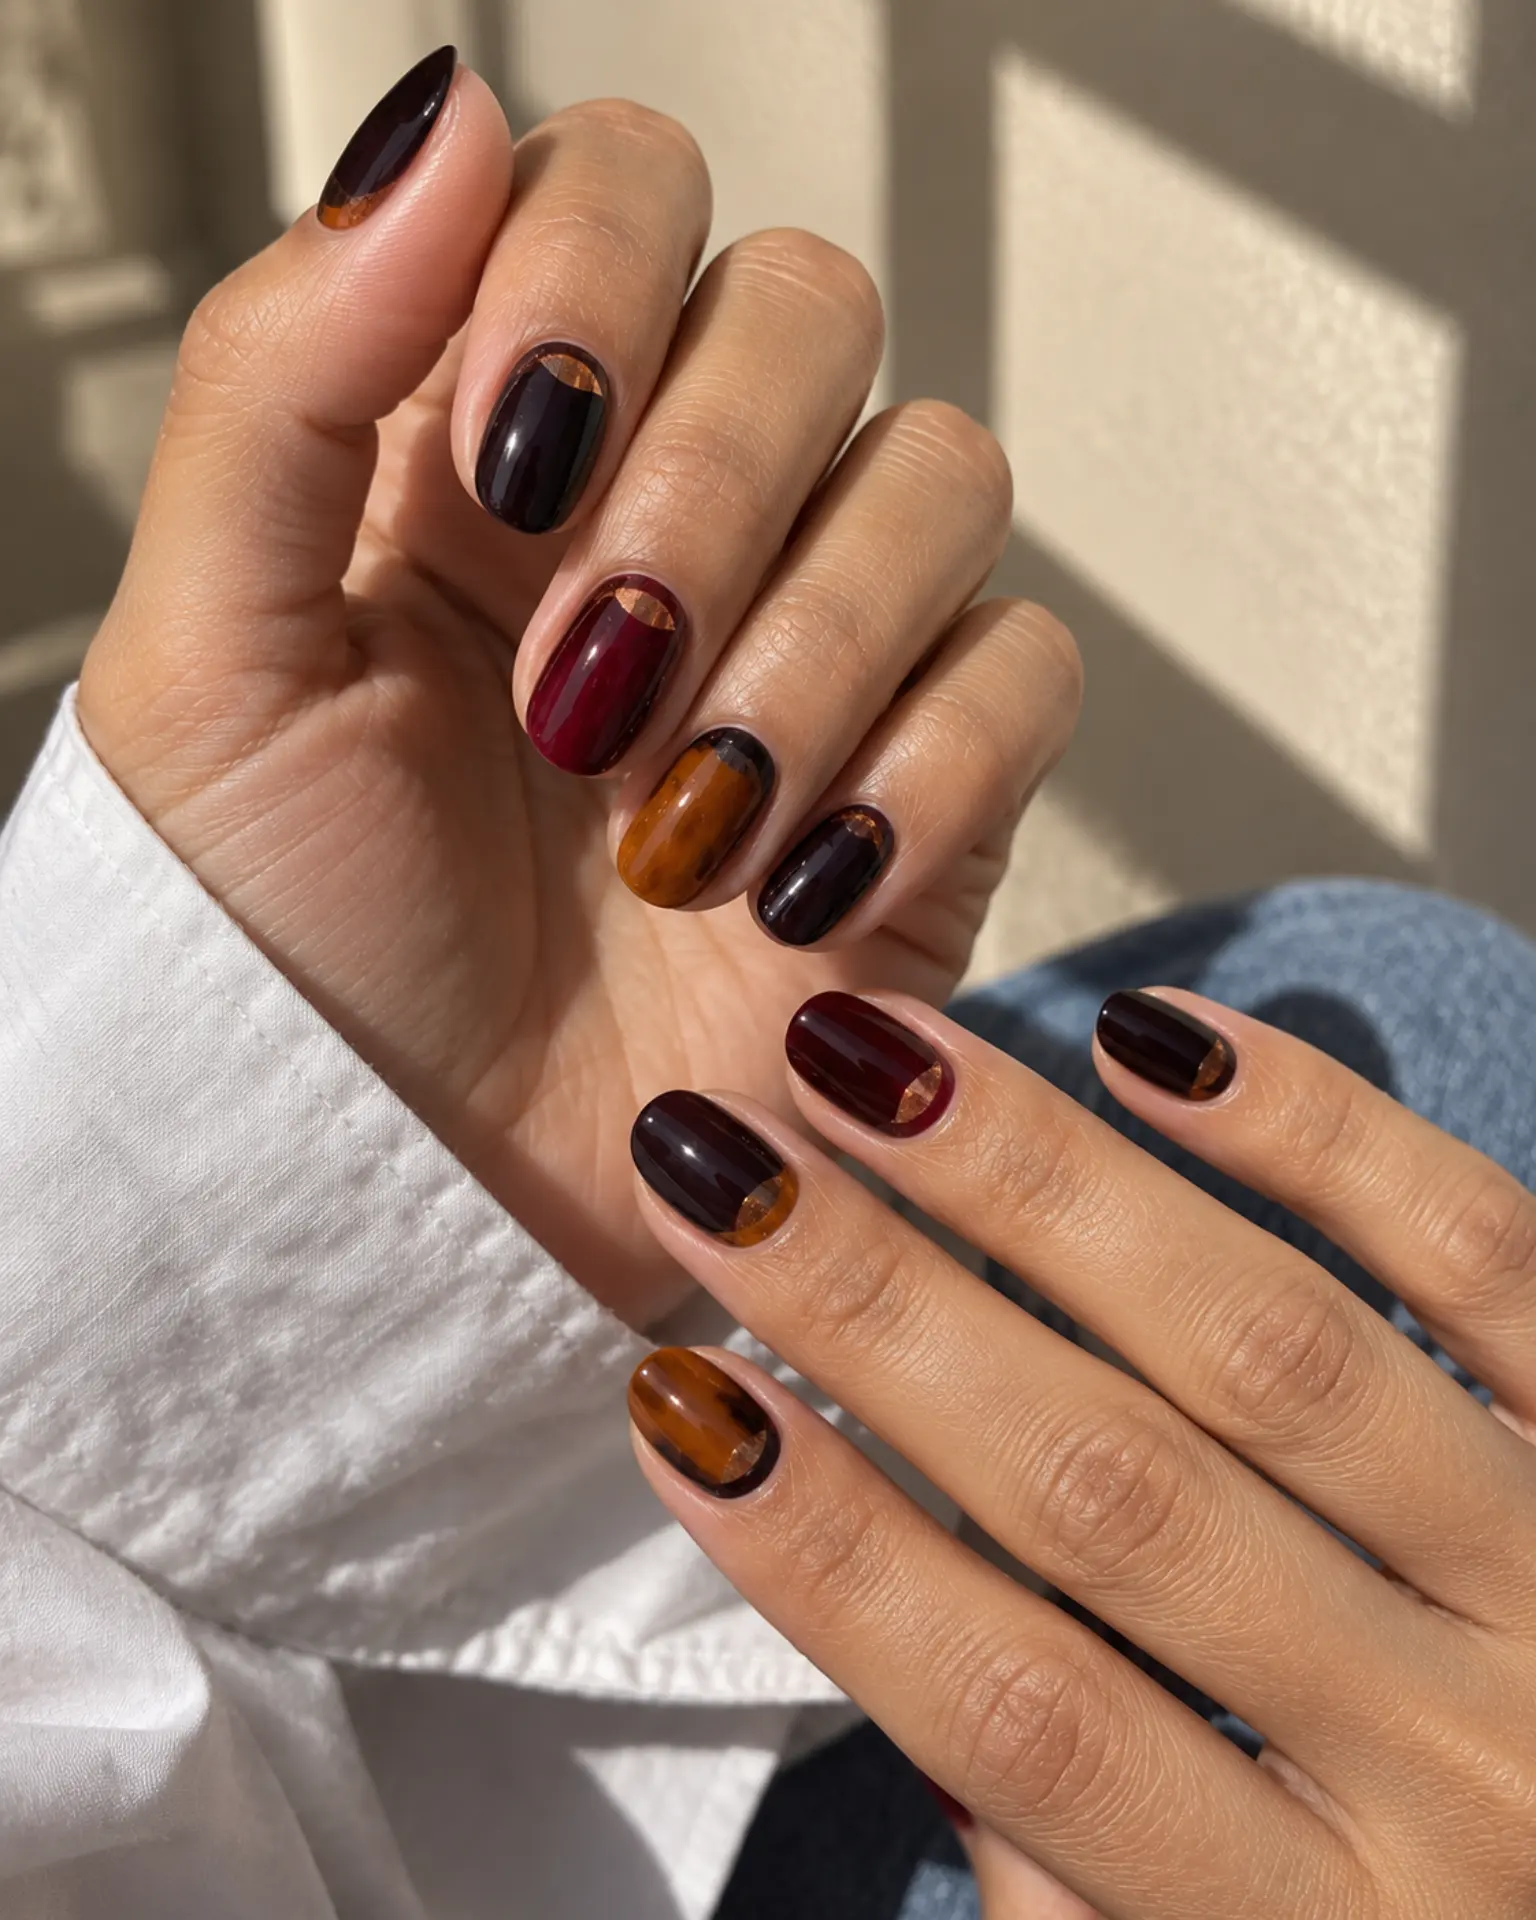
The color sits in a narrow arc near the cuticle rather than at the free edge. A small, even gap makes that placement look clean. Keep Halloween Reverse French focused on a crescent near the cuticle rather than building several competing effects. One recognizable seasonal detail is enough; let the base shade carry the rest of the look.
Halloween Micro-Dot Accent
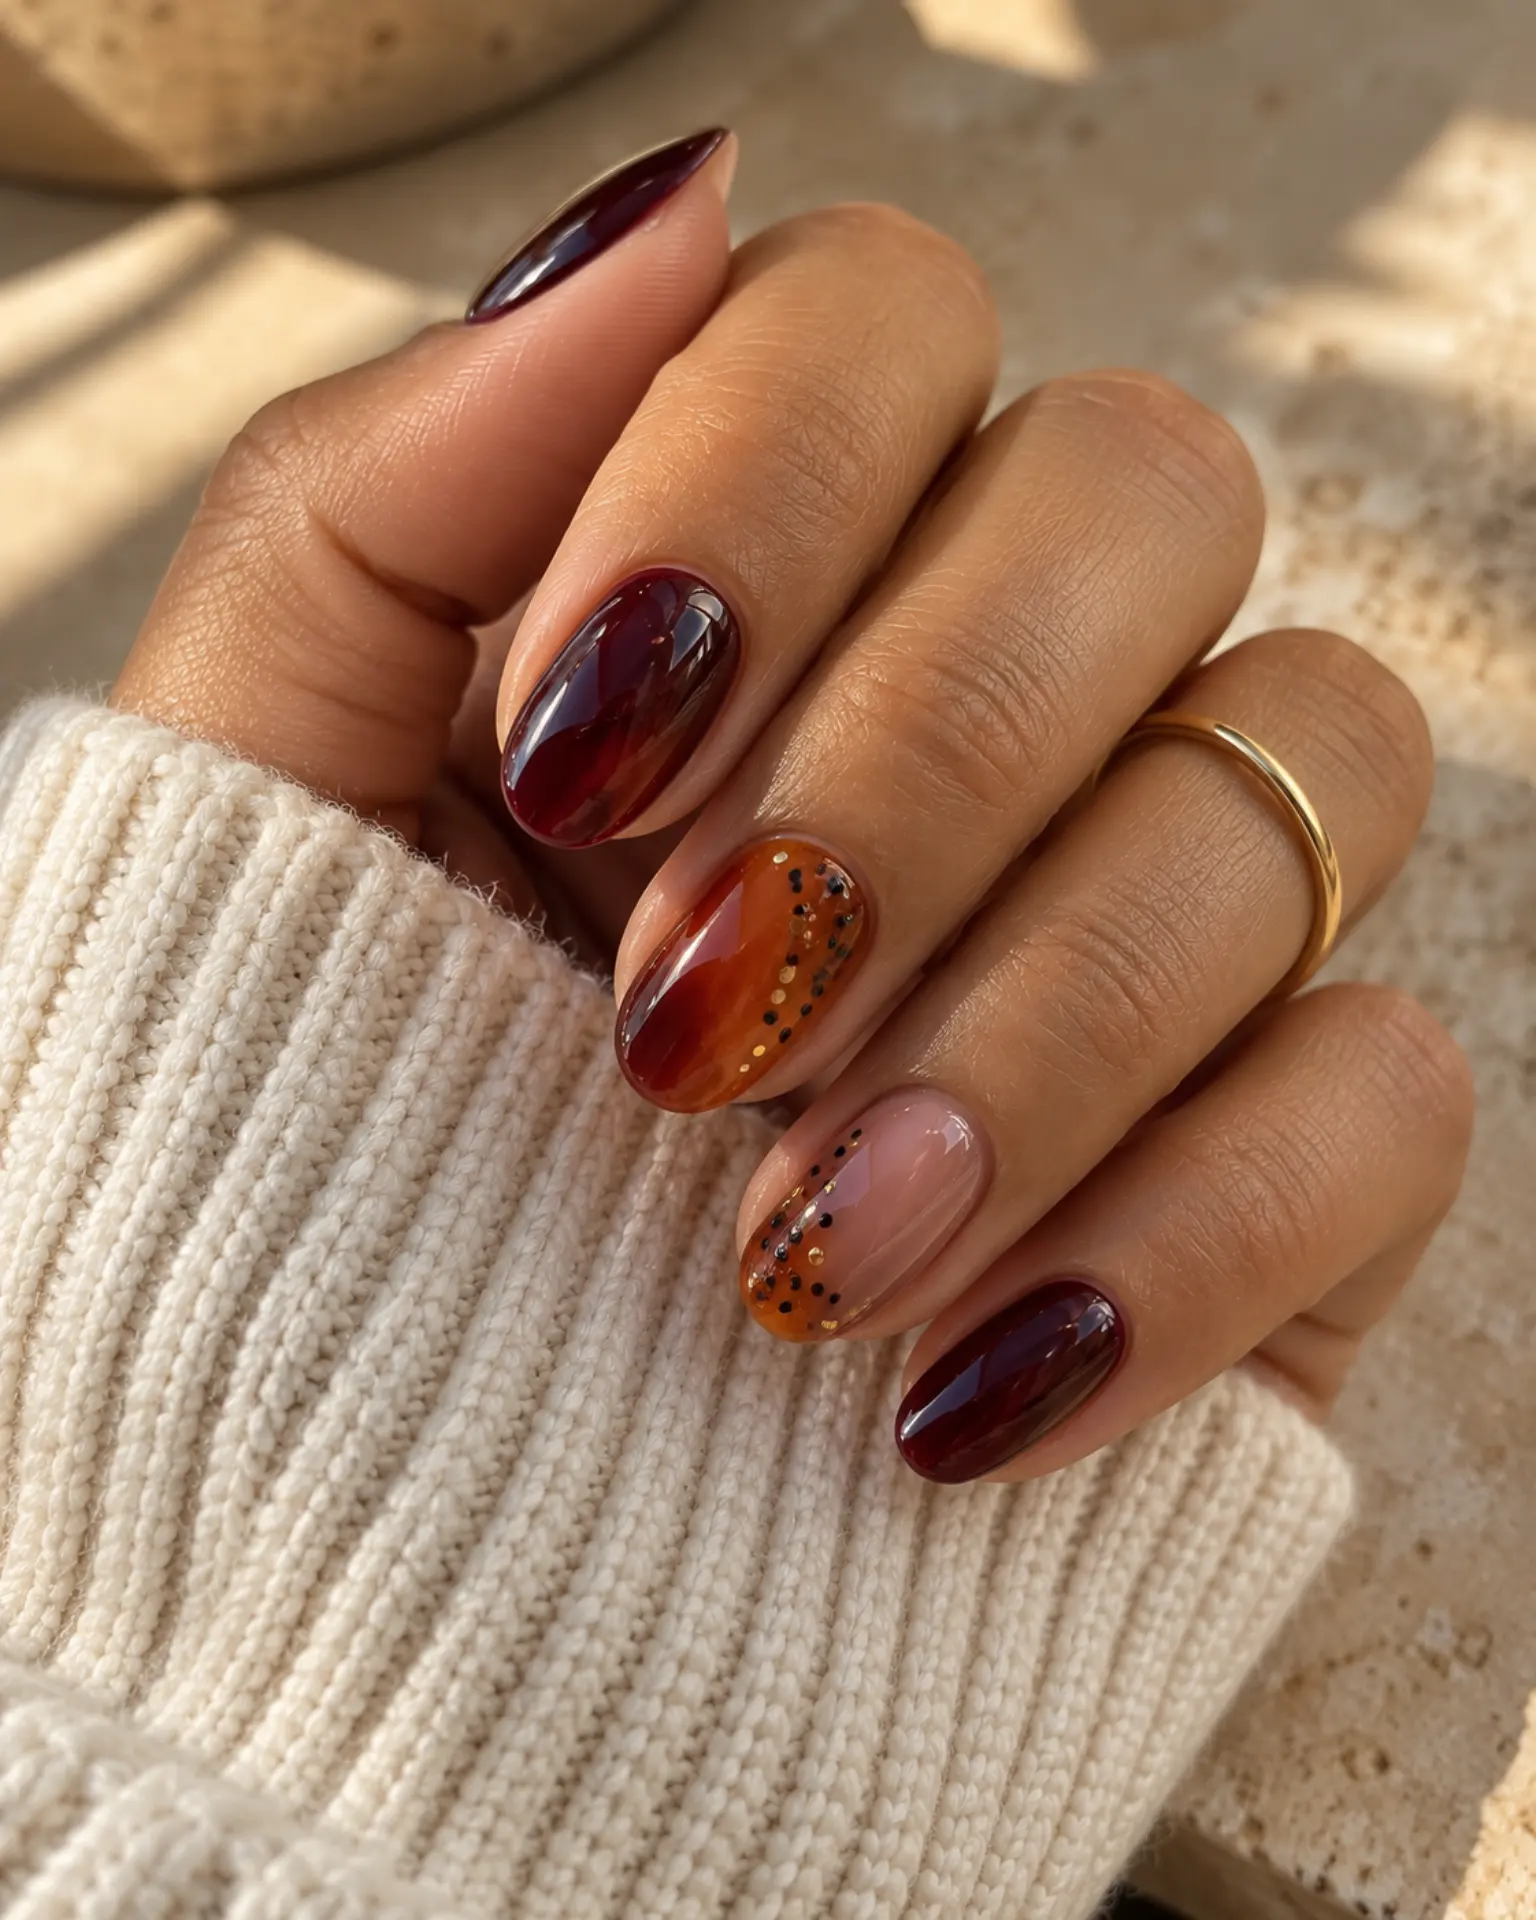
Halloween Micro-Dot Accent is strongest when small, deliberately spaced points stays clear against the base. A handful of small dots becomes graphic through deliberate spacing. One dot near an edge has a different feel from a row of dots. Plan the spacing before adding more marks.
Halloween Foil-Flake Accent
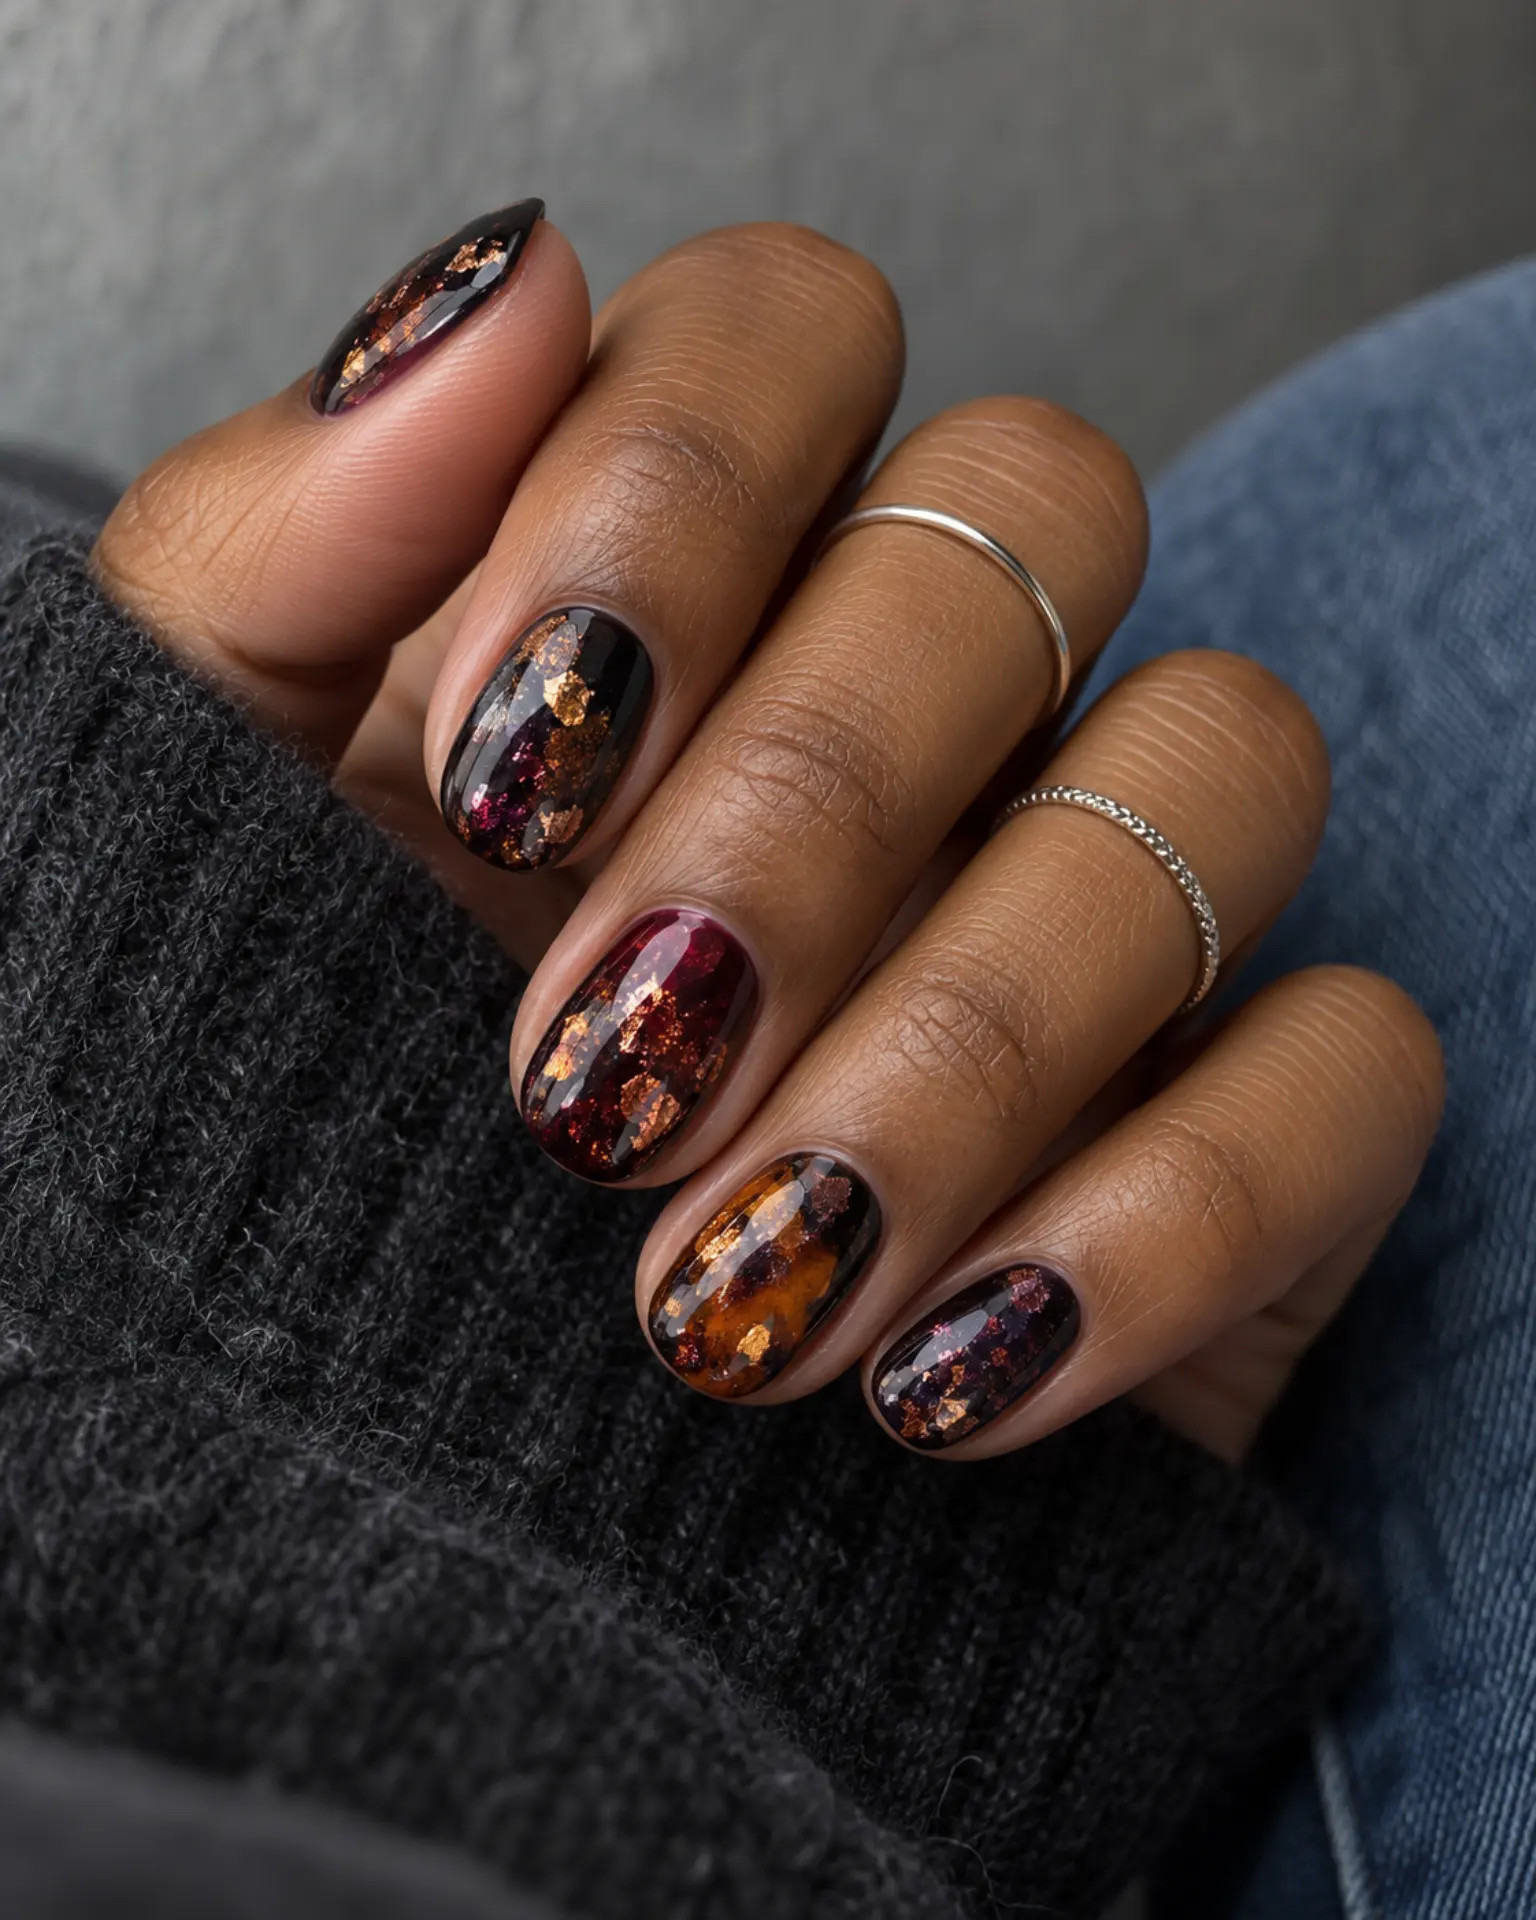
Tiny metallic fragments add irregular highlights. Keeping most of the base free makes each piece more noticeable. Halloween Foil-Flake Accent is strongest when scattered pieces of metal stays clear against the base. Keep neighboring nails quieter if this is your seasonal accent design.
Halloween Double French
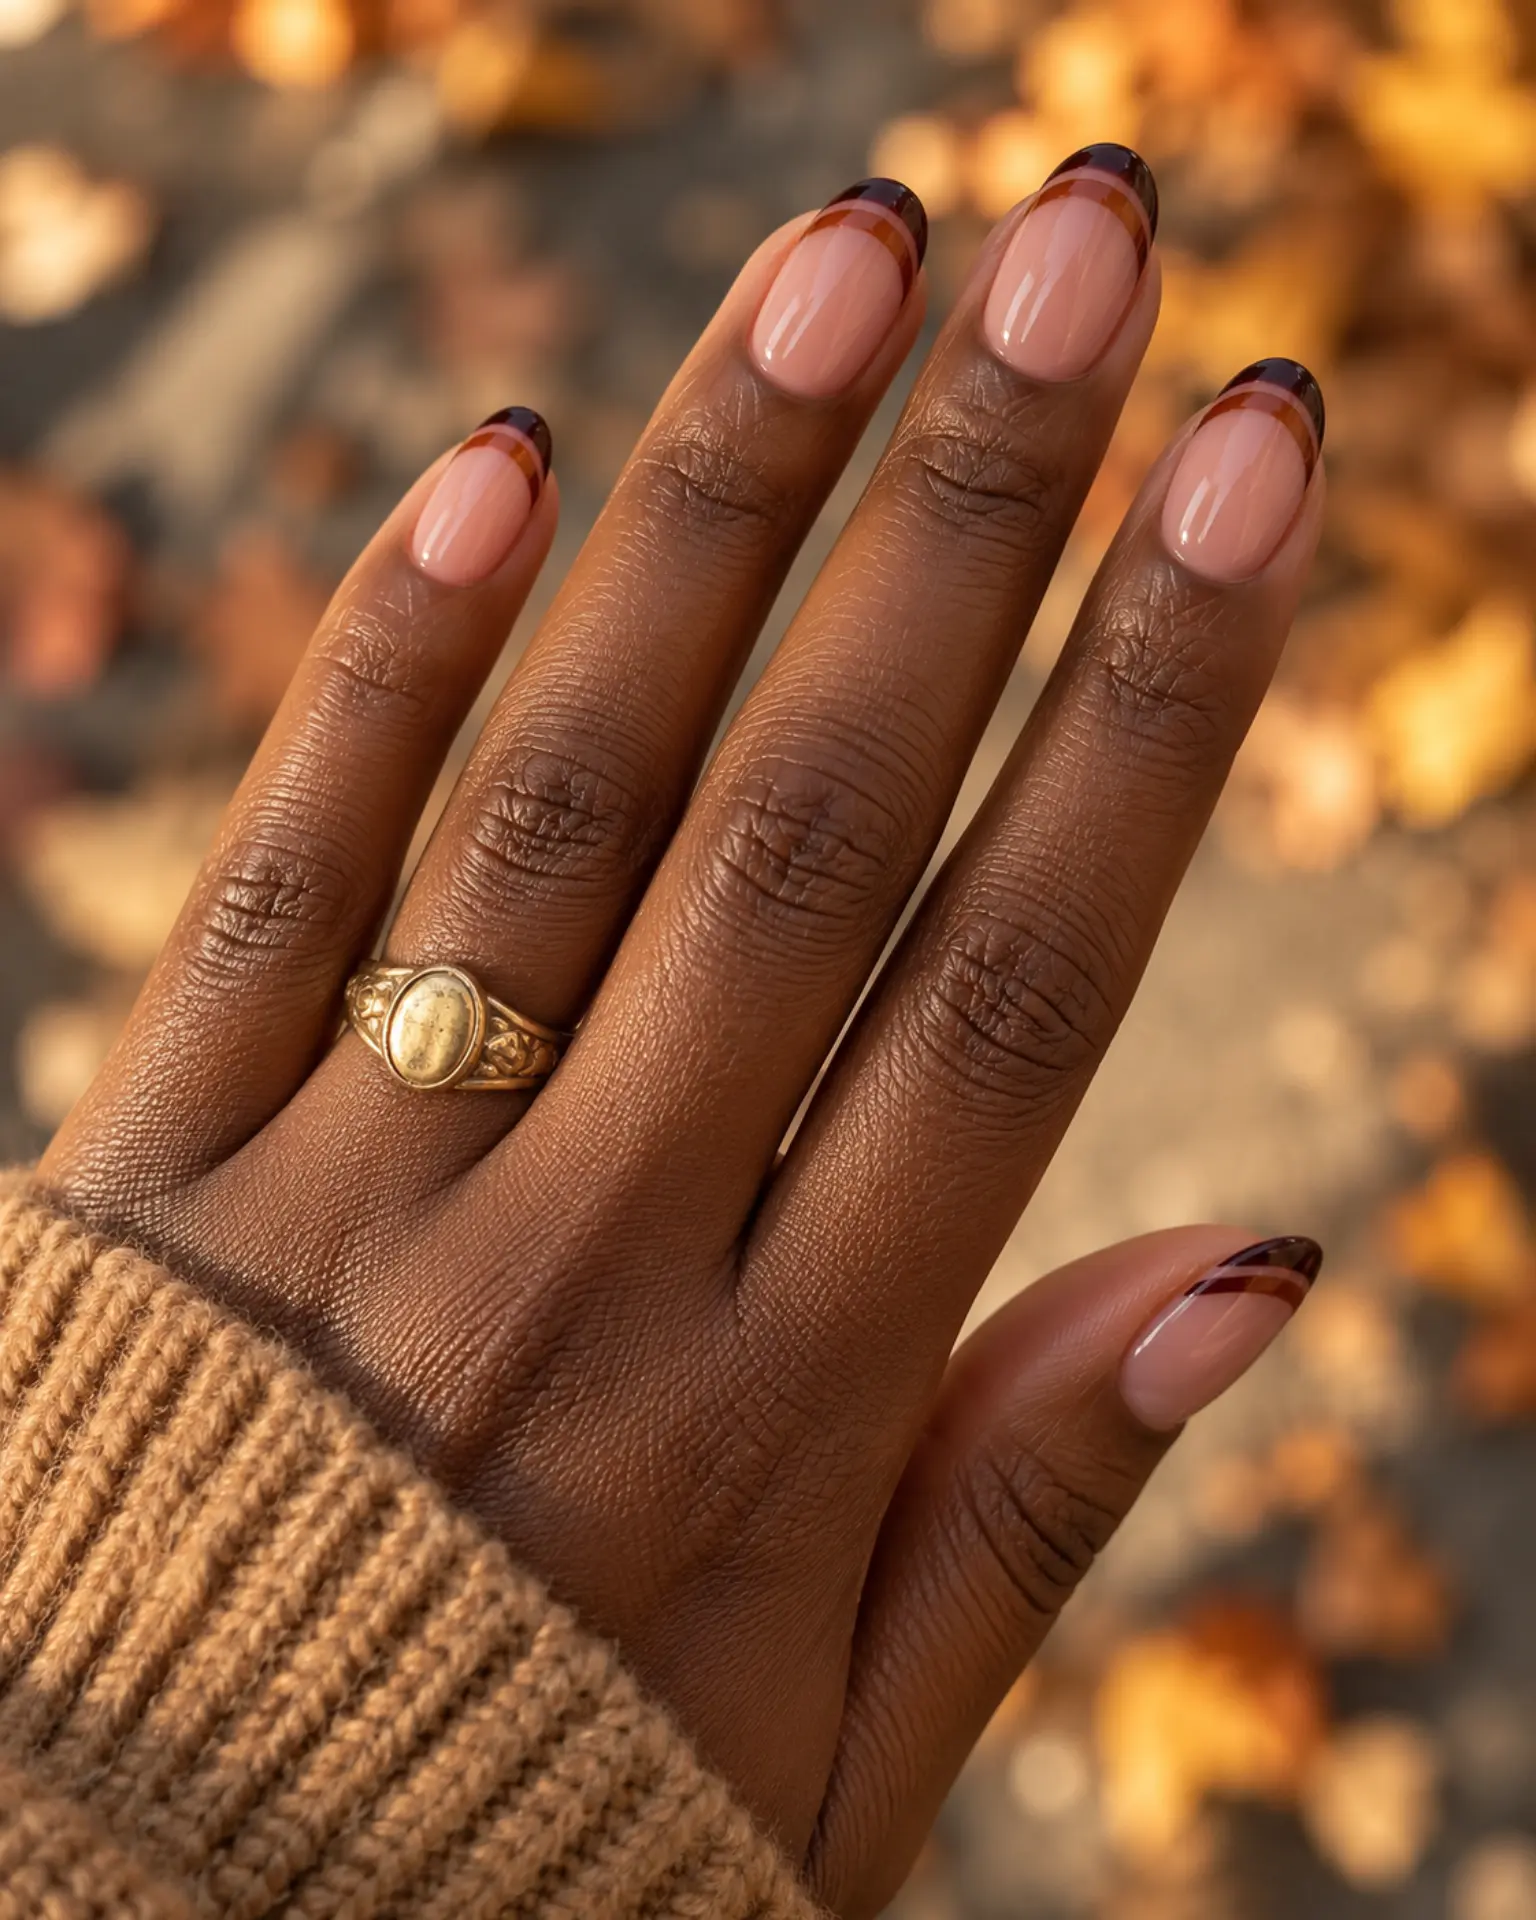
A layered French works when the lower and upper arcs do not merge. Repeat the gap consistently across nails of different widths. For Halloween Double French, the main choice is how much space to give two separate fine arcs at the free edge. One recognizable seasonal detail is enough; let the base shade carry the rest of the look.
Halloween Soft Marble Vein
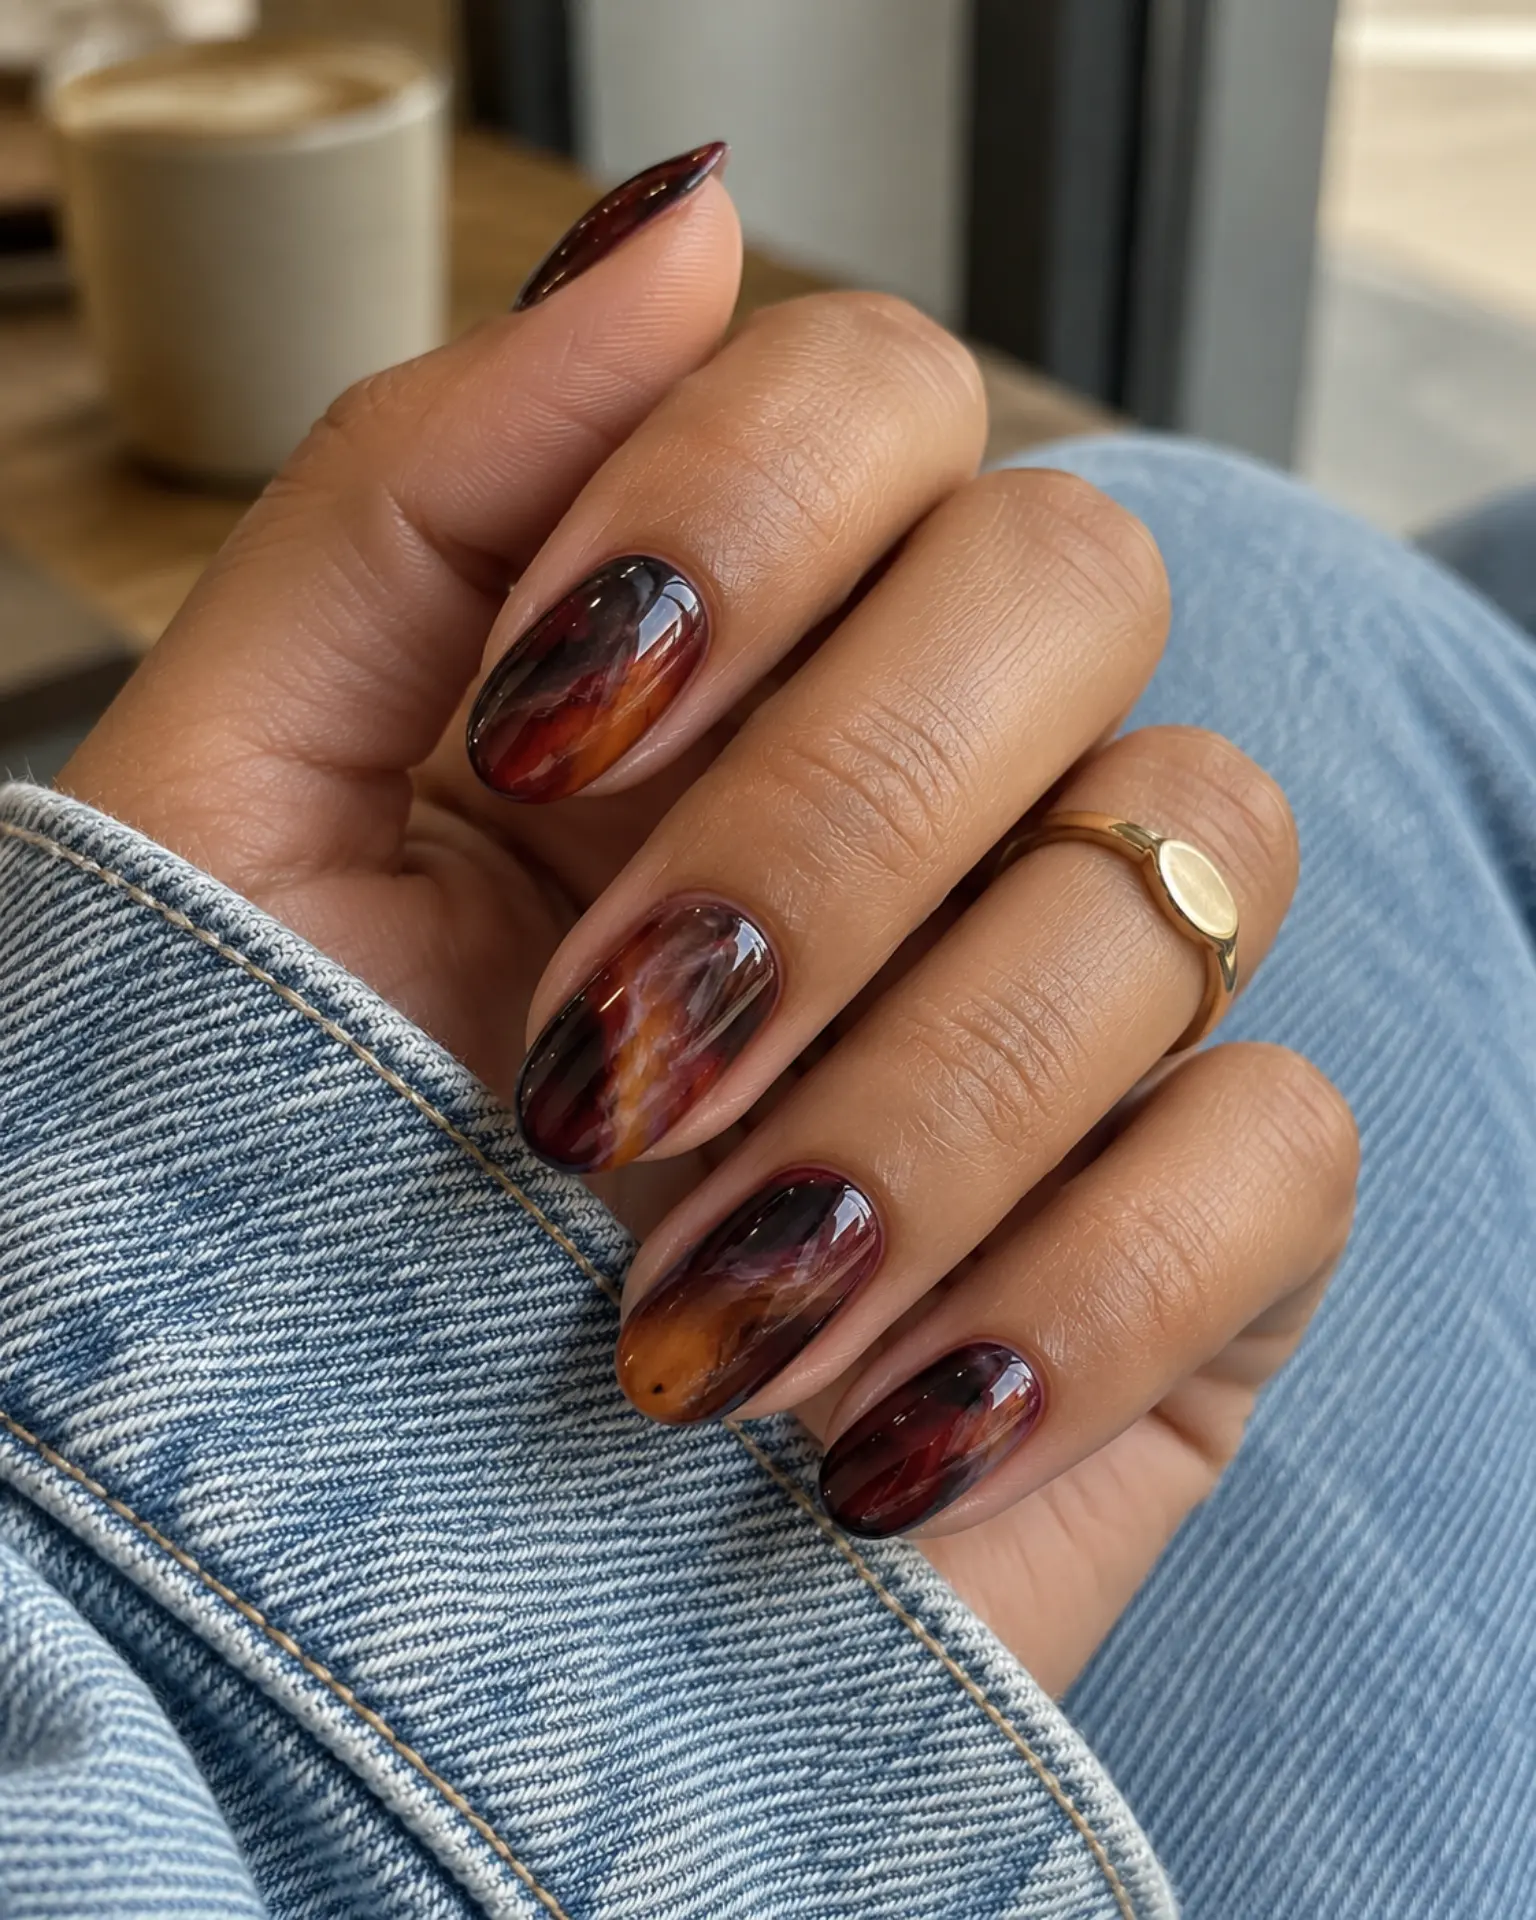
Thin wandering veins bring a stone-like effect to the base. The lines should branch rather than repeat mechanically. The focal point of Halloween Soft Marble Vein is irregular stone-like veining; let the rest of the polish remain quiet. Keep the veining deliberately irregular.
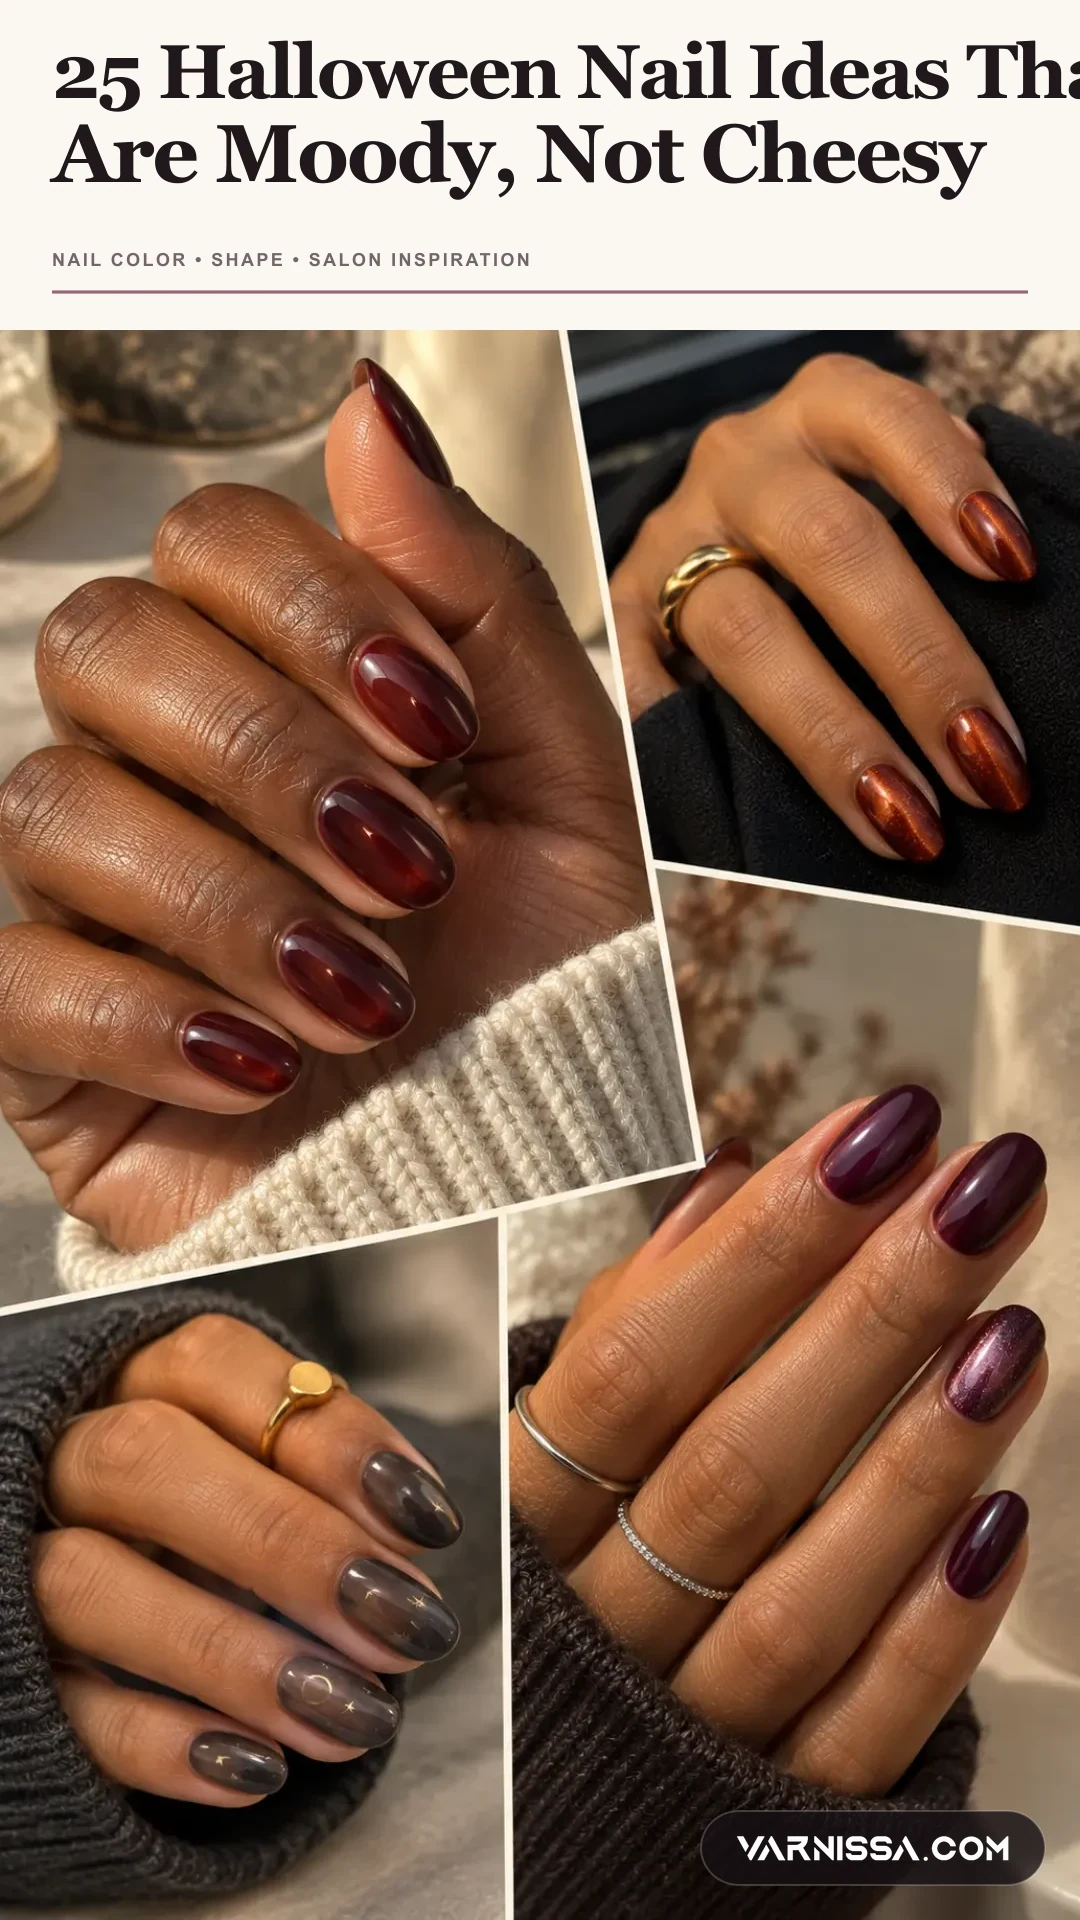
Keep this story on Pinterest.
The vertical Pin packages the article into one branded reference so you can come back to the full set before your appointment.
Questions about halloween nail ideas
How can Halloween nails look sophisticated rather than costume-like?
Use a limited palette such as black cherry and charcoal, and choose one small motif rather than adding pumpkins, bats and webs to every nail. Matte-versus-gloss contrast also adds depth without more colors.
What Halloween nail design works on short nails?
A thin black French edge, a tiny ghost on one accent nail, or a soft dark aura gradient all work when the motif is scaled to the natural nail plate.
Which Halloween nail colors work without black polish?
Try oxblood, deep plum, espresso, muted purple or smoky gray. One metallic or sheer accent can provide contrast without changing the moody direction.